By clicking a retailer link you consent to third-party cookies that track your onward journey. This enables W? to receive an affiliate commission if you make a purchase, which supports our mission to be the UK's consumer champion.
7 brilliant photo modes worth trying on your phone
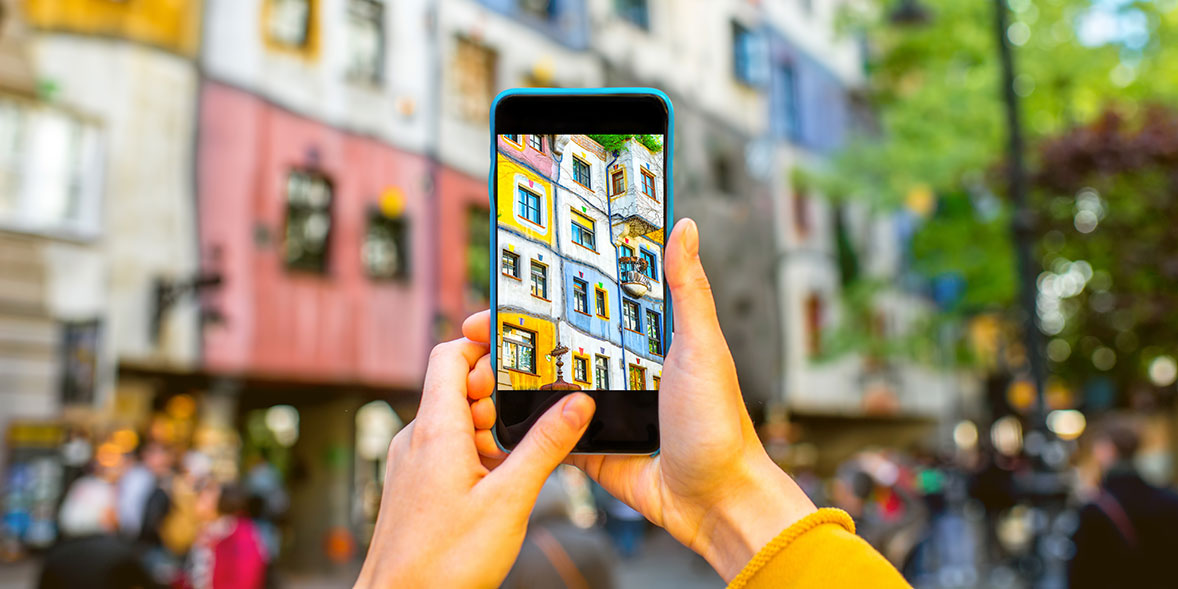
Smartphone camera technology has come a long way over the years and, with so many different modes on offer, there's a good chance you're yet to see everything your camera can do.
From dedicated night modes that capture the stars in all their glory to impressive portrait modes that turn your subjects into masterpieces, these innovative features are the key to unlocking your inner artist.
Below, our experts run through a selection of camera modes worth playing around with. Our tips will help you capture scenic views with ease, whether you're relaxing on a sunny beach or exploring a bustling city in low light.
News, deals and stuff the manuals don't tell you. Sign up for our Tech newsletter, it's free monthly
Photography modes explained
1. Night mode
To help your phone take better shots in low light, most models have a dedicated Night mode.
- On iPhone: Your device will automatically enable Night mode when its camera detects a low-light setting
- On Android: Open your default camera app and swipe until you spot Night, Night Mode or Night Sight.
This feature is designed to enhance the brightness and sharpness of your image. The camera takes a couple of snaps at different exposure levels by changing the shutter speed. Those images are then combined to give you a final result.
On many phones, pressing the shutter button in Night mode will start an on-screen countdown lasting a couple of seconds. Make sure you keep your phone as still as possible, as any slight movement can blur your picture.
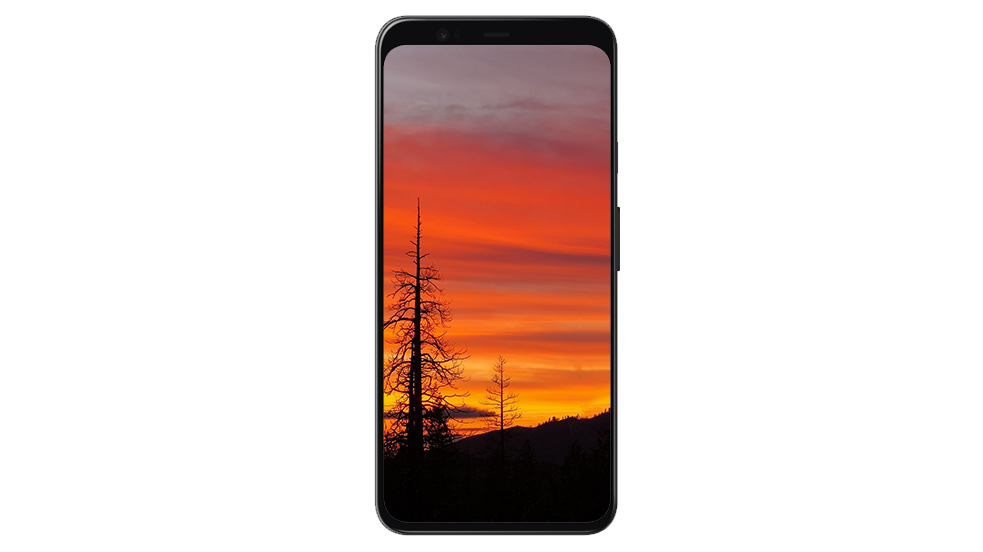
Keen stargazers will have fun experimenting with dedicated astrophotography modes. The Google Pixel range, for example, has a mode for capturing stars. With your phone stable, tap Night Sight, point your phone at the sky and wait for the Moon icon to turn into a Star icon.
You'll get even better results if you're using a phone tripod.
2. Photo Sphere
A Photo Sphere is a 360-degree panoramic image that you take by standing in one spot and snapping pictures in all directions. Software will then stitch the images together to create one sphere and swiping the image lets you look around.
- On iPhone: Head to the App Store and search for '360 camera'
- On Android: Download the Google Camera app, then head to Modes > Photo Sphere. If you can't access Google Camera, head to the Google Play Store and search for '360 camera'
If you're taking in a breathtaking view, creating a Photo Sphere could be a great way to remember the moment.
Some camera apps will use your phone's accelerometer, which means you can physically move your mobile to 'look' around a saved Photo Sphere.
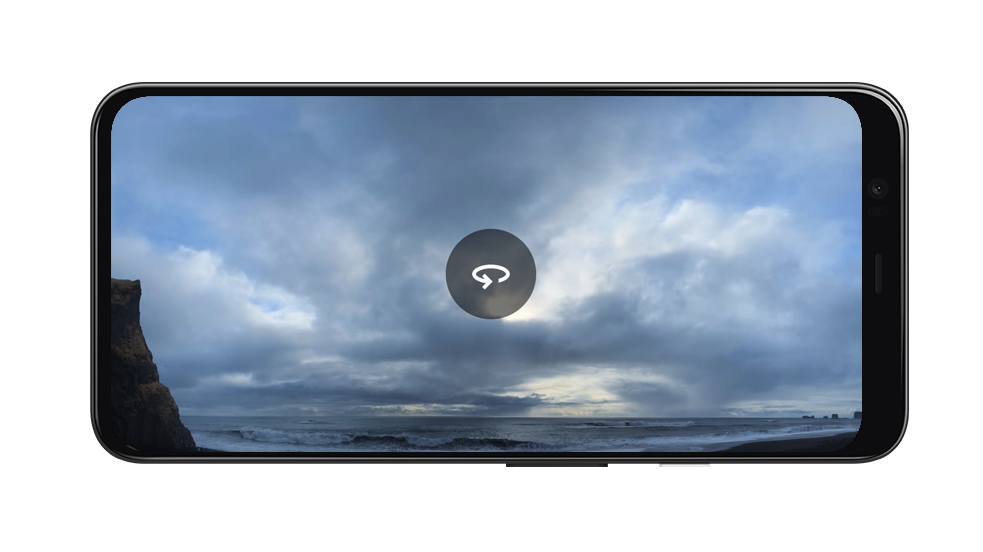
Most 360-degree photo apps work in the same way: you take your first image, wait for an icon/marker to appear on-screen and line your camera up with that shape to take the next one. You'll need to repeat the process until every angle is covered.
If it's time to swap your old phone out for a superior alternative, our guide on the best smartphones to buy in 2023 will give you a helping hand.
3. Google Lens
Google Lens is a free image recognition app that you can use to get information on the world around you. For example, the app can translate text in real time using your camera lens, or identify objects (including products you can purchase).
- On iPhone: From the Google app, tap the Lens icon (a camera) to get started
- On Android: From the Google Camera app, swipe to Modes and select Google Lens. Alternatively, download the Google App from the Google Play Store and tap the Lens icon.
The app gets to work as you point your camera at something, but it can also be used to scan old pictures in your photo library. Perhaps you have a scenic view in your gallery but can't remember where the photo was taken – activate Google Lens and the software will try and pinpoint a location for you.
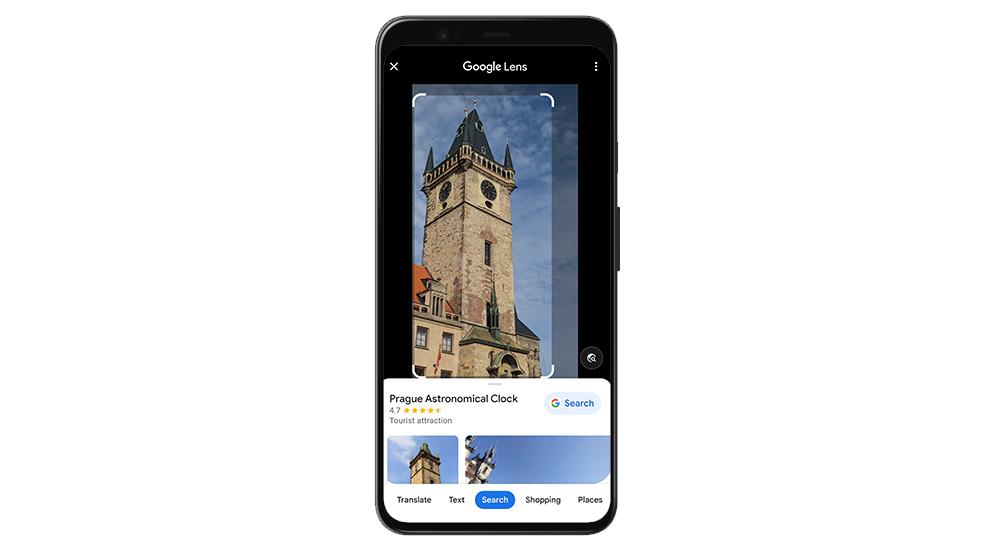
In the picture above, we've used a photo taken during a trip to Prague. Google Lens was able to instantly recognise the building and pull up a list of articles where you can learn more about it.
Within the app, you can swipe to the side to browse through various modes: Translate, Text (copy words from a still image), Search, Homework, Shopping (generates buying links for objects in your picture) and Places.
4. Long exposure
If you want to get a little more creative with your shots, we suggest trying long exposure mode.
- On iPhone: Open the Camera app, enable Live Photo and tap the Shutter button. From your image gallery, navigate to the picture and choose Live in the top-left corner. Select Long Exposure.
- On Android: Open your camera app and look for a Motion or Long exposure option. Sometimes, this will be listed under More.
With this long exposure enabled, your camera's shutter will remain open for longer than it would in a normal picture. Capturing movement in long exposure can generate some particularly unique effects. You can create 'light trails' or motion blur, for example.
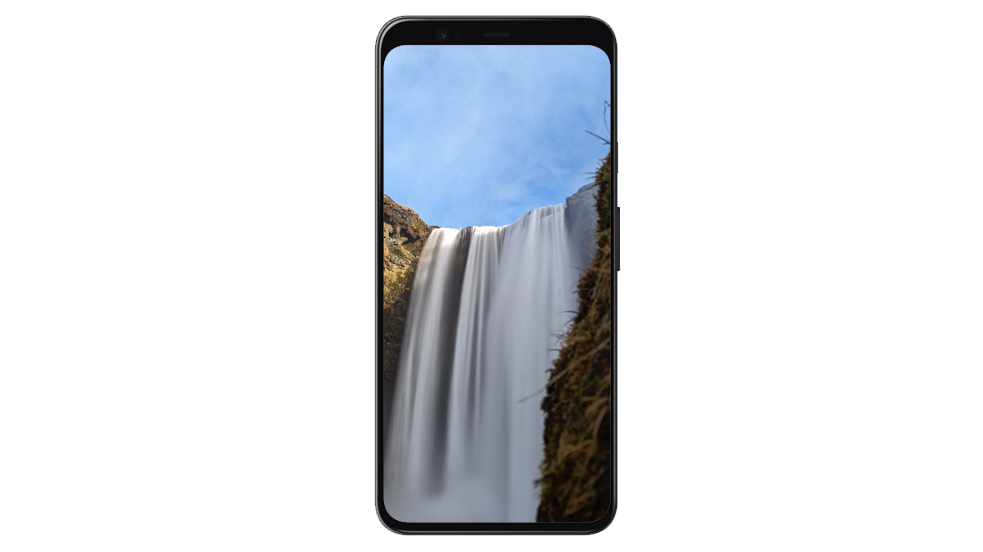
In the example above, we've taken a photo of a roaring waterfall using Long Exposure mode on a Google Pixel. You'll notice that the rapid movement of the water creates a smooth effect.
Depending on what phone you have, you might need security software. Find out more - our expert tests reveal the best mobile antivirus
5. Portrait
Portrait mode makes your pictures of friends and family look a little more professional by adding a subtle background blur, also referred to as the bokeh effect.
- On iPhone: Open the Camera app and swipe to Portrait. The name of the lighting effect (Natural light, for example) will appear on-screen and you can swipe to swap it out
- On Android: Open the Camera app and look for a Portrait setting. You'll likely be able to adjust the strength of the effect.
Most modern smartphones will let you adjust the strength of the background blur and some go a step further with different profiles. On some Samsung Galaxy models, you can cycle through different Portrait profiles - including Backdrop, which turns the background grey but keeps your subject in colour.
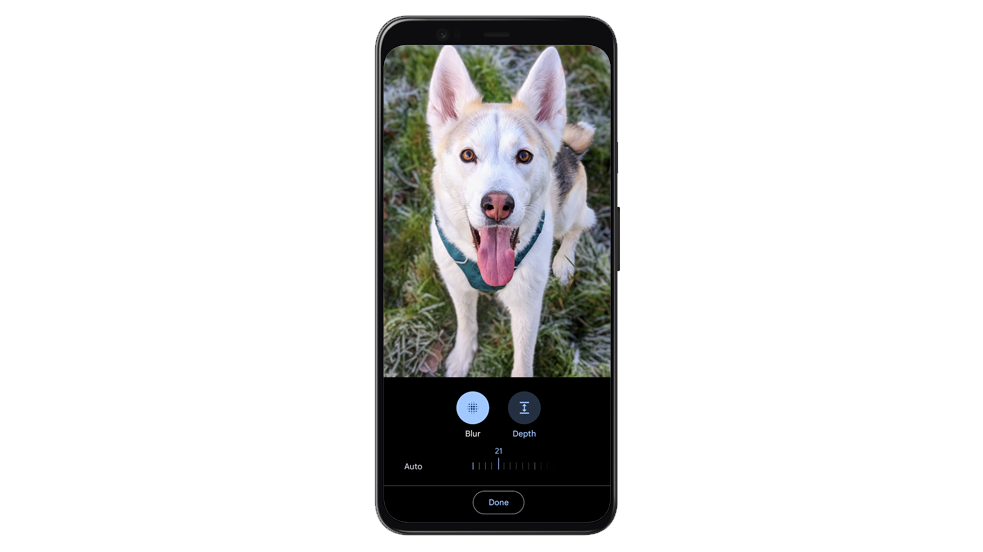
On an iPhone, you can explore the Portrait Lighting menu. Among the options are Studio Light (which brightens facial features), Contour Light (for 'dramatic' directional lighting) and Stage Light, which isolates your subject.
If you're shopping for a new mobile with a top camera, browse our guide on the best mobile phone and Sim-only deals.
6. Panorama
Give this mode a go if you're capturing dazzling city skylines or rolling fields.
- On iPhone: Open your camera app and select Pano mode. Pan in the direction of the on-screen arrow and tap the Shutter button to finish
- On Android: Open your camera app and search for Panorama. On some phones, this is found under More.
Taking a wide image made up of multiple snaps is a breeze for most modern smartphones, although the precise steps will vary depending on make and model.
Panoramic shots are similar to Photo Spheres, but they're rectangular. Navigate to the Panorama option in your camera app and take your first picture. An on-screen guide will help you line everything up as you slowly pan in one direction. As you move your phone, the image will expand.
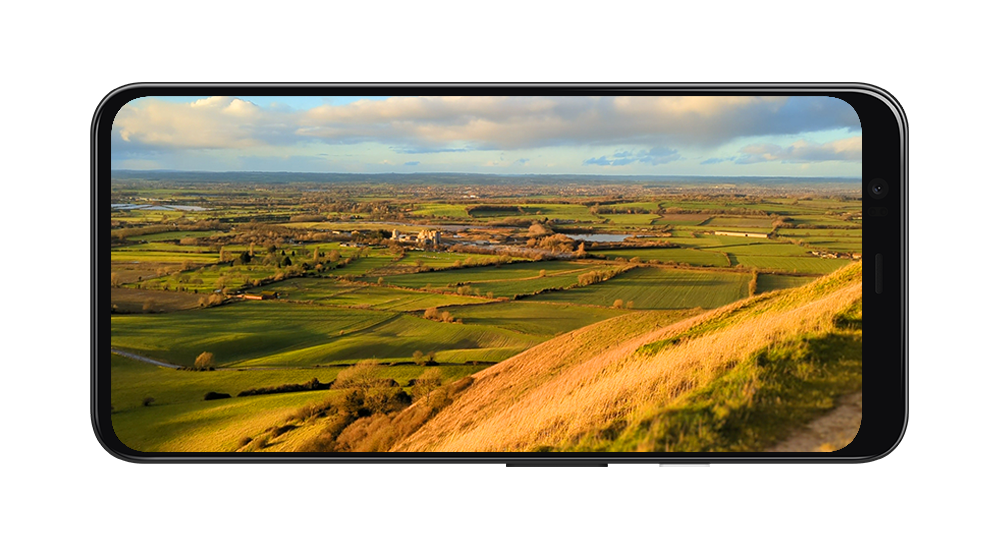
Panoramic images work best for still scenes. For example, if a car drives through the middle of your panoramic image, it'll appear stretched in the final version. You should also make sure the light levels in your panorama are consistent for better results.
When you're finished, tap Stop or the Shutter button. Some phones will automatically end the panorama when the picture reaches a specific width.
7. Macro mode
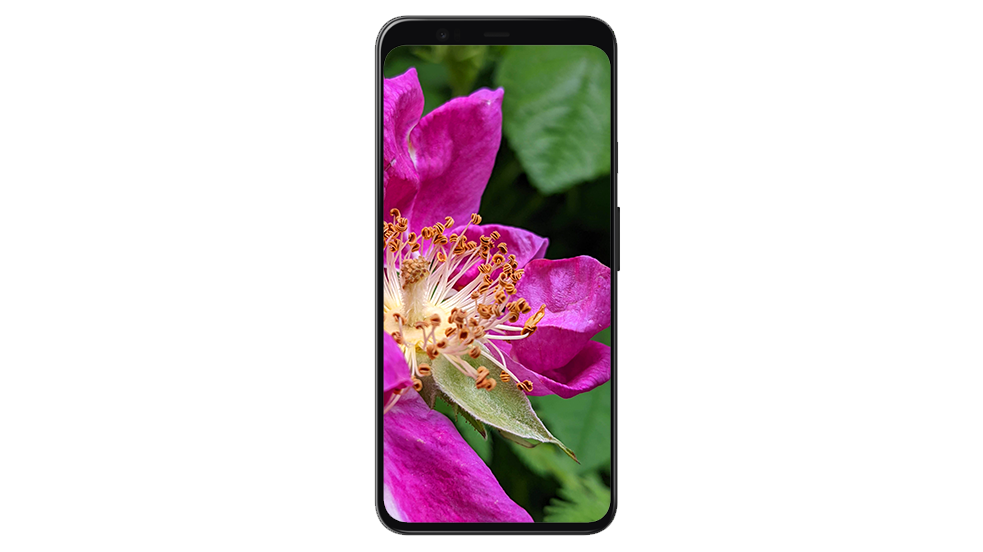
For shots where you want plenty of detail up-close, we suggest swapping over to Macro mode. This is a good pick if you're facing a vibrant flower or a tasty-looking plate of food.
- On iPhone: On models with an Ultra Wide camera (iPhone 13 Pro, 12 Pro Max, 14 Pro, 14 Pro Max), open the camera and position yourself around 2cm from your subject. The camera will automatically switch to the Utra Wide lens
- On Android: If your smartphone has Macro mode, it should activate automatically when you close in on your subject. Otherwise, you might be able to enable it manually under More.
To use Macro effectively, you'll need to be within a couple of centimeters of your subject. Attaching your phone to a tripod can help if you want to avoid camera shake, as shooting up-close means tiny movements will have an impact on the shot.
Which phone has the best camera?
When reviewing the latest mobiles in our test lab, we pay close attention to camera quality – in fact, it accounts for 25% of the overall score. By consulting our reviews, you can be sure you're picking up a phone that performs well in varying levels of light.
For every phone we go hands-on with, we test in 10 different shooting environments. Plus, we use mannequins of different skin shades to see how well the camera picks up all skin tones. If you like to take group selfies or pictures of scenic views, check in with our phones with a wide angle lens reviews or phones with an ultra wide angle lens reviews.
To see which phones have scored top marks in our lab tests, consult our mobile phone reviews.
News, deals and stuff the manuals don't tell you. Sign up for our Tech newsletter, it's free monthly


