Hello, folks. In this article I will explain how to painlessly and quickly install WordPress CMS along with several useful plugins that will enhance your website's speed and security.
INSTALLING WORDPRESS
- Download the latest WordPress version in *.zip or *.tar.gz format from https://wordpress.org/download/. WordPress is available in several languages, so you might download a translated version if that makes things easier for you.
- Unpack the archive somewhere on your local drive.
- Upload the unpacked files to your server. Yes, you need to have a hosting plan purchased and be able to access the server via FTP. There are several FTP clients available, the most popular one is FileZilla (https://filezilla-project.org/). It's available on all platforms and relatively easy to use.
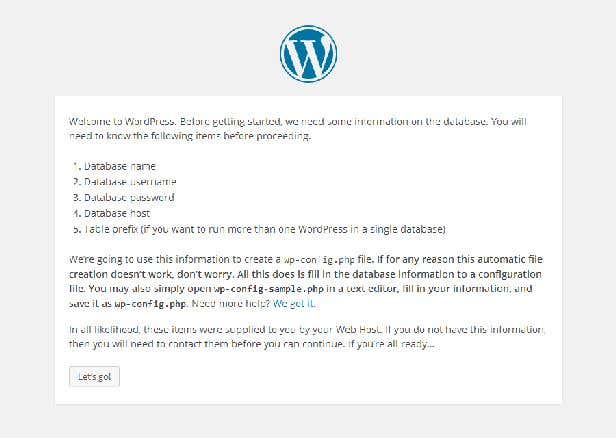
- Once the files have been uploaded to your website's root directory, simply access the website using your favourite browser. Here's what you should see:

- Nice! There's one more thing you need to do inside your hosting administration panel. WordPress, like most software, requires database access to store some settings. You will have to open MySQL settings page and create a new database along with a dedicated username and password. Wirte them down.
- Go back to your website. Click the "Let's go!" button and fill in Database Name, User Name and Password fields. You can leave Database Host and Table Prefix unchanged for now.
- If everything goes well, you should see "Run the install" button. Otherwise, the database login credentials may be invalid or there are some problems with file permission settings on your server.
- After the installation you will have to provide some basic information about the website you are creating, such as Site Title or the administrator user name and password. If you want your website to be hidden from search engines (e.g. Google), uncheck the Privacy box.
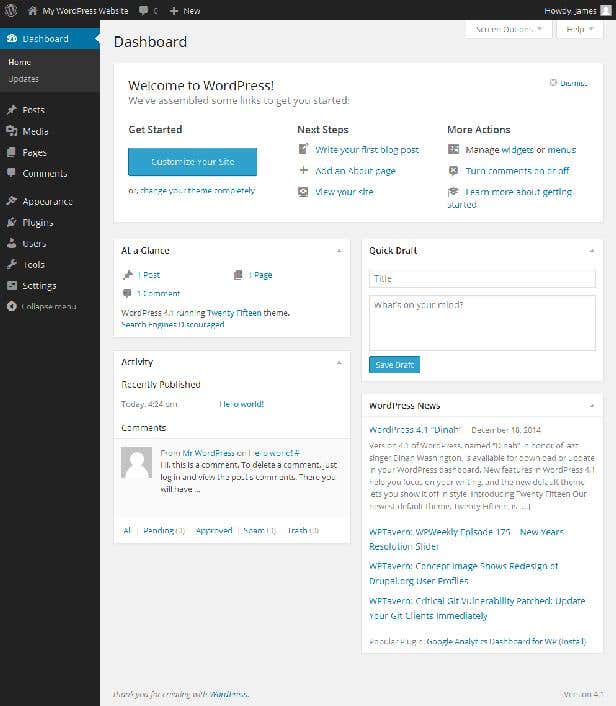
- That's it! Now you can log in using the user name and password from step 8. Here's what you should see afterwards:

ADDITIONAL WORDPRESS CONFIGURATION
Although your WordPress CMS is fully installed by now (you can see it in action by visiting your website), there are several things you should do to improve it.
- Consider using a free or commercial WordPress theme to boost the overall design. There are tons of WordPress themes you can use and they are pretty easy to find.
- Install a security plugin. I recommend using a free iThemes Security (https://wordpress.org/plugins/better-wp-security/). This action will protect your website from most attacks, which can start even seconds after you create it!
- Install a performance plugin like W3 Total Cache (https://wordpress.org/plugins/w3-total-cache/). You don't need to go into the advanced settings, even the initial configuration should do its job.
- Start writing! Don't forget to add several nice articles to your website. Take an extra step and don't leave it as a default WordPress installation.
Thank you for your attention. If you made it so far, you finally have your very own website. Congratulations!