When you start to embark on the process of your art there is no more organic process than to create some doodle art. Think about it, when you’re on the phone at work with someone what do you do with your hands, you doodle with a pen. When you are sitting in class listening to a lecture you will doodle in the margins of your notes. Also, many parents doodle designs on the bags of their children’s lunches before sending them off to school. Doodling is so popular that there are entire apps that revolve around doodling clues. The exciting thing about doodling is the ability to be able to turn these doodles into pieces of art.
So we partnered up with theinkedmink to teach you how...
Decide On Your Inspiration

There is nothing quite so majestic as a tree, and this is one of the easiest creations to doodle. When you start this process you need to find the type of tree that you wish to draw. You can look up images on Google, look in your backyard, or look at photographs that you have laying around. No matter what your source of inspiration, you are sure to find a tree in some shape of fashion. It doesn’t matter what you pick as long as it speaks to you. Before you start any project you want to be sure that you are invested in it. There is no worse feeling that drawing something that you do not enjoy because this is a painful process. So, pick something that you can get super excited about and then put your pencil to paper.
Start Your Sketch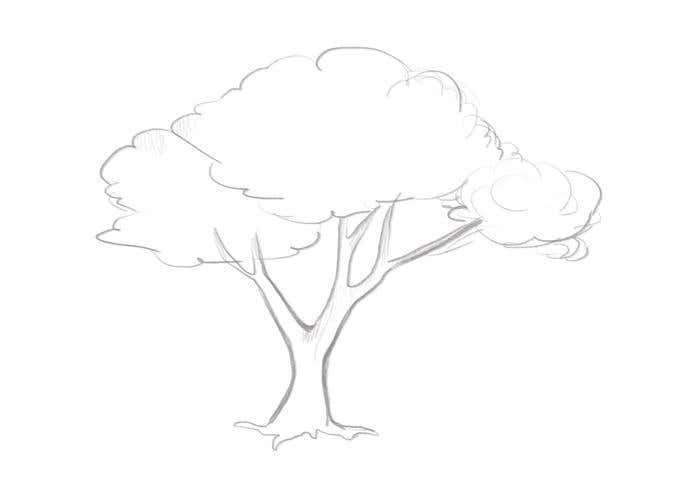
Now that you have a tree that you would like to sketch you can start to make the initial outline. Look at the tree and outline the outside shape, you do not have to get specific about the branches and leaves. It’s good practice to find normal shapes in nature and use those to sketch. For example, if your tree looks like a large oval on a rectangular trunk, then you should draw a huge oval on a rectangle. This is only the initial sketch, and over the next few steps you will flesh out the details but they will still stay confined within this original shape. Make sure that everything that you draw is in light pencil so that you can erase and make changes along the rest of the drawing.
Drawing the Trunk
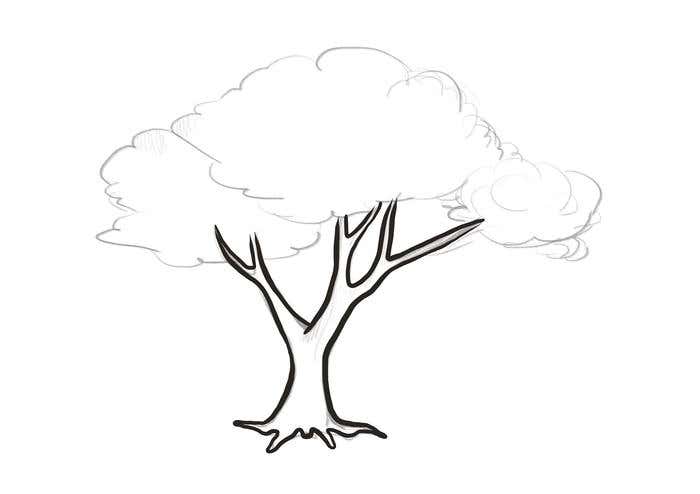
When you start this process you want to use a clean and thick line to draw the trunk. This is going to be a focal point of your drawing so it is important that you get the angle correctly.
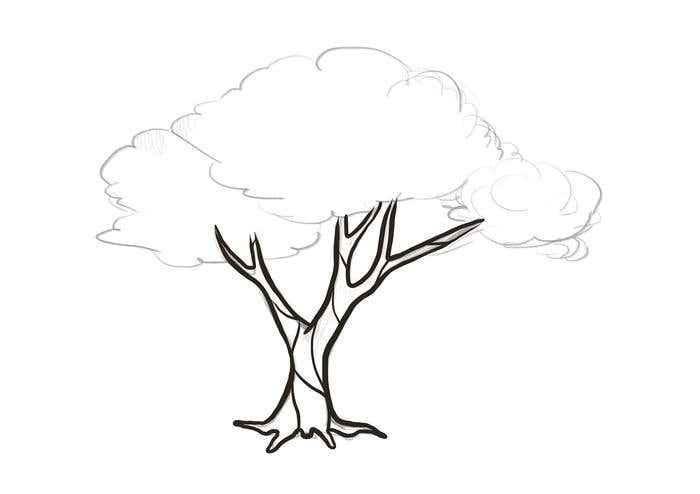
Now that you have the thick outline, you are going to divide the rest of the trunk into sections. With thick strokes you will add details to each section of the trunk. Remember, the amount of detail you put into a drawing is what brings it to life. You want the viewer to see your tree and connect with it, and the more lines and nuances that you add the more realistic that it will appear.
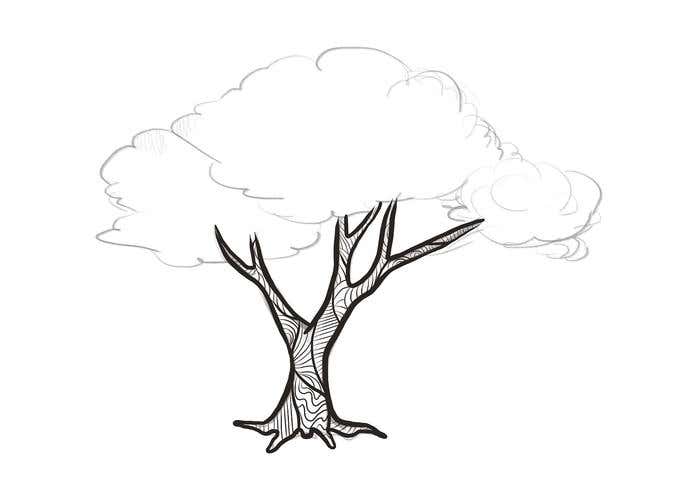
Branching Out
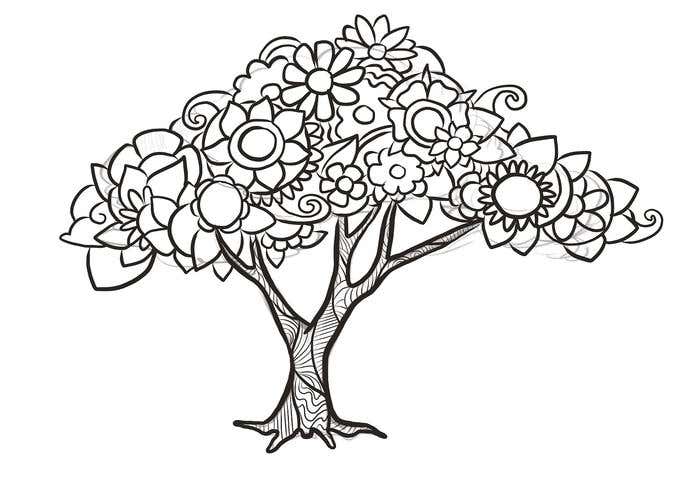
Now that you have given the trunk details you can start to focus on the branches. Start at the very top of the tree, also referred to as the crown, and start moving along adding your leaves. You will start to add whatever designs you like, whether it be something that naturally goes on the tree or some design. You can also start by building your framework through the branches. Once you draw a branch you can enhance it with placement of the leaves. Remember, all throughout this drawing of a tree you are adding onto it and making it better. You are layering details upon details so that your audience immediately understands that the image they are looking at is a tree.
Adding Details

Now that you have drawn the crown of your tree you can add additional details. There are many trees that have flowers, and this is the design that we are adding next.
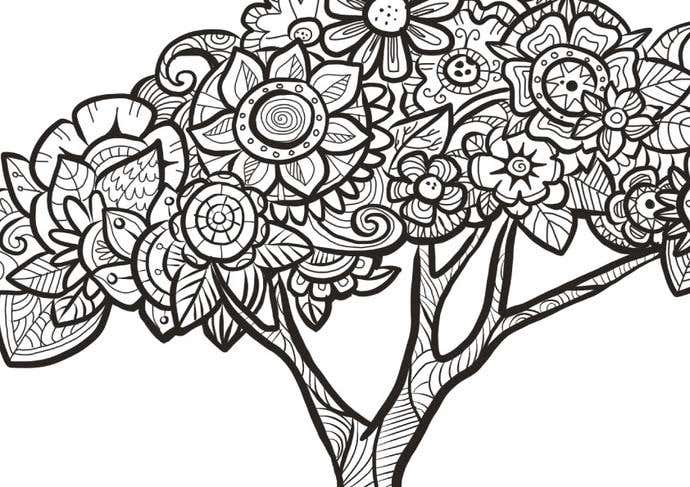
Use small lines to create this floral patterns across the crown of this tree originally, and then you can use a darker line when you go back over your work. Remember, playing with the thickness of the lines will make your drawing lively and playful. You always want to draw darker lines around the border to make designs more defined and dramatic. The smaller, and more delicate details, that you draw on the inside should be thin lines. You draw everything with pencil to start with in case you make any mistake, and so you can add more details if necessary. There are some artists that draw solely in pen, and there might be one day when you feel comfortable enough to do that.
Final Touches
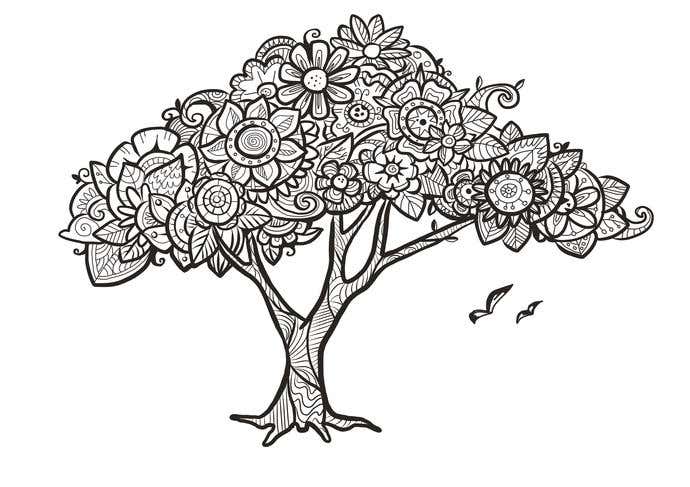
Now is the time for you to look over your tree to see if you want to add or take anything away. This is a tricky time as an artist because you might want to transform your piece, but it is already perfect like it is. Remember to edit your choices because most artists regret last minute decisions to completely change their pieces. With this tree, there are so many intricate details that it would not make sense to add any more detailing. In fact, this could be a time when you chose to erase some minor details. Now that you have drawn all of your details, you are ready to take your next step.
Coloring Your Tree
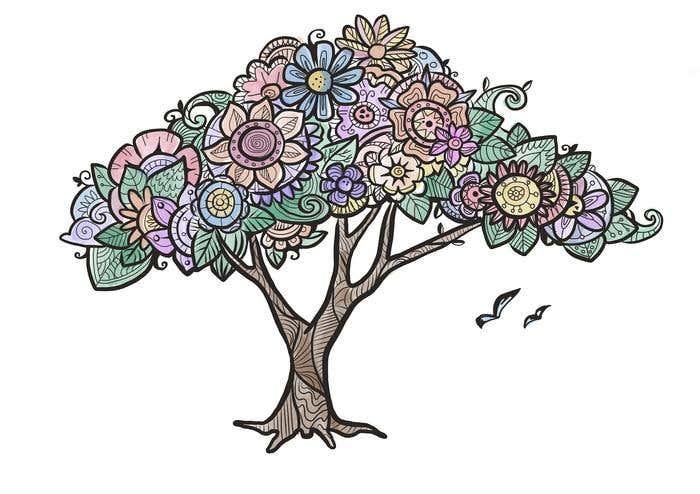
You have designed a beautiful tree that is filled with a lot of details that can be better viewed through color. There are some artists that stay away from colors and choose to draw in grayscale, but color can be fun with this type of design. Remember that you do not want to distract from the shape of the flowers, so the best thing to do is to have a theme. Decide on what color you want to fill in the flowers, and make sure that they pop across the entire design. You don’t want to do too much color because it will be busy and not catch the viewers’ attention in the right way. Also, you can choose to only color certain parts so that the picture largely remains in black and white with just a little bit of an accent color.
Now you have created a tree and you should be proud of yourself. It is up to you to decide how traditional or artistic your tree will be. Maybe you want your tree to be minimalistic, but most people enjoy adding extra details to enhance their image. When you color very specific parts of a drawing or painting this is known as accent coloring. It can be incredibly effective in making your piece more artistic, and giving a different view to your public.
Drawing a tree may not seem all that exciting, but it is the effort that you put into it. When you start these projects you should be excited about your end result, and you will never be upset with the finished product. The more that you practice, the better that you get, and the more amazing your drawings will become. Just remember to pick something that you are inspired by, and then let your hands and brain do all of the work. At the end of the process, you will have a tree that is in your style and completely fits your taste.
Want To Turn Your Doodle Art Into Something BIGGER?
It's easier than you think!
Simply post a project and you'll start to receive bids within minutes. Freelancer.com houses thousands of the best graphic design talent worldwide, so you can bring your awesome doodles to life.