I'm back with my journal tutorials for Photoshop. I didn't post any new journal tutorial in a while. Anyway, my previous tutorial you can check here. I'll describe some Photoshop basics for everyone who try to learn to use Photoshop. So in this article you'll find tutorials: Tilt-Shift, Customizing brush 2, Lens Flare, Mask Tool,.
If you wish to see images in full resolution then simply click on the images below (they are big 1920 x 1080 px). I used Photoshop CC here, so some things may be different in lower PS versions. But most of things may be the same in all PS versions. I'll make even more tutorials like this, so stay tuned. And if you like it, then you can fav this article. Thank you and enjoy. I hope it's helpful. More tutorials by me you can see in feature below.
If you wish to see images in full resolution then simply click on the images below (they are big 1920 x 1080 px). I used Photoshop CC here, so some things may be different in lower PS versions. But most of things may be the same in all PS versions. I'll make even more tutorials like this, so stay tuned. And if you like it, then you can fav this article. Thank you and enjoy. I hope it's helpful. More tutorials by me you can see in feature below.
BLUR GALLERY - TILT-SHIFT
Above you can see small introduction into Blur Gallery in new Photoshop CC. Photoshop CS6 also have few blur options as new CC, but in CC there are even more blur effects... and of course options. Tilt-Shift option you can find in CC and CS6...and I'll explain it in this tutorial.
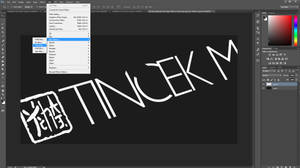
I decided to show Tilt-Shift blur using my logo... I really like this blur because it imitates camera "focus" (like in macro photography) pretty well. I use it when I need to make focus differences like in this example above or in my drawings. On Image 1 I added my logo on new layer. So it was separated from grey background. I went to Filter/ Blur Gallery/ Tilt-Shift for this blur (in CS6 you probably have this blur under Blur menu).
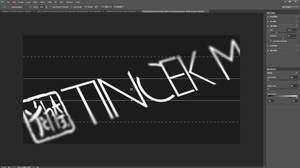
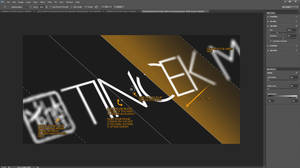
When the Blur menu will show then you'll see it like on Image 2. You can move and rotate the blur lines... on Image 3 I described that process. In the middle you can see small circle. If you move line in the circle left or right you will change Blur radius/ strength. Un-blurred part will be to the first line (full line...not striped line). From the full to the striped line you'll have fading part. From the 0% of blur and to the blur % which you set. You can move and rotate it under angles/ length which you wish. Below striped part you'll have fully blurred image.
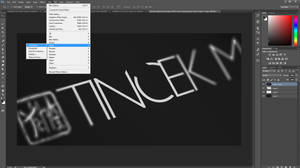
And when I applied blur effect to the logo I usually edit it a bit, so that it would look like it was photographed on a flat surface. I add dark gradients with Gradient tool and I use Multiply layer mode. Lighter parts I add with white color on Overlay layer mode. For the end I add a little bit of noise (under Filter/ Noise/ Add Noise...). You can see that on Image 4. The end result you can see on Image 5.
CUSTOMIZING BRUSH 2
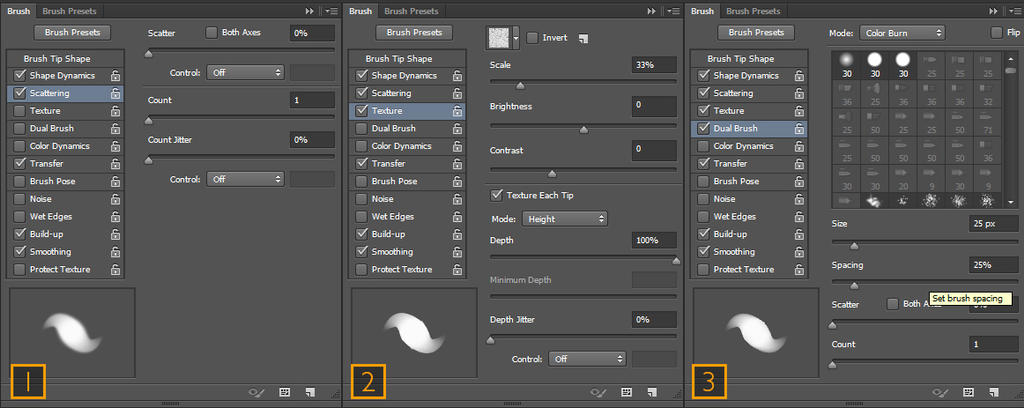
And here is another part of brush customization. First part you were able to read in my previous tutorial here. On the first part on the image above you can edit you brush Scattering. That comes pretty useful if you try to make a brush for the stars, leaves, textures...and so on. So your brush will be scattered across your canvas. You can also edit Scatter Count if you wish to have more density.
On the second part on the image you can edit Texture. You can add texture on your brush if you wish...you can edit textures when you click on Image at the top of the tool. You can also import your own texture.
And on the last part of the image you can add Dual brush. For example...when you edit your own brush add all effects which you wanted and then if you want shape, texture...or something else...you can add second brush. So your brush will be combined with other one.
LENS FLARE
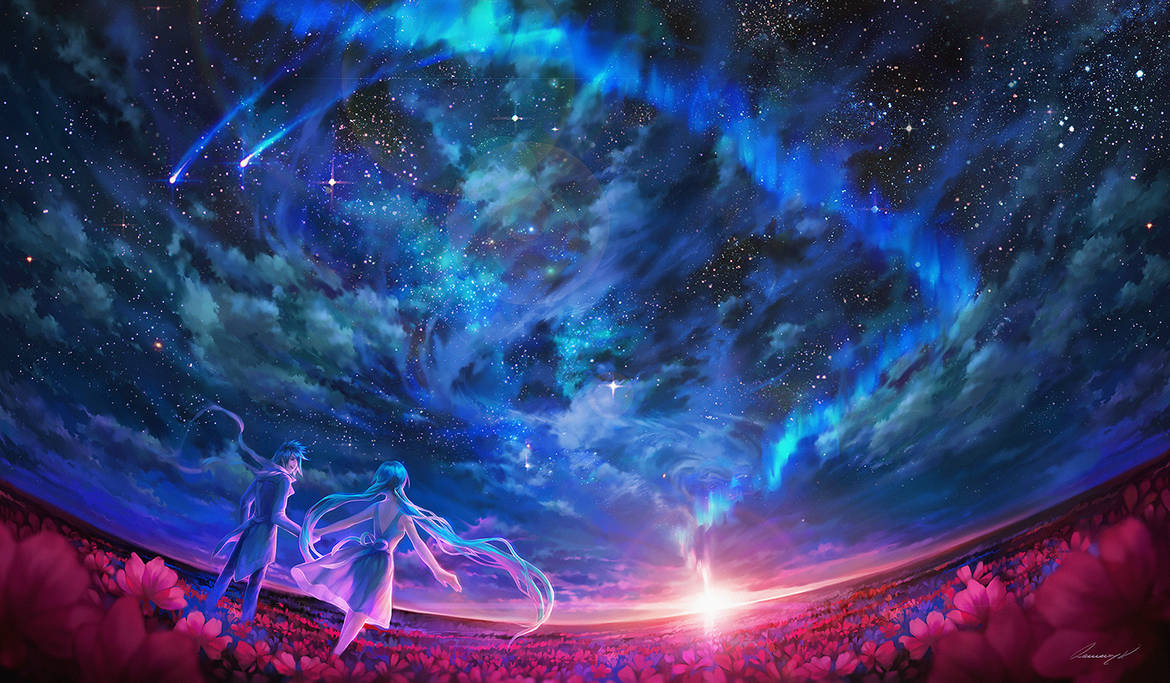
I add Lens Flare Effect on my drawings a lot. Usually when there's strong light...and on landscapes. I used one of my drawings above so I demonstrated that effect. Go to Filter/ Render/ Lens Flare... There you'll see 4 different effects which you can apply. First one is 50-300mm Zoom. I use this one the most. It's not too bright and it have more colors. When I add Lens Flares I usually put Opacity around 50-60% so that it won't be too bright. Second one is 35mm Prime. It's similar as first one, only that it doesn't have "rainbow" like flare and it's brighter. Third one is 105mm Prime. I never use this one...well, it's really bright and you can hardly see lens flares in this one. The last one is Movie Prime. This is the second flare which I use the most. It have sharp horizontal and tilted lines and it's not too bright. You'll see small + sign on the center and move it to the side of image where you want to apply effect.
In the latest finished image above I used 50-300mm Zoom and Movie Prime Lens Flare. I usually have more layers when I add effects like these, so I erase some parts which I don't need.
In the latest finished image above I used 50-300mm Zoom and Movie Prime Lens Flare. I usually have more layers when I add effects like these, so I erase some parts which I don't need.
MASK TOOL - LAYER MASK
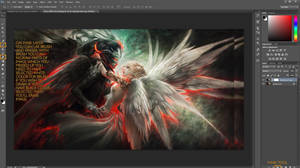
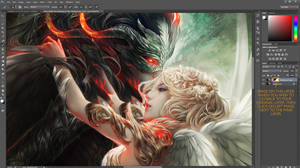
Next lesson is using Mask tool (Also Layer Mask). You can use it when you erase a lot... and when you mess up something then you realise that you can't use Undo that much. On Mask layer you can erase and redraw the same image. You can use only 2 colors there...black and white. With white color you can redraw the image. If you use black color then Brush will act like an eraser. You'll erase your image then. I explained that on Image 1. When you wish to use Mask layer on selected layer, then click on icon below, as I showed on image. A new white layer will appear next to the layer image.
I decided to move angel a little left. So I used mask tool and erased all parts around her which I didn't need. See that on Image 2. Striped lines are marking the image...everything around striped lines is erased.
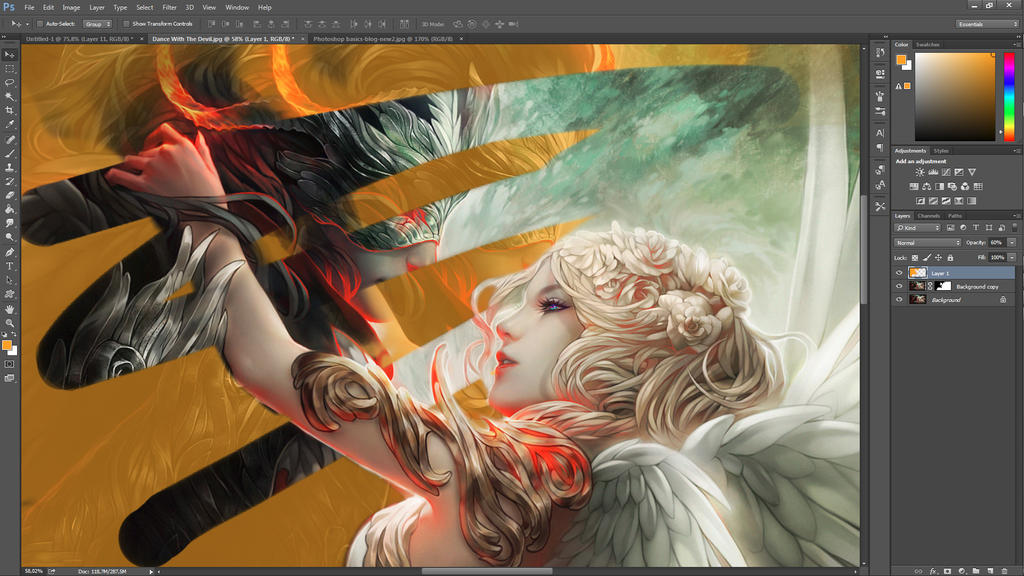
On the last image I simply made some random brush strokes. I used Brush tool and white color on the Mask layer. Everything what's marked with yellow color is erased. You can see that when I used Brush tool that image became visible again...even that I erased it. Click on layer image, next to the Mask layer when you wish to draw or edit original layer.
Coding by SimplySilent
