Use the Image Compare block to place two images side by side (or above and below) and use a slider to reveal differences between the two images. Here’s an example:

In this guide
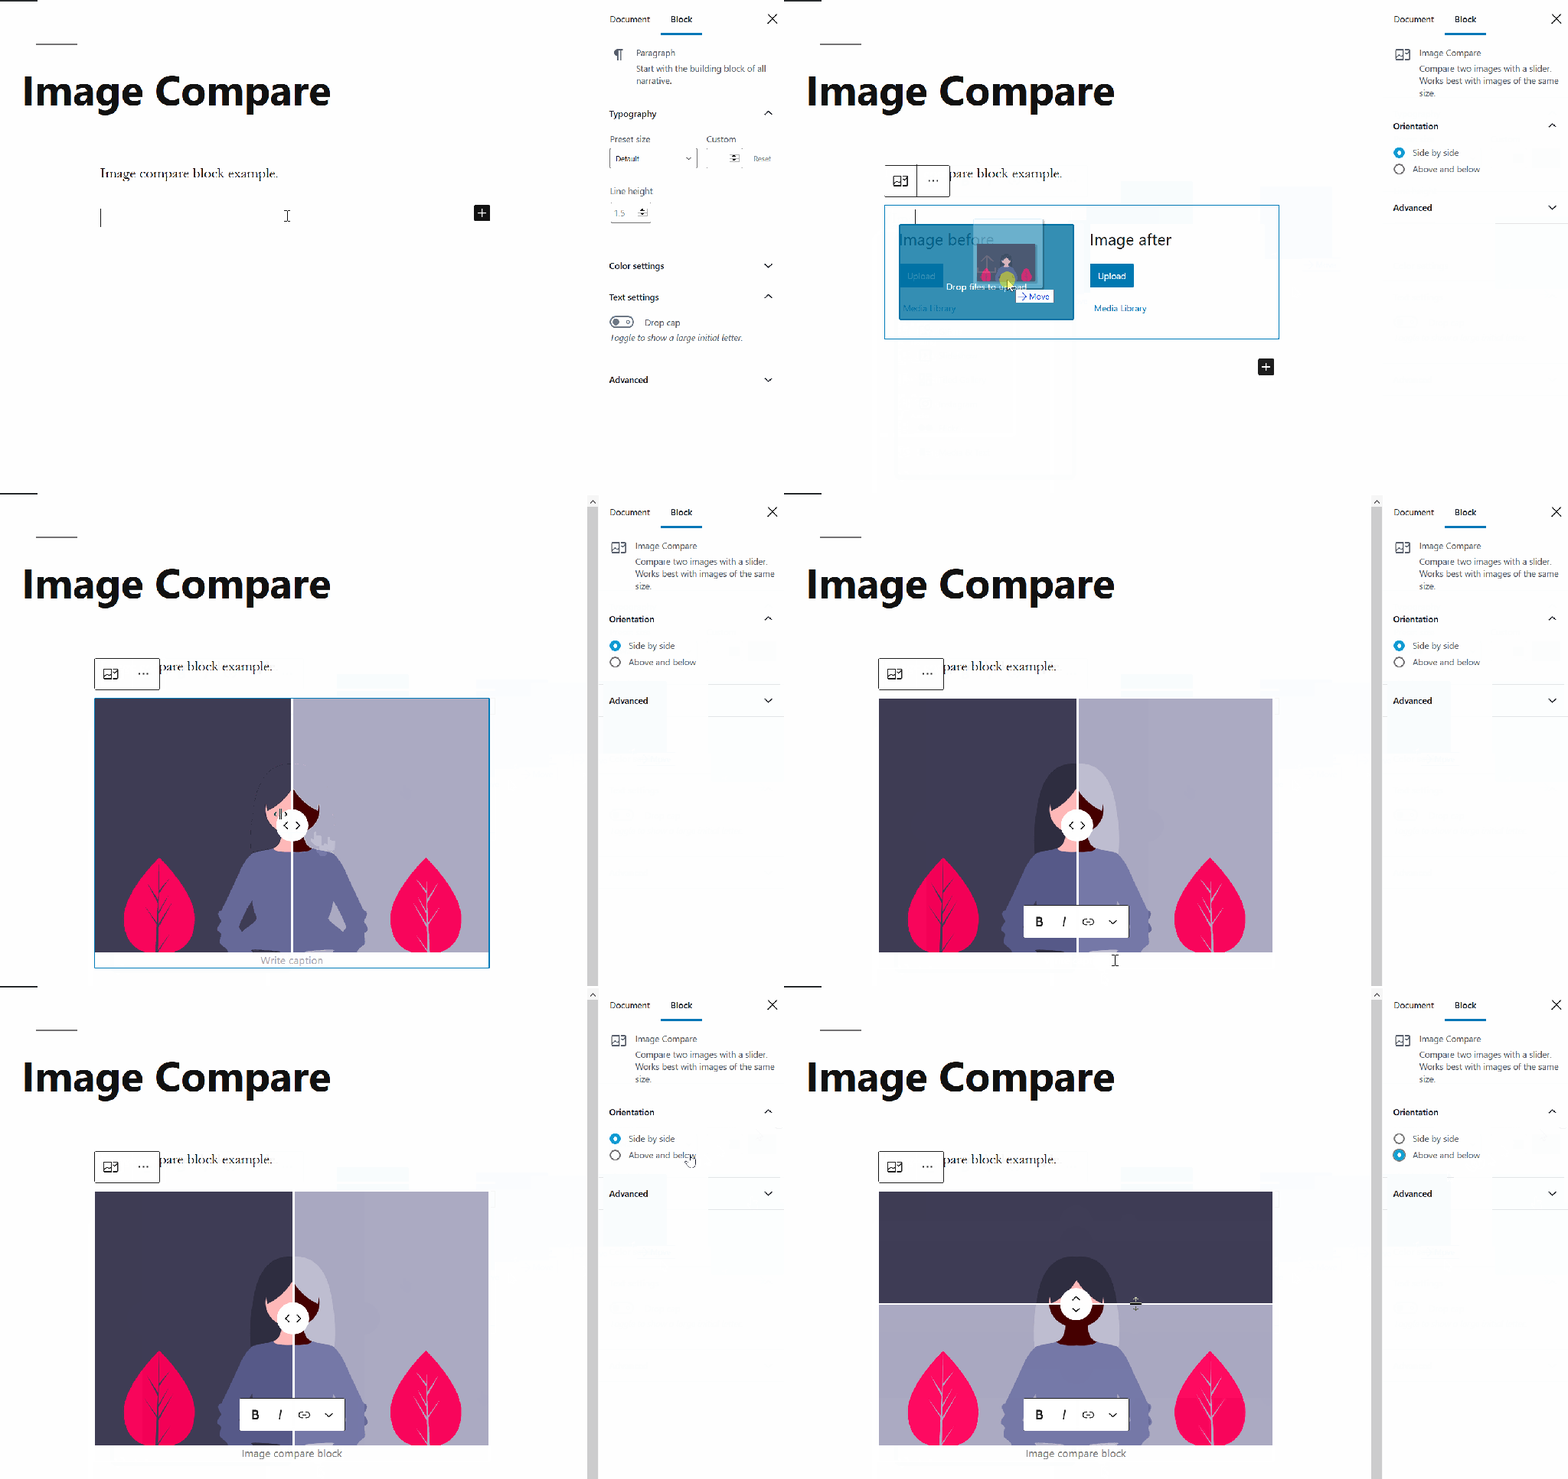
To add an Image Compare block, click on the block inserter icon to open the block library and select the Image Compare block.
Check out our detailed instructions on how to add content using blocks.
💡
The block works best with two images of the same width and height.
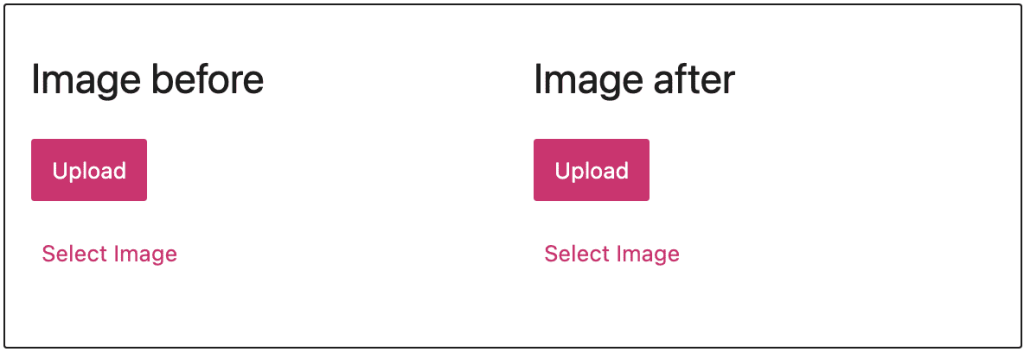
You can drag and drop images to the block for both the before and after locations. You can also choose from the following options:
- Upload: Choose an image from your computer or device to add to your site. See supported file types.
- Select image: Choose an image from:
- Existing images in your site’s Media.
- Your phone, via the Jetpack Mobile App.
- Your Google Photos account.
- The Pexels Free Photo library.
- The Openverse library of free photos.
You can add a caption to the block after uploading your images.
If you wish to change the images or the order, you can delete the block and start over.
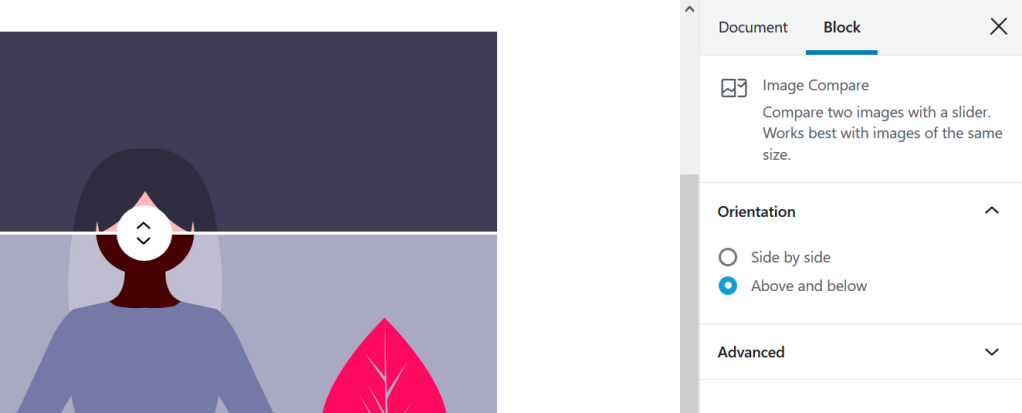
When you select a block, you will find additional block settings in the right sidebar. If you do not see the sidebar, you may need to click the Settings icon in the top-right corner to bring up the settings. This icon looks like a square with two uneven columns:

Using the orientation settings, you can switch the orientation from side by side to above and below:
For more, visit our detailed instructions on Advanced settings.
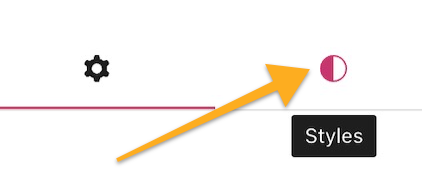
Click on the Styles icon to access additional design settings for the block.
For more, visit our detailed instructions on Typography Settings.