
Creare, modificare ed eliminare le playlist in Apple Music su Windows
Puoi creare playlist adatte a determinati stati d’animo oppure organizzare i brani in base a un determinato tema.
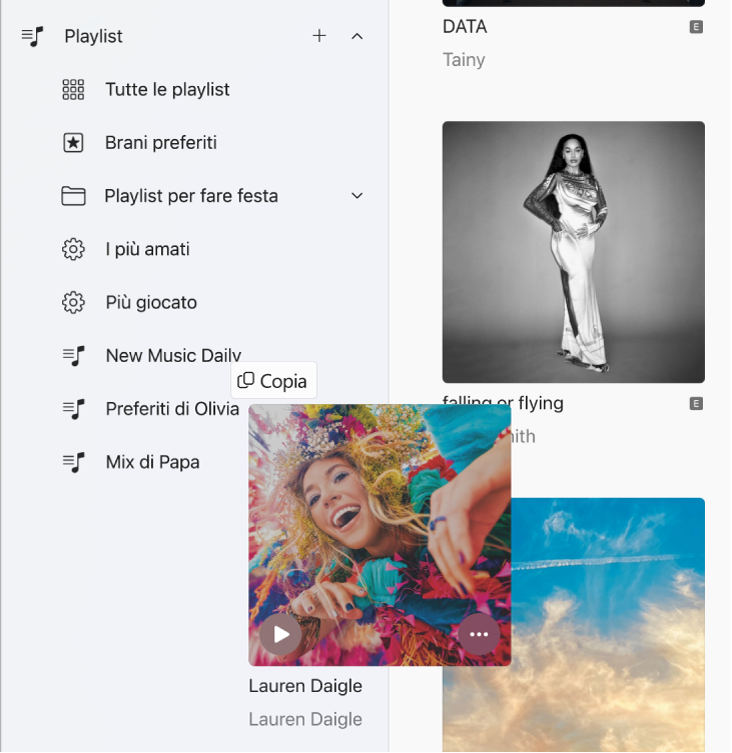
Accanto alle playlist che crei viene visualizzata l’icona Playlist ![]() .
.
Puoi anche creare una playlist smart che si aggiorna automaticamente in base ai criteri che scegli.
Nota: Apple Music non è disponibile in tutti i paesi o regioni. Consulta l’articolo del supporto Apple Disponibilità dei Servizi Multimediali Apple.
Creare una playlist vuota
Nell’app Apple Music
sul tuo computer Windows, seleziona il pulsante Aggiungi  accanto a Playlist nella barra laterale, quindi seleziona “Nuova playlist”.
Inserisci un titolo per la playlist, quindi esegui una qualsiasi delle seguenti operazioni (facoltativo):
Sopra il titolo, seleziona il pulsante Aggiungi
 per aggiungere un’illustrazione alla playlist, quindi scegli un file di immagine o un elemento dalla libreria di foto.
Sotto il titolo, inserisci una descrizione per la playlist.
Seleziona “Mostra sul mio profilo e in Cerca” per condividere la playlist nel tuo profilo di Apple Music. Consulta Scegliere la musica da condividere con chi ti segue.
Seleziona Crea.
Aggiungere elementi a una playlist
Nell’app Apple Music
sul tuo computer Windows, seleziona Home, Sfoglia o qualsiasi altra opzione sotto Libreria nella barra laterale per visualizzare i brani che desideri aggiungere alla playlist.Per aggiungere un elemento a una playlist, esegui una delle seguenti operazioni:
Da qualsiasi punto nella libreria musicale, trascina un elemento nella playlist nella barra laterale.
Seleziona il pulsante Altro
 per un brano o un album, seleziona “Aggiungi alla playlist”, quindi scegli la playlist che desideri.
Nella playlist, scorri verso il basso fino a “Brani suggeriti”, quindi seleziona il pulsante Aggiungi
 .
.Se vuoi ascoltare un’anteprima del brano, seleziona il pulsante Riproduci
 sulla copertina dell’album. In alternativa, se vuoi visualizzare più suggerimenti, seleziona Aggiorna.
Suggerimento: per aggiungere brani a una playlist senza però aggiungerli alla tua libreria, seleziona il pulsante “Azioni barra laterale” ![]() , in alto, rispetto alla barra laterale, seleziona Avanzate, quindi disattiva “Aggiungi i brani alla libreria quando li aggiungi alle playlist”.
, in alto, rispetto alla barra laterale, seleziona Avanzate, quindi disattiva “Aggiungi i brani alla libreria quando li aggiungi alle playlist”.
Creare una playlist con brani
Nell’app Apple Music
sul tuo computer Windows, seleziona Home, Sfoglia o qualsiasi altra opzione sotto Libreria nella barra laterale per visualizzare i brani che desideri aggiungere alla playlist.Seleziona uno o più brani, quindi esegui una delle seguenti operazioni:
Trascina i brani sulla barra laterale.
Seleziona il pulsante Altro
per un brano o un album, seleziona “Aggiungi alla playlist”, quindi seleziona “Nuova playlist”.
La nuova playlist viene visualizzata nella barra laterale, sotto Playlist.
Modificare una playlist
Nell’app Apple Music
sul tuo computer Windows, seleziona una playlist nella barra laterale.Esegui una delle seguenti azioni:
Rinominare la playlist: seleziona il pulsante Modifica
 , quindi inserisci un nuovo nome.
Modificare l’illustrazione: seleziona il pulsante Modifica
, quindi scegli una copertina predefinita oppure seleziona il pulsante Aggiungi per aggiungerne una personalizzata.Mostrare (o nascondere) la playlist nel tuo profilo di Apple Music: seleziona il pulsante Modifica
, quindi seleziona (o deseleziona) “Mostra sul mio profilo e in Cerca”.Aggiungere un brano suggerito alla playlist: sotto “Brani suggeriti” (potrebbe essere necessario scorrere verso il basso), seleziona il pulsante Aggiungi
.Se vuoi ascoltare un’anteprima del brano, seleziona il pulsante Riproduci
sulla copertina dell’album. In alternativa, se vuoi visualizzare più suggerimenti, seleziona Aggiorna.Modificare l’ordine dei brani: seleziona il menu a comparsa Ordina
 nell’angolo in alto a destra, seleziona “Visualizza come”, quindi seleziona l’opzione che preferisci. Quando scegli di ordinare i tuoi contenuti per playlist, puoi riordinare i brani trascinandoli.
Rimuovere un elemento: seleziona il pulsante Altro
per un brano o un album, quindi seleziona “Rimuovi dalla playlist”. Opzionalmente, puoi anche selezionare l’elemento e premere il tasto “Ritorno unitario”.Se il brano eliminato è già presente nella libreria, rimuovendolo da una playlist non lo rimuoverai dalla libreria o dal dispositivo di archiviazione.
Eliminare una playlist
Se elimini una playlist, i brani nella playlist rimangono salvati nella libreria musicale e sul computer.
Nell’app Apple Music
sul tuo computer Windows, seleziona una playlist nella barra laterale, quindi esegui una delle azioni di seguito.Premi il tasto “Ritorno unitario”.
Seleziona il pulsante Altro
per la playlist (a destra), quindi seleziona “Elimina dalla libreria”.
Seleziona Elimina per confermare.
Oltre alle playlist che crei, esistono playlist create dai collaboratori di Apple Music. Consulta Aggiungere e scaricare musica.