Create a custom amp model in GarageBand on Mac
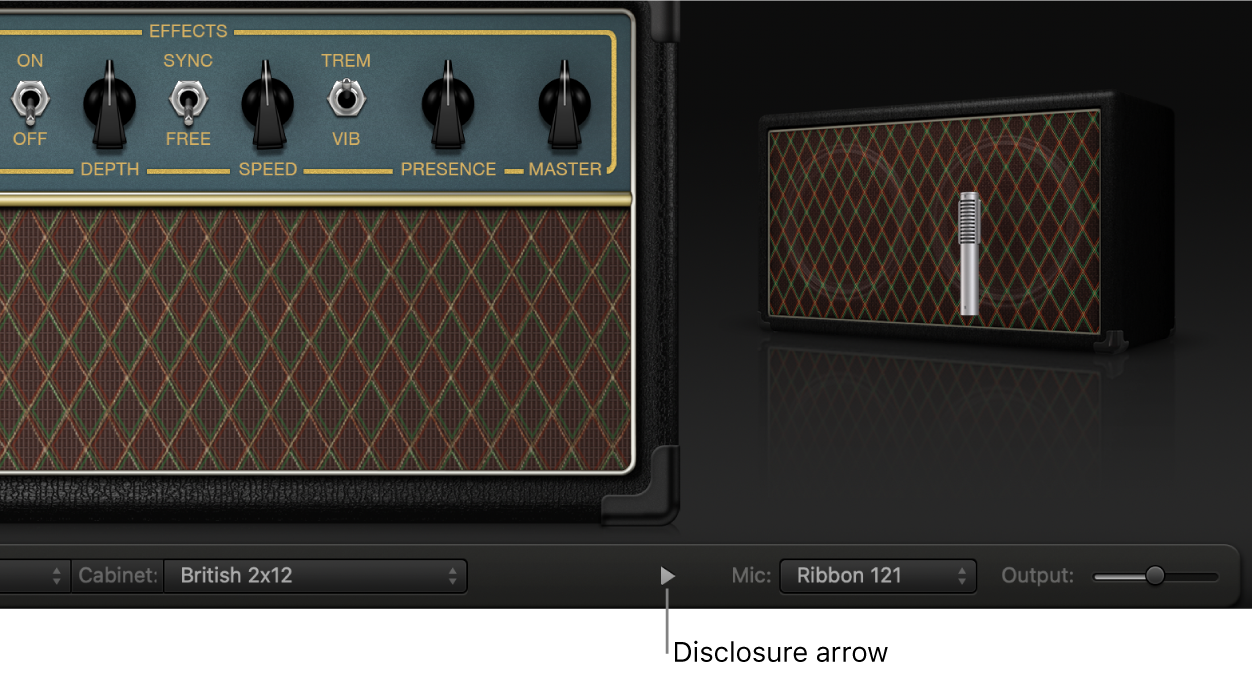
You create your own amp model using the Amp, Cabinet and Mic pop-up menus, located in the black bar at the bottom of the interface, as well as the EQ pop-up menu, which you open by clicking the word EQ or Custom EQ above the knobs in the left part of the knobs section.
Note: After you create your own custom amp model, you can save it in the Library.
Choose an amplifier
Choose an amplifier that provides the tone you want. For brief descriptions of each amplifier type, see Choose an amp model in GarageBand on Mac.
Choose a cabinet
Certain amplifier and cabinet pairings have been popular for decades, but departing from them can be an effective way to create fresh-sounding tones. For example, most players associate British heads with 4x12 cabinets. Amp Designer lets you drive a small speaker with a powerful head, or pair a tiny amp with a 4x12 cabinet. You can experiment with different amplifier and cabinet combinations chosen from the Amp and Cabinet pop-up menus.
Choose a speaker cabinet to use with the current amplifier. Use the following considerations to guide your decision:
Combos or Stacks: Combo amps include both an amplifier and speakers in a single enclosure. These usually have an open back, so the sound resonates in multiple directions. The resulting sound is open — with bright, airy highs and a spacious sound. Stacks consist of an amplifier head, with the speakers in a separate cabinet. These cabinets generally have a closed back and project the sound forwards in a tight, focused beam. They tend to sound more powerful than open-back cabinets, and typically have a tighter low-end response at the expense of some high-end transparency.
Old or New Speakers: Amp Designer models based on vintage cabinets capture the character of aged speakers. These may be a bit looser and duller sounding than new speakers, but many players prefer them for their smoothness and musicality. Sounds based on new cabinets tend to have more snap and bite.
Large Speakers or Small Speakers: A larger speaker doesn’t guarantee a larger sound. In fact, the most popular bass guitar cabinet in history uses 8-inch speakers. You can often get a deeper, richer tone from a 10-inch speaker than from a large 4x12 cabinet. Try several sizes and choose the one that works best for your music.
Single Speakers or Multiple Speakers: Guitarists typically choose cabinets with multiple speakers for their big sound. The number of speakers is less important than it may appear. Phase cancellations occur between the speakers, adding texture and interest to the tone. Much of the “classic rock” sound, for example, is due to tonal peaks and dips caused by interactions between the speakers in a 4x12 cabinet.
Choose an EQ type
Click the word EQ or CUSTOM EQ above the Bass, Mids and Treble knobs to open the EQ pop-up menu, then choose an EQ model.
Rotate the Bass, Mids and Treble knobs to adjust the EQ model you choose.
Choose and place the microphone
Choose a microphone model to capture the output of your amp and cabinet.
Condenser models: Emulate the sound of high-end studio condenser microphones. The sound of condenser microphones is fine, transparent and well balanced. Choose Condenser 87 or Condenser 414.
Dynamic models: Emulate the sound of popular dynamic cardioid microphones. Dynamic microphones sound brighter and more cutting than Condenser models. The mid-range is boosted, with softer lower-mid frequencies, making dynamic microphones a good choice for rock guitar tones, especially if you want guitars to cut through other tracks in a mix. Choose Dynamic 20, Dynamic 57, Dynamic 421 or Dynamic 609.
Ribbon 121: Emulates the sound of a ribbon microphone. A ribbon microphone is a type of dynamic microphone that captures a sound often described as bright or brittle, yet still warm. It is useful for rock, crunch and clean tones.
Move the pointer directly below the cabinet graphic on the right side of the Amp Designer window.
A grid appears, with a white dot indicating the microphone position.
Drag the white dot in the cabinet graphic to set the microphone position.
Show the microphone selection and position controls
Window size: Click the disclosure arrow to switch between the full and compact Amp Designer windows.

In the small window you can still access all Amp Designer settings, except microphone selection and position.

To switch back to the full window, click the disclosure arrow next to the Output field.