Logic Pro User Guide for iPad
- What’s new in Logic Pro 1.1
-
- What is Logic Pro?
- Working areas
- Work with function buttons
- Work with numeric values
-
- Intro to tracks
- Create tracks
- Create tracks using drag and drop
- Choose the default region type for a software instrument track
- Select tracks
- Duplicate tracks
- Reorder tracks
- Rename tracks
- Change track icons
- Change track colors
- Use the tuner on an audio track
- Show the output track in the Tracks area
- Delete tracks
- Edit track parameters
- Start a Logic Pro subscription
- How to get help
-
- Intro to recording
-
- Before recording software instruments
- Record software instruments
- Record additional software instrument takes
- Record to multiple software instrument tracks
- Record multiple MIDI devices to multiple tracks
- Record software instruments and audio simultaneously
- Merge software instrument recordings
- Spot erase software instrument recordings
- Replace software instrument recordings
- Capture your most recent MIDI performance
- Use the metronome
- Use the count-in
-
- Intro to arranging
-
- Intro to regions
- Select regions
- Cut, copy, and paste regions
- Move regions
- Remove gaps between regions
- Delay region playback
- Trim regions
- Loop regions
- Repeat regions
- Mute regions
- Split and join regions
- Stretch regions
- Separate a MIDI region by note pitch
- Bounce regions in place
- Change the gain of audio regions
- Create regions in the Tracks area
- Convert a MIDI region to a Drummer region or a pattern region
- Rename regions
- Change the color of regions
- Delete regions
- Create fades on audio regions
- Access mixing functions using the Fader
-
- Intro to Step Sequencer
- Use Step Sequencer with Drum Machine Designer
- Record Step Sequencer patterns live
- Step record Step Sequencer patterns
- Load and save patterns
- Modify pattern playback
- Edit steps
- Edit rows
- Edit Step Sequencer pattern, row, and step settings in the inspector
- Customize Step Sequencer
-
- Effect plug-ins overview
-
- Instrument plug-ins overview
-
- ES2 overview
- Interface overview
-
- Modulation overview
-
- Vector Envelope overview
- Use Vector Envelope points
- Use Vector Envelope solo and sustain points
- Set Vector Envelope segment times
- Vector Envelope XY pad controls
- Vector Envelope Actions menu
- Vector Envelope loop controls
- Vector Envelope release phase behavior
- Vector Envelope point transition shapes
- Use Vector Envelope time scaling
- Use the Mod Pad
- Modulation source reference
- Via modulation source reference
-
- Sample Alchemy overview
- Interface overview
- Add source material
- Save a preset
- Edit mode
- Play modes
- Source overview
- Synthesis modes
- Granular controls
- Additive effects
- Additive effect controls
- Spectral effect
- Spectral effect controls
- Filter module
- Low and highpass filter
- Comb PM filter
- Downsampler filter
- FM filter
- Envelope generators
- Mod Matrix
- Modulation routing
- Motion mode
- Trim mode
- More menu
- Sampler
- Copyright
EVOC 20 Filterbank Formant Filter in Logic Pro for iPad
The parameters discussed in this section provide precise level and frequency control of the filters.

Filter Bank Settings parameters
Bands knob and field: Set the number of active frequency bands—up to 20—in each filter bank.
 Low and High Frequency knobs: Determine the lowest and highest frequencies allowed to pass by the filter banks. Frequencies that fall outside these boundaries are cut.
Low Band Mode buttons: Switch the lowest filter band between bandpass or highpass mode. In bandpass mode, the frequencies above and below the lowest band are ignored. In highpass mode, all frequencies below the lowest band are filtered.
High Band Mode buttons: Switch the highest filter band between bandpass or lowpass mode. In bandpass mode, the frequencies above and below the highest band are ignored. In lowpass mode, all frequencies above the highest band are filtered.
Resonance knob and field: Determine the basic sonic character of both filter banks. High Resonance settings emphasize the center frequency of each band and result in a sharper, brighter character. Low settings result in a softer character.
Slope buttons: Choose the amount of filter attenuation applied to all filters in both filter banks. You can choose 1, which sounds softer at 6 dB/octave, or 2, which sounds brighter at 12 dB/octave.
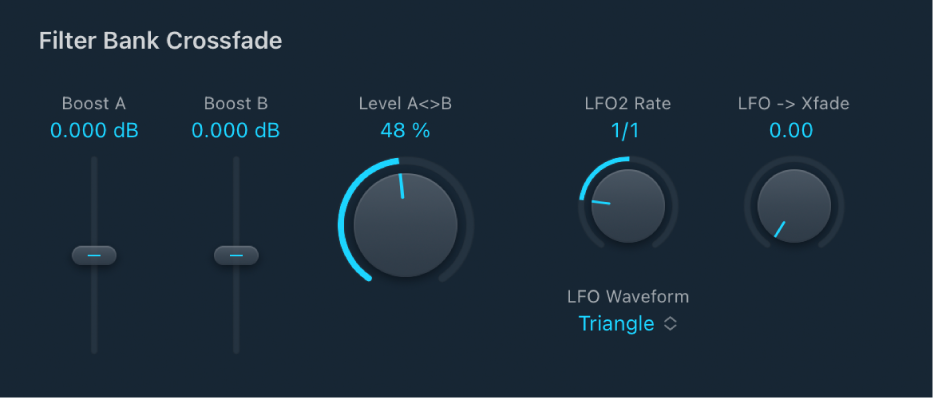
Filter Bank Crossfade parameters

Boost A and Boost B sliders and fields: Set the amount of boost or cut applied to the frequency bands in filter bank A or B. You can use these controls to compensate for the reduction in volume caused by lowering the level of one or more bands. If you use Boost A and Boost B to set the mix relationship between filter bank levels, you can use Fade AB (see “Fade AB slider” below) to alter the tonal color, but not the levels.
Level A< >B knob and field: Crossfade between filter bank A and filter bank B. At the full left position, only bank A is audible, and at the rightmost position, only bank B is audible. In the center position, the signals passing through both banks are evenly mixed. This parameter can be modulated by LFO2. See Filter Bank Crossfade LFO2 parameters.
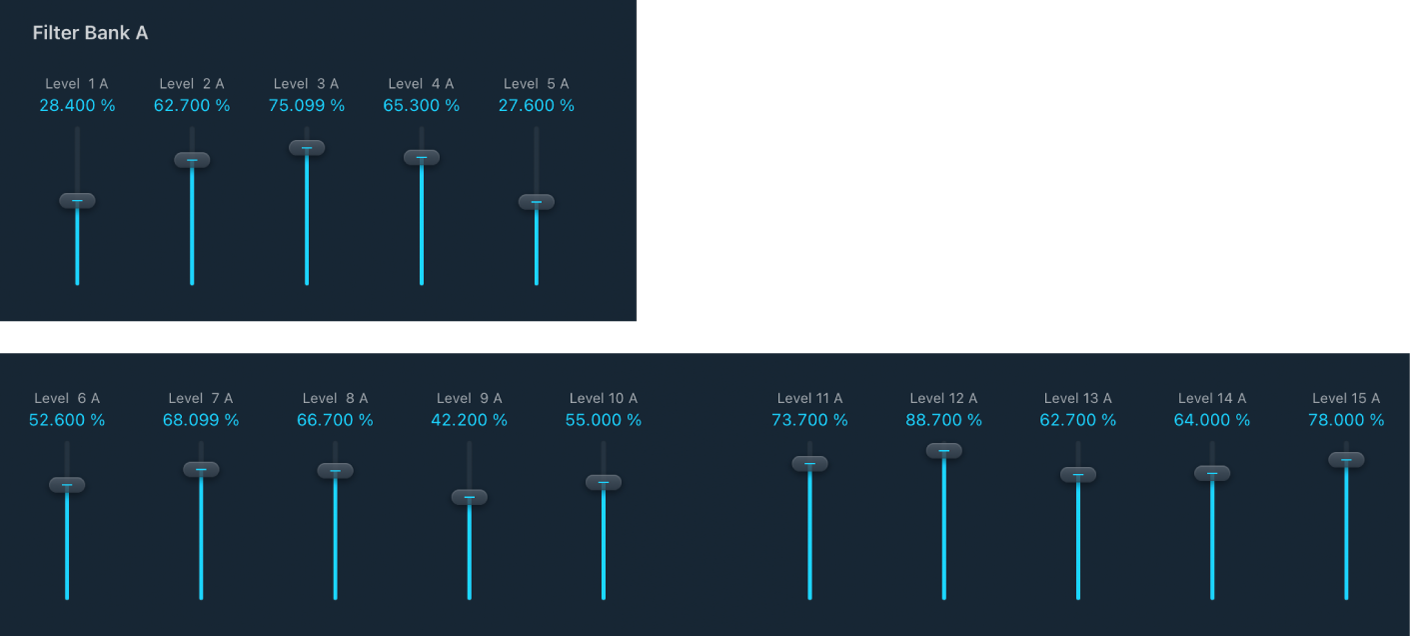
Filter Bank A/B sliders and fields: Set the level of each frequency band in filter bank A or filter bank B.
Note: All twenty bands of filter bank A and B are always visible, irrespective of the Bands knob value. When the Bands knob is set to a value below 20, both banks will have a corresponding number of active bands, enumerated from band 1 in each bank. All other visible bands above the defined Bands knob value are inactive in both banks and will not impact the audio signal.

Download this guide: PDF