Adjust a title’s layout in Final Cut Pro for iPad
After you add a title, you can change its alignment, spacing, position onscreen, rotation angle, and more. When a title has multiple layers of text (a headline plus a subhead, for example), you can modify these settings for each text layer separately.
Change the alignment and spacing of title text
You can modify the horizontal and vertical alignment of each text layer in a multilayer title clip.
In Final Cut Pro for iPad, open a project.
Tap a title clip in the timeline, then drag the playhead over the clip (to see the text in the viewer).
Do one of the following:
In the viewer, tap the title text you want to modify.
Tap Inspect in the lower-left corner of the screen, tap
 at the top of the inspector, then tap Text, Text 1, or Text 2 (under Text Layers).
In the Text tab
 of the inspector, do any of the following:
Adjust a title’s horizontal alignment: Under Alignment, tap a horizontal alignment button to select left, centered, right, or justified alignment.
Adjust a title’s vertical alignment: Under the horizontal alignment buttons, tap a vertical alignment button to select top, centered, or bottom alignment.
Adjust the spacing between lines (leading): When a text layer has more than one line of text, drag the Line Spacing dial. You can also tap the number field above the dial, then use the keypad to enter a new value.
Adjust the spacing between letters (tracking): Drag the Tracking slider. You can also tap the number field above the slider, then use the keypad to enter a new value.
Adjust a title’s baseline offset (bottom alignment of text): Drag the Baseline Offset dial. You can also tap the number field above the dial, then use the keypad to enter a new value.
When you’re finished, double-tap outside the text in the viewer, or tap
 at the top of the inspector.
To change the alignment or spacing of another layer of text, tap its name under Text Layers (Text 2, for example), then repeat steps 4 and 5.
Change the position of title text onscreen
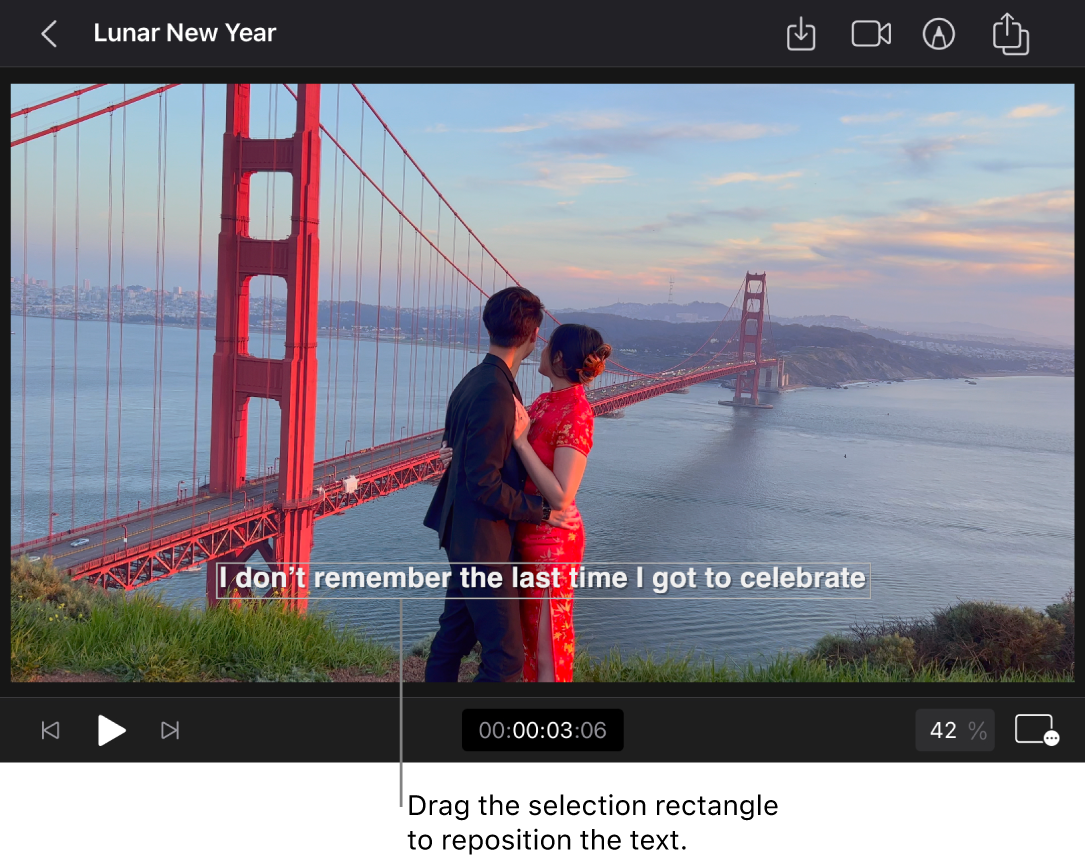
You can use transform controls to change the onscreen position of an entire title clip or of individual text layers in a multilayer title clip.
In Final Cut Pro for iPad, open a project.
Tap a title clip in the timeline, then drag the playhead over the clip (to see the text in the viewer).
Do one of the following:
Reposition the entire title clip: Tap Inspect in the lower-left corner of the screen, tap
 at the top of the inspector, then drag in the viewer. You can also tap the Position number field in the inspector and use the keypad to modify the title’s X (horizontal) or Y (vertical) position.
Reposition a single text layer in a multilayer title clip: In the viewer, tap the title text you want to modify, then drag it to a new location. You can also tap the text in the viewer, tap
 at the top of the inspector, tap a Position number field in the inspector, then use the keypad to change the text layer’s horizontal (X), vertical (Y), or front-to-back (Z) position.
When you’re finished, double-tap outside the text in the viewer, or tap
 at the top of the inspector.
Tip: You can also reposition a text layer by offsetting it from its anchor point. In the Text Transform tab ![]() , tap a number field under Offset, then use the keypad to set a horizontal (X), vertical (Y), or front-to-back (Z) offset from the text layer’s original anchor point.
, tap a number field under Offset, then use the keypad to set a horizontal (X), vertical (Y), or front-to-back (Z) offset from the text layer’s original anchor point.
Change a title’s scale
You can use transform controls to change the size of an entire title clip or of individual text layers in a multilayer title clip.
In Final Cut Pro for iPad, open a project.
Tap a title clip in the timeline, then drag the playhead over the clip (to see the text in the viewer).
Tap Inspect in the lower-left corner of the screen, then do one of the following:
Resize the entire title clip: Tap
 at the top of the inspector, make sure Lock Proportions is turned on in the inspector, then drag a purple handle in the viewer. You can also tap the Scale number field in the inspector and use the keypad to modify the title’s width and height.
Resize a single text layer in a multilayer title clip: Tap
 at the top of the inspector (if it’s not already selected), then tap Text, Text 1, or Text 2 (under Text Layers). Tap
  at the top of the inspector, make sure Lock Proportions is turned on, tap a Scale number field, then use the keypad to change the title’s horizontal (X), vertical (Y), and front-to-back (Z) scale. Tap
  at the top of the inspector when you’re finished.
Note: To distort the scale of a title in one direction, turn off Lock Proportions before you modify a scale value.
Change a title’s rotation angle
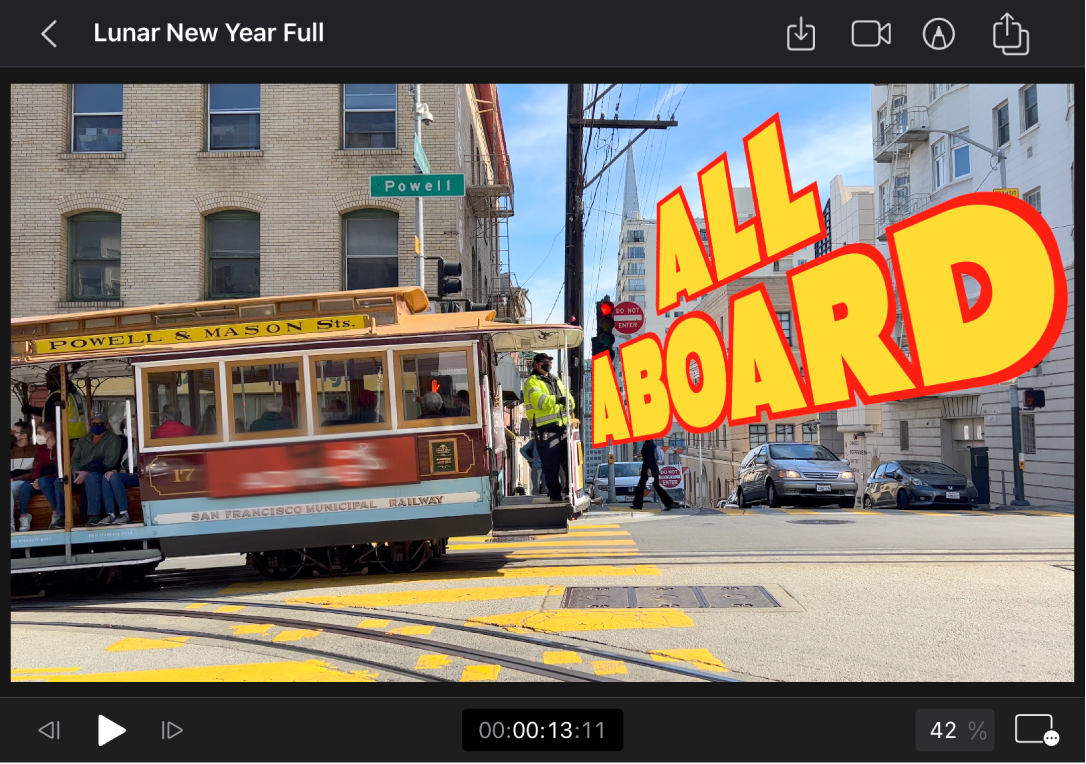
You can use transform controls to change the onscreen position of an entire title clip or of individual text layers in a multilayer title clip. You can create interesting perspective effects by changing a text layer’s rotation angle in three dimensions (X, Y, and Z).
Tap a title clip in the timeline, then drag the playhead over the clip (to see the text in the viewer).
Tap Inspect in the lower-left corner of the screen, then do one of the following:
Rotate the entire title clip: Tap
 at the top of the inspector, then drag the purple diamond in the viewer. You can also drag the Rotation dial in the inspector or tap the number field above the dial and use the keypad to change the rotation angle along the Z axis (front to back).
Rotate a single text layer in a multilayer title clip: In the viewer, tap the title text you want to modify, tap
 at the top of the inspector, then tap a Rotation number field and use the keypad to change the text layer’s rotation angle along the horizontal (X), vertical (Y), or front-to-back (Z) axis.
When you’re finished, double-tap outside the text in the viewer, or tap
 at the top of the inspector.
Note: When you rotate the entire title clip, rotation is limited to the Z axis. To create perspective effects, change the X, Y, and Z rotation angles in individual text layers of the title clip.
Tip: For best playback quality, render a title clip after you add or adjust it.