Numbers User Guide for iPad
- Welcome
- What’s new in Numbers 14.1
-
- Get started with Numbers
- Intro to images, charts, and other objects
- Create a spreadsheet
- Open spreadsheets
- Prevent accidental editing
- Personalize templates
- Use sheets
- Undo or redo changes
- Save your spreadsheet
- Find a spreadsheet
- Delete a spreadsheet
- Print a spreadsheet
- Change the sheet background
- Copy text and objects between apps
- Customize the toolbar
- Touchscreen basics
- Use Apple Pencil with Numbers
- Copyright

Add borders and rules (lines) to separate text in Numbers on iPad
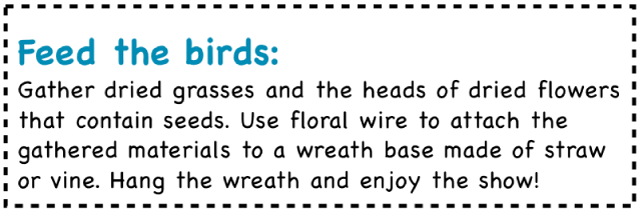
You can add a solid, dashed, or dotted rule (line) above or below a paragraph in a text box or shape.
Note: If the text is in a table cell, you can add a border around the cell. See Change the table outline and gridlines.

Select the text where you want to add the border or rule.
Tap
 in the toolbar, tap Text near the top of the menu, tap Paragraph Borders & Background, then turn on Borders.
A rule appears above each paragraph you selected.
Do any of the following:

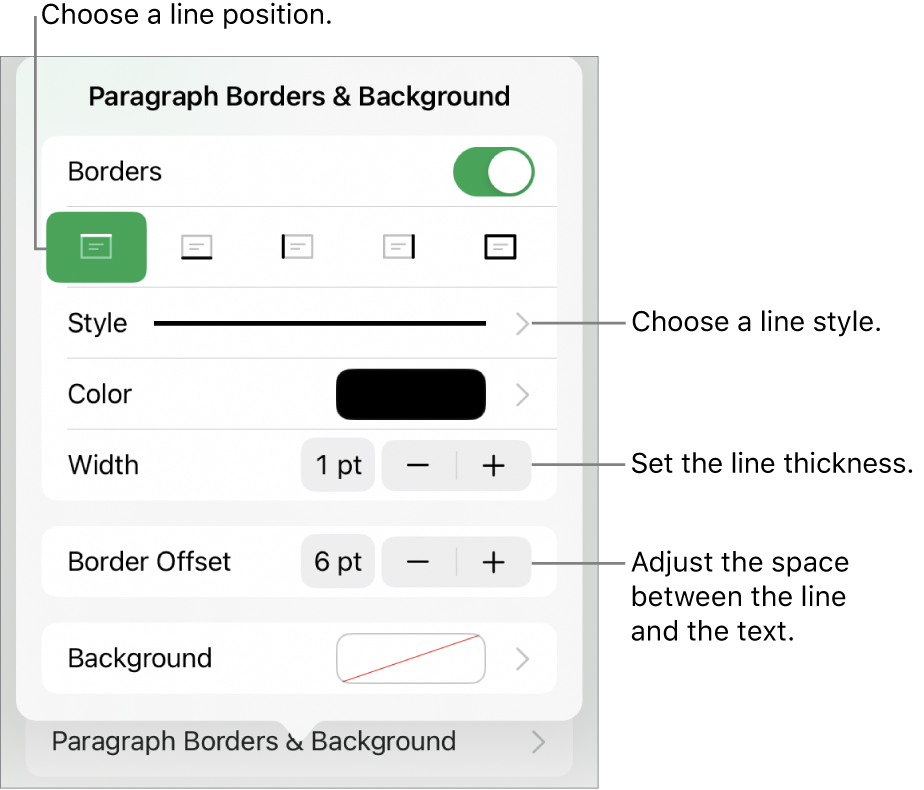
Add one or more lines: Tap one or more position buttons under the Borders switch.
Choose a different line style: Tap Style, then make a selection.
Choose a color that goes with your template: Tap Color, tap Preset, swipe left or right to see all the options, then tap a color.
Choose any color: Tap Color, tap Color, then select a color.
Choose a color from elsewhere on the spreadsheet: Tap Color, tap Color, then swipe left to the color wheel. Tap
 , then tap any color on the spreadsheet.
To preview colors, touch and hold the color on the spreadsheet, then drag across other colors on the spreadsheet. Release your finger to select a color.
Change the line thickness: Tap the + or – next to Width.
Change the amount of space between the line or border and the text: Tap the + or – next to Border Offset.
To quickly remove the border or rule, select the text with the border or rule, tap ![]() , tap Paragraph Borders & Background, then turn off Borders.
, tap Paragraph Borders & Background, then turn off Borders.