Motion User Guide
- Welcome
-
- Intro to basic compositing
-
- Intro to transforming layers
-
- Intro to transforming layers in the canvas
- Transform layer properties in the canvas
- Transform tools
- Change layer position, scale, or rotation
- Move a layer’s anchor point
- Add a drop shadow to a layer
- Distort or shear a layer
- Crop a layer
- Modify shape or mask points
- Transform text glyphs and other object attributes
- Align layers in the canvas
- Transform layers in the HUD
- Transform 2D layers in 3D space
-
- Intro to behaviors
- Behaviors versus keyframes
-
- Intro to behavior types
-
- Intro to Parameter behaviors
- Audio behavior
- Average behavior
- Clamp behavior
- Custom behavior
- Add a Custom behavior
- Exponential behavior
- Link behavior
- Logarithmic behavior
- MIDI behavior
- Add a MIDI behavior
- Negate behavior
- Oscillate behavior
- Create a decaying oscillation
- Overshoot behavior
- Quantize behavior
- Ramp behavior
- Randomize behavior
- Rate behavior
- Reverse behavior
- Stop behavior
- Track behavior
- Wriggle behavior
-
- Intro to Simulation behaviors
- Align to Motion behavior
- Attracted To behavior
- Attractor behavior
- Drag behavior
- Drift Attracted To behavior
- Drift Attractor behavior
- Edge Collision behavior
- Gravity behavior
- Orbit Around behavior
- Random Motion behavior
- Repel behavior
- Repel From behavior
- Rotational Drag behavior
- Spring behavior
- Vortex behavior
- Wind behavior
- Additional behaviors
-
- Intro to using generators
- Add a generator
-
- Intro to image generators
- Caustics generator
- Cellular generator
- Checkerboard generator
- Clouds generator
- Color Solid generator
- Concentric Polka Dots generator
- Concentric Shapes generator
- Gradient generator
- Grid generator
- Japanese Pattern generator
- Lens Flare generator
- Manga Lines generator
- Membrane generator
- Noise generator
- One Color Ray generator
- Op Art 1 generator
- Op Art 2 generator
- Op Art 3 generator
- Overlapping Circles generator
- Radial Bars generator
- Soft Gradient generator
- Spirals generator
- Spiral Drawing generator
- Use Spiral Drawing onscreen controls
- Star generator
- Stripes generator
- Sunburst generator
- Truchet Tiles generator
- Two Color Ray generator
- Save a modified generator
-
- Intro to filters
- Browse and preview filters
- Apply or remove filters
-
- Intro to filter types
-
- Intro to Color filters
- Brightness filter
- Channel Mixer filter
- Color Balance filter
- Example: Color-balance two layers
- Color Curves filter
- Use the Color Curves filter
- Color Reduce filter
- Color Wheels filter
- Use the Color Wheels filter
- Colorize filter
- Contrast filter
- Custom LUT filter
- Use the Custom LUT filter
- Gamma filter
- Gradient Colorize filter
- HDR Tools filter
- Hue/Saturation filter
- Hue/Saturation Curves filter
- Use the Hue/Saturation Curves filter
- Levels filter
- Negative filter
- OpenEXR Tone Map filter
- Sepia filter
- Threshold filter
- Tint filter
-
- Intro to Distortion filters
- Black Hole filter
- Bulge filter
- Bump Map filter
- Disc Warp filter
- Droplet filter
- Earthquake filter
- Fisheye filter
- Flop filter
- Fun House filter
- Glass Block filter
- Glass Distortion
- Insect Eye filter
- Mirror filter
- Page Curl filter
- Poke filter
- Polar filter
- Refraction filter
- Ring Lens filter
- Ripple filter
- Scrape filter
- Sphere filter
- Starburst filter
- Stripes filter
- Target filter
- Tiny Planet filter
- Twirl filter
- Underwater filter
- Wave filter
-
- Intro to Stylize filters
- Add Noise filter
- Bad Film filter
- Bad TV filter
- Circle Screen filter
- Circles filter
- Color Emboss filter
- Comic filter
- Crystallize filter
- Edges filter
- Extrude filter
- Fill filter
- Halftone filter
- Hatched Screen filter
- Highpass filter
- Indent filter
- Line Art filter
- Line Screen filter
- MinMax filter
- Noise Dissolve filter
- Pixellate filter
- Posterize filter
- Relief filter
- Slit Scan filter
- Slit Tunnel filter
- Texture Screen filter
- Vignette filter
- Wavy Screen filter
- Publish filter parameters to Final Cut Pro
- Using filters on alpha channels
- Filter performance
- Save custom filters
-
- Intro to 3D objects
- Add a 3D object
- Move and rotate a 3D object
- Reposition a 3D object’s anchor point
- Exchange a 3D object file
- 3D object intersection and layer order
- Using cameras and lights with 3D objects
- Save custom 3D objects
- Guidelines for working with 3D objects
- Working with imported 3D objects
-
- Intro to 360-degree video
- 360-degree projects
- Create 360-degree projects
- Add 360-degree video to a project
- Create a tiny planet effect
- Reorient 360-degree media
- Creating 360-degree templates for Final Cut Pro
- 360-degree-aware filters and generators
- Export and share 360-degree projects
- Guidelines for better 360-degree projects
-
- Intro to tracking
- How does motion tracking work?
- Motion tracking behavior types
- Analyze motion in a clip
- Stabilize a shaky clip
- Unstabilize a clip
- Use a range of frames for analysis
- Load existing tracking data
- Track shapes, masks, and paint strokes
- Track a filter’s position parameter
- Adjust onscreen trackers
- Save tracks to the Library
-
- Intro to preferences and shortcuts
-
- Intro to Keyboard shortcuts
- Use function keys
- General keyboard shortcuts
- Audio list keyboard shortcuts
-
- Tools keyboard shortcuts
- Transform tool keyboard shortcuts
- Select/Transform tool keyboard shortcuts
- Crop tool keyboard shortcuts
- Edit Points tool keyboard shortcuts
- Edit shape tools keyboard shortcuts
- Pan and Zoom tools keyboard shortcuts
- Shape tools keyboard shortcuts
- Bezier tool keyboard shortcuts
- B-Spline tool keyboard shortcuts
- Paint Stroke tool keyboard shortcuts
- Text tool keyboard shortcuts
- Shape mask tools keyboard shortcuts
- Bezier Mask tool keyboard shortcuts
- B-Spline Mask tool keyboard shortcuts
- Transport control keyboard shortcuts
- View option keyboard shortcuts
- HUD keyboard shortcuts
- Inspector keyboard shortcuts
- Keyframe Editor keyboard shortcuts
- Layers keyboard shortcuts
- Library keyboard shortcuts
- Media list keyboard shortcuts
- Timeline keyboard shortcuts
- Keyframing keyboard shortcuts
- Shape and Mask keyboard shortcuts
- 3D keyboard shortcuts
- Miscellaneous keyboard shortcuts
- Touch Bar shortcuts
- Move assets to another computer
- Work with GPUs
- Glossary
- Copyright

Import media in Motion
You can import media files (video clips, audio clips, and still images) into a Motion project one at a time or simultaneously.
Although you can import music and photo files from the Import dialog or Finder, it’s better to add them using the Music and Photos categories in the Motion Library. When you add music and photo files via the Library, you can browse for files using the playlist and photo album features. See Add music and photo files in Motion.
Important: To be properly projected, imported 360° video must be contained within a 360° environment (in the Layers list). See Create 360° projects in Motion and Add 360° video to a project in Motion.
Import media files using the Import command or the Import button
In Motion, do any of the following:
Choose File > Import (or press Command-I).
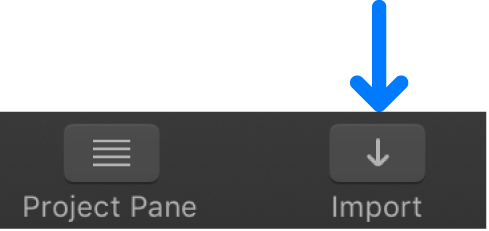
In the toolbar, click the Import button.

Control-click an empty area of the Layers list or canvas (in the black area outside the project), then choose Import from the shortcut menu.
In the dialog that appears, navigate to and select one or more media files, Shift-clicking to select contiguous items or Command-clicking to select noncontiguous items.
Do any of the following:
Click Import.
Drag the file or files to the canvas.
Drag the file or files into a group in the Layers list, or into the empty lower area of the Layers list.
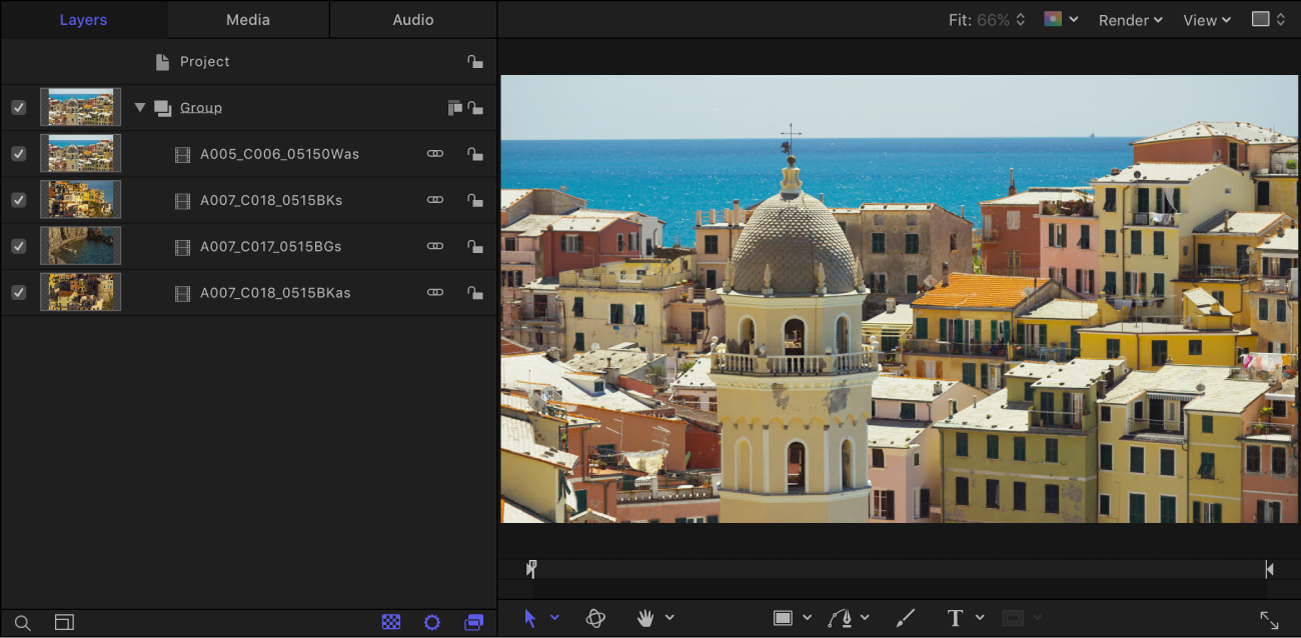
If added to a group, the imported files appear as new layers in that group, placed above existing layers in the group. If added to the empty area, a new group is created containing the imported files.
Drag the file or files into a group in the Timeline layers list, or into the empty lower area of the Timeline layers list.
If added to a group, the imported files appear as new layers in that group, placed above existing layers in the group. If added to the empty area, a new group is created containing the imported files.
Drag the file or files into the Timeline.
Note: For more information on adding objects to the Timeline, see Intro to the Timeline in Motion.
The media files appear in the canvas, and as layers inside the last-selected group in the Layers list.

Import media files into Motion from the Finder
Navigate through the Finder and select one or more media files, Shift-clicking to select contiguous items or Command-clicking to select noncontiguous items.
Do any of the following:
Drag the file or files from the Finder to a location in the Motion canvas.
Drag the file or files into a group in the Layers list in Motion, or into the empty lower area of the Layers list.
If added to a group, the imported files appear as new layers in that group, placed above existing layers in the group. If added to the empty area, a new group is created containing the imported files.
Drag the file or files into a group in the Timeline layers list, or into the empty lower area of the Timeline layers list.
If added to a group, the imported files appear as new layers in that group, placed above existing layers in the group. If added to the empty area, a new group is created containing the imported files.
Drag the file or files into the Timeline.
Note: For more information on adding objects to the Timeline, see Intro to the Timeline in Motion.
Import image sequences
Sometimes, animated sequences are delivered as a series of sequentially numbered still images. Motion lets you import these sequences as a single object, with each image used as a sequential frame in a movie.
In Motion, do any of the following:
Choose File > Import (or press Command-I).
In the toolbar, click the Import button.

Control-click an empty area of the Layers list or canvas (in the black area outside the project), then choose Import from the shortcut menu.
In the dialog that appears, navigate to the image sequence, then select an image in the sequence.
Select the Image Sequence checkbox.
Note: If the Image Sequence checkbox does not appear, click Options in the lower portion of the dialog.
Click Import.
Motion uses each image in the sequence as a frame in a movie clip.
Import media files without using them in the composition
You can also add media files to your project without having them appear in the composition. You do this by importing a file into the Media list, thereby storing media objects you might want to use in the future. When you import this way, the imported media does not appear in the canvas or in the Layers list. However, the media remains available in the Media list.
In the Project pane in Motion, click Media to open the Media list.
Do one of the following:
In the toolbar, click Import, then drag media files from the dialog to the Media list.
From the macOS Finder, drag media files to the Media list in Motion.
With the Media list active, choose File > Import (or press Command-I); then, in the dialog, select a file and click Import.
Control-click in the Media list, choose Import Media from the shortcut menu, then add a file from the dialog.
Note: You can also import files directly to the Media pane from any Project pane (Layers list, Media list, or Audio list) by choosing File > Import As > Unused Media, selecting a file to add, then clicking Import.
The resulting media objects are added to the Media list but don’t appear in the canvas, Layers list, or Timeline.
Import media files and create a new Motion project at the same time
You can also create a new project for files at the time of import. To do so, use the Import as Project command.
In Motion, choose File > Import As > Project or press Shift-Command-I.
In the dialog that appears, navigate to and select the one or more media files, Shift-clicking to select contiguous items or Command-clicking to select noncontiguous items.
If needed, set the frame rate, aspect ratio, field order, and audio mix settings.
If you’re selecting items from an image sequence, select the Image Sequence checkbox to have Motion use each image as a frame in a movie clip.
Click Import as Project.
The media files appear in a new Motion project.
Note: If you’re using a Mac with Apple silicon and you import media in a video format that is not compatible with Apple silicon, a dialog to install Rosetta is displayed. After installing Rosetta, you must quit and reopen Motion. For more information, see the Apple Support article about Rosetta.