Motion User Guide
- Welcome
-
- Intro to basic compositing
-
- Intro to transforming layers
-
- Intro to transforming layers in the canvas
- Transform layer properties in the canvas
- Transform tools
- Change layer position, scale, or rotation
- Move a layer’s anchor point
- Add a drop shadow to a layer
- Distort or shear a layer
- Crop a layer
- Modify shape or mask points
- Transform text glyphs and other object attributes
- Align layers in the canvas
- Transform layers in the HUD
- Transform 2D layers in 3D space
-
- Intro to behaviors
- Behaviors versus keyframes
-
- Intro to behavior types
-
- Intro to Parameter behaviors
- Audio behavior
- Average behavior
- Clamp behavior
- Custom behavior
- Add a Custom behavior
- Exponential behavior
- Link behavior
- Logarithmic behavior
- MIDI behavior
- Add a MIDI behavior
- Negate behavior
- Oscillate behavior
- Create a decaying oscillation
- Overshoot behavior
- Quantize behavior
- Ramp behavior
- Randomize behavior
- Rate behavior
- Reverse behavior
- Stop behavior
- Track behavior
- Wriggle behavior
-
- Intro to Simulation behaviors
- Align to Motion behavior
- Attracted To behavior
- Attractor behavior
- Drag behavior
- Drift Attracted To behavior
- Drift Attractor behavior
- Edge Collision behavior
- Gravity behavior
- Orbit Around behavior
- Random Motion behavior
- Repel behavior
- Repel From behavior
- Rotational Drag behavior
- Spring behavior
- Vortex behavior
- Wind behavior
- Additional behaviors
-
- Intro to using generators
- Add a generator
-
- Intro to image generators
- Caustics generator
- Cellular generator
- Checkerboard generator
- Clouds generator
- Color Solid generator
- Concentric Polka Dots generator
- Concentric Shapes generator
- Gradient generator
- Grid generator
- Japanese Pattern generator
- Lens Flare generator
- Manga Lines generator
- Membrane generator
- Noise generator
- One Color Ray generator
- Op Art 1 generator
- Op Art 2 generator
- Op Art 3 generator
- Overlapping Circles generator
- Radial Bars generator
- Soft Gradient generator
- Spirals generator
- Spiral Drawing generator
- Use Spiral Drawing onscreen controls
- Star generator
- Stripes generator
- Sunburst generator
- Truchet Tiles generator
- Two Color Ray generator
- Save a modified generator
-
- Intro to filters
- Browse and preview filters
- Apply or remove filters
-
- Intro to filter types
-
- Intro to Color filters
- Brightness filter
- Channel Mixer filter
- Color Balance filter
- Example: Color-balance two layers
- Color Curves filter
- Use the Color Curves filter
- Color Reduce filter
- Color Wheels filter
- Use the Color Wheels filter
- Colorize filter
- Contrast filter
- Custom LUT filter
- Use the Custom LUT filter
- Gamma filter
- Gradient Colorize filter
- HDR Tools filter
- Hue/Saturation filter
- Hue/Saturation Curves filter
- Use the Hue/Saturation Curves filter
- Levels filter
- Negative filter
- OpenEXR Tone Map filter
- Sepia filter
- Threshold filter
- Tint filter
-
- Intro to Distortion filters
- Black Hole filter
- Bulge filter
- Bump Map filter
- Disc Warp filter
- Droplet filter
- Earthquake filter
- Fisheye filter
- Flop filter
- Fun House filter
- Glass Block filter
- Glass Distortion
- Insect Eye filter
- Mirror filter
- Page Curl filter
- Poke filter
- Polar filter
- Refraction filter
- Ring Lens filter
- Ripple filter
- Scrape filter
- Sphere filter
- Starburst filter
- Stripes filter
- Target filter
- Tiny Planet filter
- Twirl filter
- Underwater filter
- Wave filter
-
- Intro to Stylize filters
- Add Noise filter
- Bad Film filter
- Bad TV filter
- Circle Screen filter
- Circles filter
- Color Emboss filter
- Comic filter
- Crystallize filter
- Edges filter
- Extrude filter
- Fill filter
- Halftone filter
- Hatched Screen filter
- Highpass filter
- Indent filter
- Line Art filter
- Line Screen filter
- MinMax filter
- Noise Dissolve filter
- Pixellate filter
- Posterize filter
- Relief filter
- Slit Scan filter
- Slit Tunnel filter
- Texture Screen filter
- Vignette filter
- Wavy Screen filter
- Publish filter parameters to Final Cut Pro
- Using filters on alpha channels
- Filter performance
- Save custom filters
-
- Intro to 3D objects
- Add a 3D object
- Move and rotate a 3D object
- Reposition a 3D object’s anchor point
- Exchange a 3D object file
- 3D object intersection and layer order
- Using cameras and lights with 3D objects
- Save custom 3D objects
- Guidelines for working with 3D objects
- Working with imported 3D objects
-
- Intro to 360-degree video
- 360-degree projects
- Create 360-degree projects
- Add 360-degree video to a project
- Create a tiny planet effect
- Reorient 360-degree media
- Creating 360-degree templates for Final Cut Pro
- 360-degree-aware filters and generators
- Export and share 360-degree projects
- Guidelines for better 360-degree projects
-
- Intro to tracking
- How does motion tracking work?
- Motion tracking behavior types
- Analyze motion in a clip
- Stabilize a shaky clip
- Unstabilize a clip
- Use a range of frames for analysis
- Load existing tracking data
- Track shapes, masks, and paint strokes
- Track a filter’s position parameter
- Adjust onscreen trackers
- Save tracks to the Library
-
- Intro to preferences and shortcuts
-
- Intro to Keyboard shortcuts
- Use function keys
- General keyboard shortcuts
- Audio list keyboard shortcuts
-
- Tools keyboard shortcuts
- Transform tool keyboard shortcuts
- Select/Transform tool keyboard shortcuts
- Crop tool keyboard shortcuts
- Edit Points tool keyboard shortcuts
- Edit shape tools keyboard shortcuts
- Pan and Zoom tools keyboard shortcuts
- Shape tools keyboard shortcuts
- Bezier tool keyboard shortcuts
- B-Spline tool keyboard shortcuts
- Paint Stroke tool keyboard shortcuts
- Text tool keyboard shortcuts
- Shape mask tools keyboard shortcuts
- Bezier Mask tool keyboard shortcuts
- B-Spline Mask tool keyboard shortcuts
- Transport control keyboard shortcuts
- View option keyboard shortcuts
- HUD keyboard shortcuts
- Inspector keyboard shortcuts
- Keyframe Editor keyboard shortcuts
- Layers keyboard shortcuts
- Library keyboard shortcuts
- Media list keyboard shortcuts
- Timeline keyboard shortcuts
- Keyframing keyboard shortcuts
- Shape and Mask keyboard shortcuts
- 3D keyboard shortcuts
- Miscellaneous keyboard shortcuts
- Touch Bar shortcuts
- Move assets to another computer
- Work with GPUs
- Glossary
- Copyright

Types of onscreen filter controls in Motion
Several onscreen controls are common to many filters. Other onscreen controls are unique to specific filters. The following list provides examples of the types of controls available. If you’re unsure of an onscreen control’s function, drag it in the canvas while viewing the Filters Inspector to see which parameter value changes.
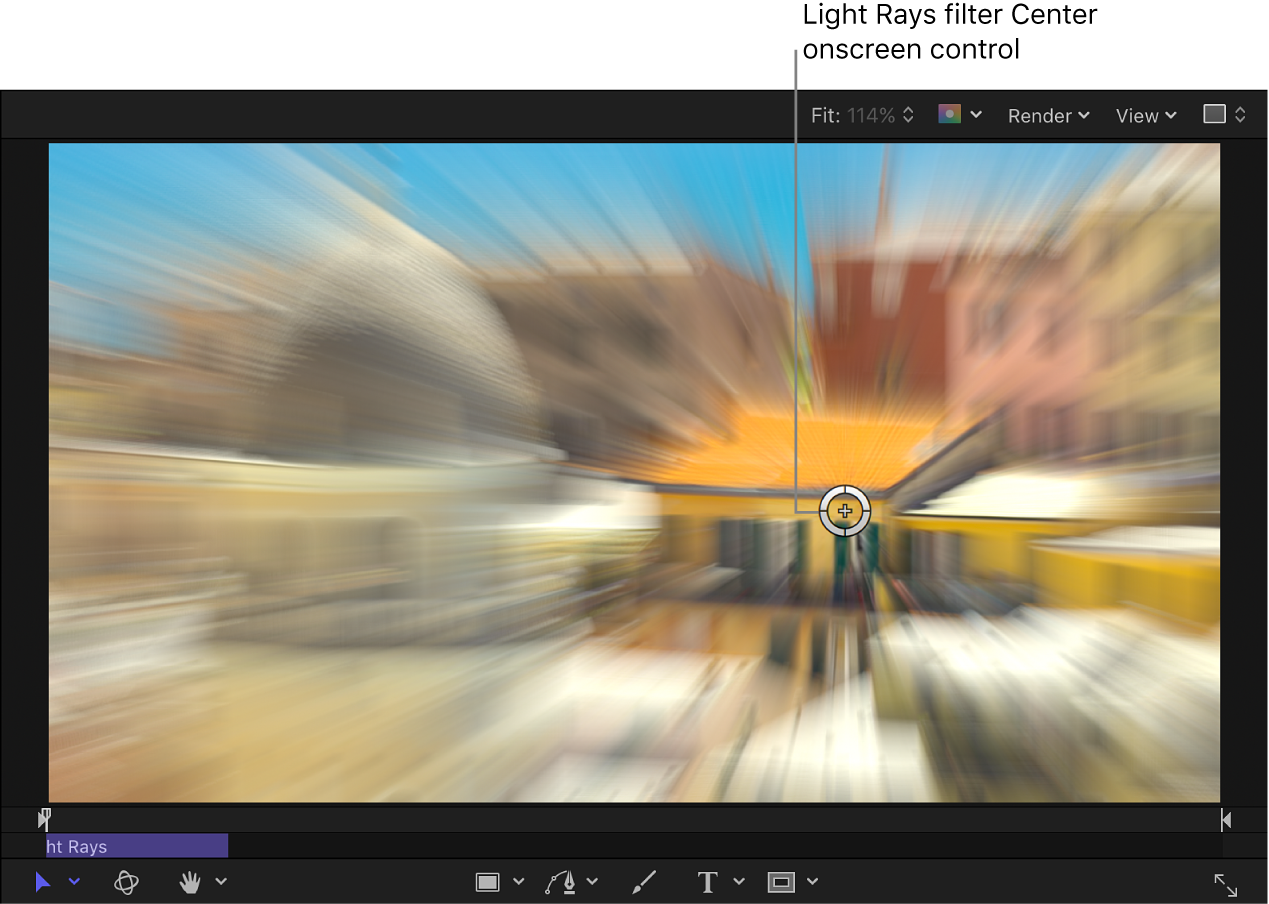
Center: The most common filter onscreen control. Drag in the center of the circle to reposition the filter’s Center parameter (the center of the effect).
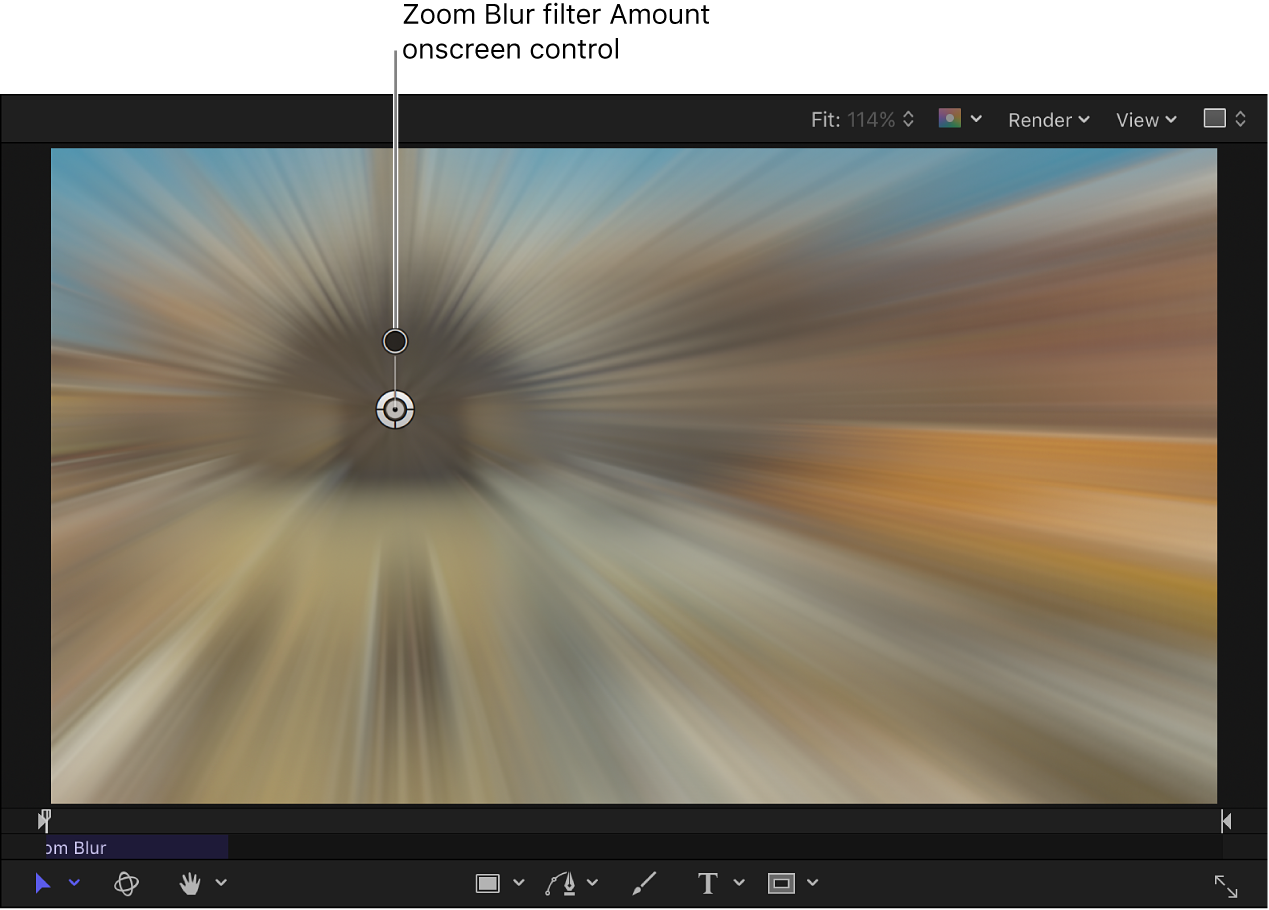
Amount: An onscreen control with different representations, depending on the filter. In the Zoom Blur filter, drag the small circular handle (above the Center onscreen control) to adjust the Amount parameter.
In the Prism filter, drag the arrow handle inward or outward to adjust the Amount parameter. (Dragging the arrow in an arc adjusts the Angle parameter.)
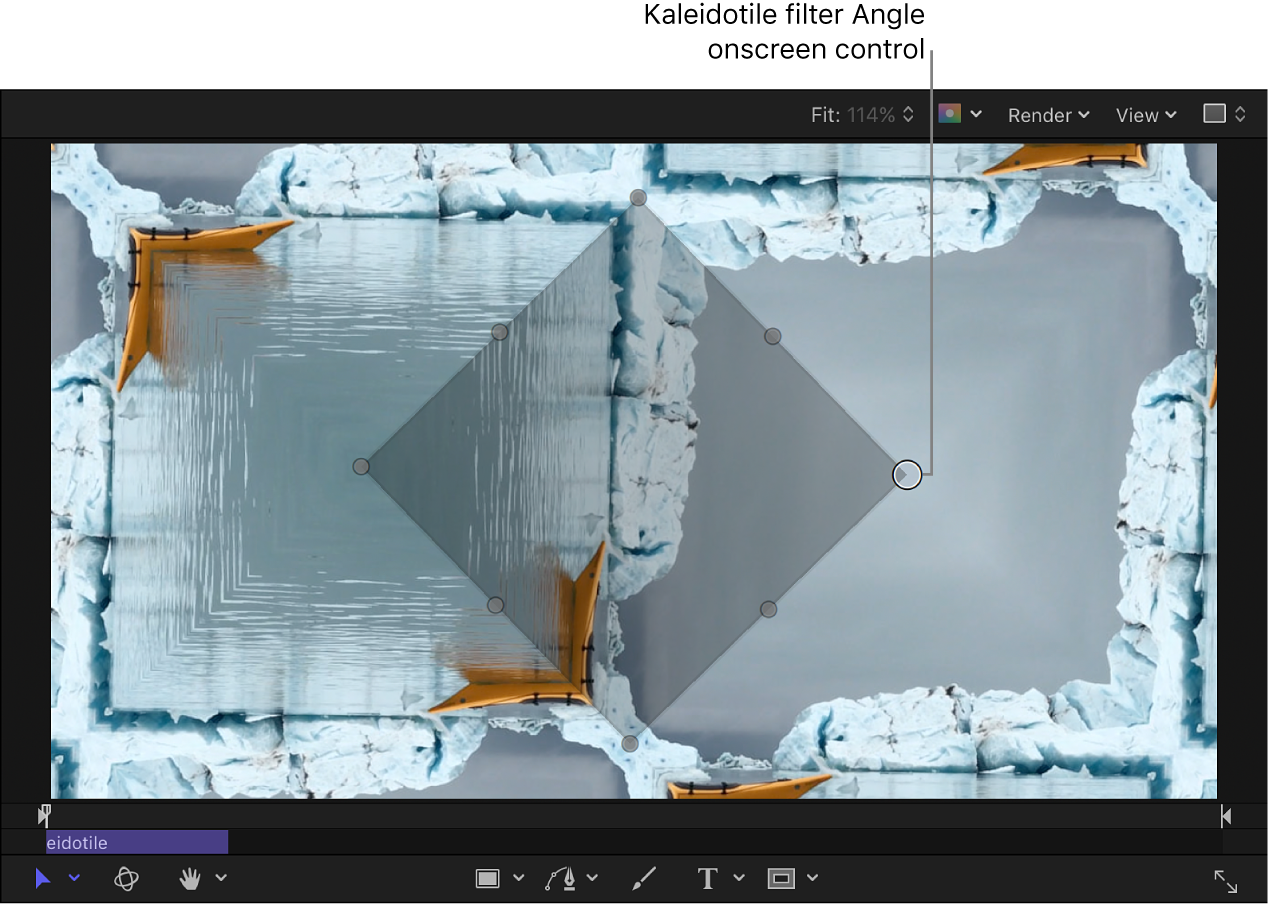
Angle: An onscreen control with different representations, depending on the filter. In the Page Curl Filter, drag the circular middle handle to adjust the Angle parameter. In the Kaleidotile filter, drag a corner handle to adjust the Angle parameter.
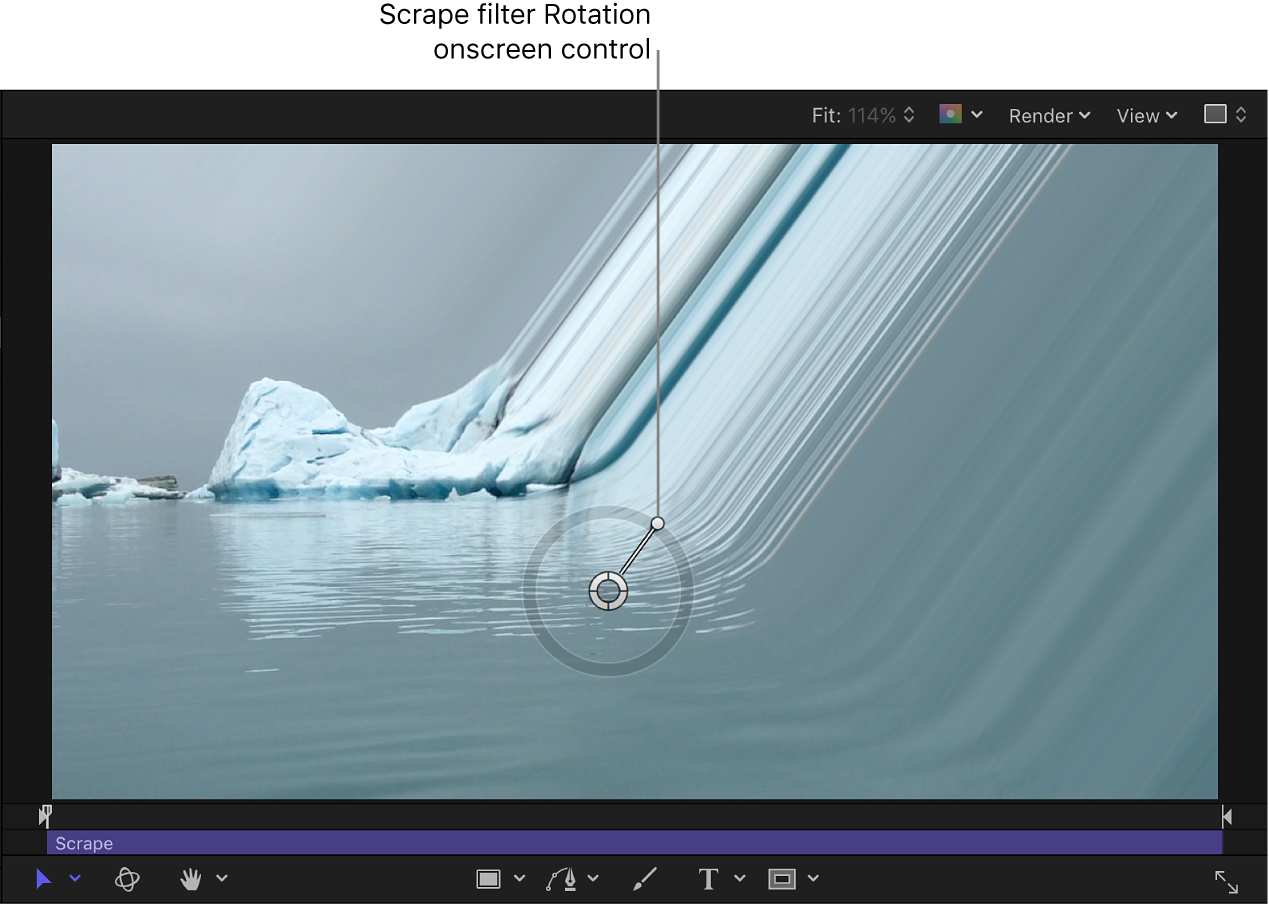
Rotate/Rotation/Twirl: An onscreen control with different representations, depending on the filter. In the Page Curl Filter, drag the outer arrow handle to adjust the Rotation parameter. In the Scrape, Stripes, and Target filters, drag the small outer handle to adjust the Rotation parameter.
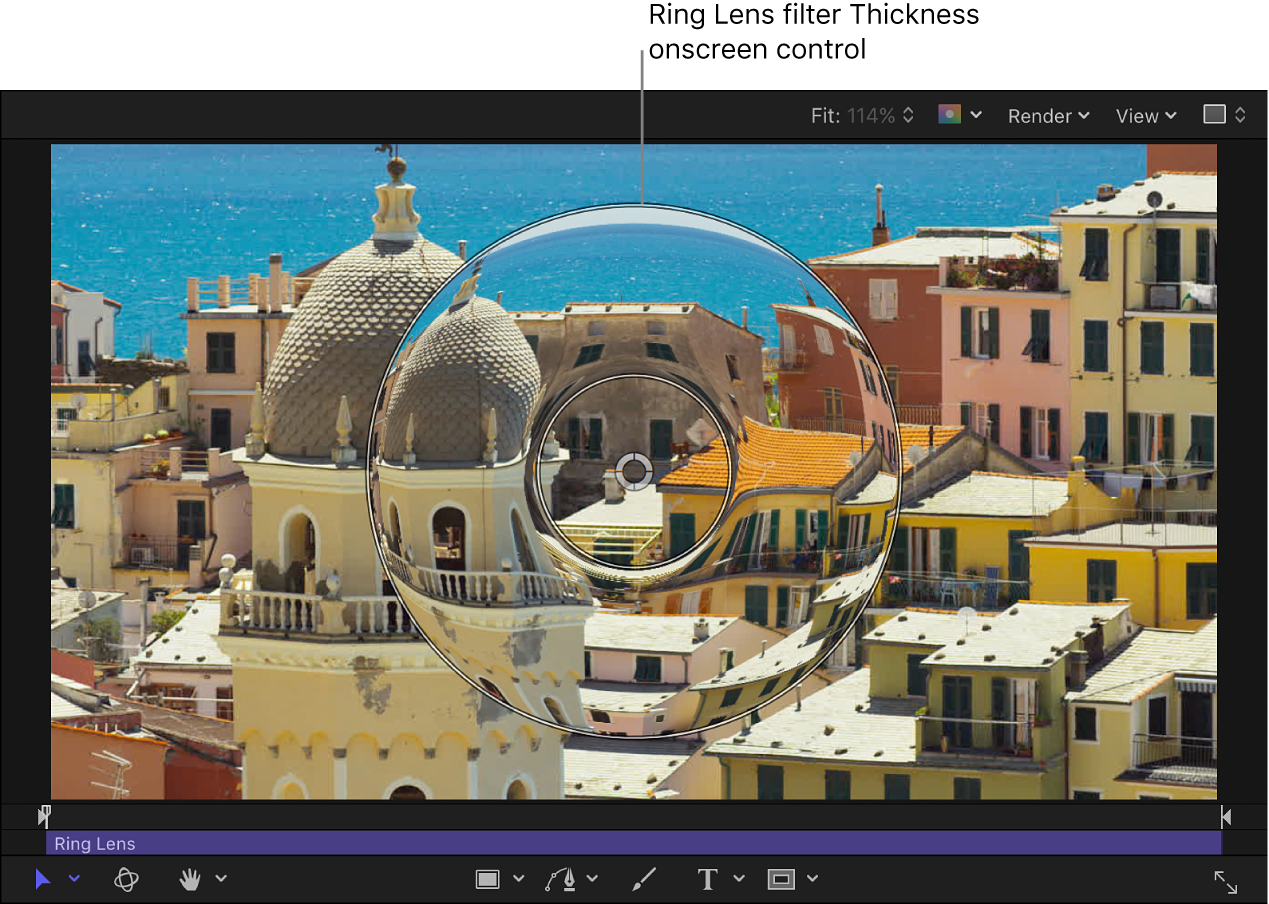
Radius/Thickness/Size/Falloff: An onscreen control with different representations, depending on the filter. In the Disc Warp and Circle Blur filters, drag the large ring inward and outward to adjust the Radius parameter. In the Droplet and Ring Lens filters, drag the inner ring to adjust the Radius and Thickness parameters simultaneously. Drag in the area between the inner and outer rings to adjust the Radius parameter. Drag the outer ring to adjust the Thickness parameter.
In the Vignette filter, drag the inner ring to adjust the Size parameter, and drag the outer ring to adjust the Falloff parameter. Drag in the area between the inner and outer ring to adjust both parameters simultaneously.
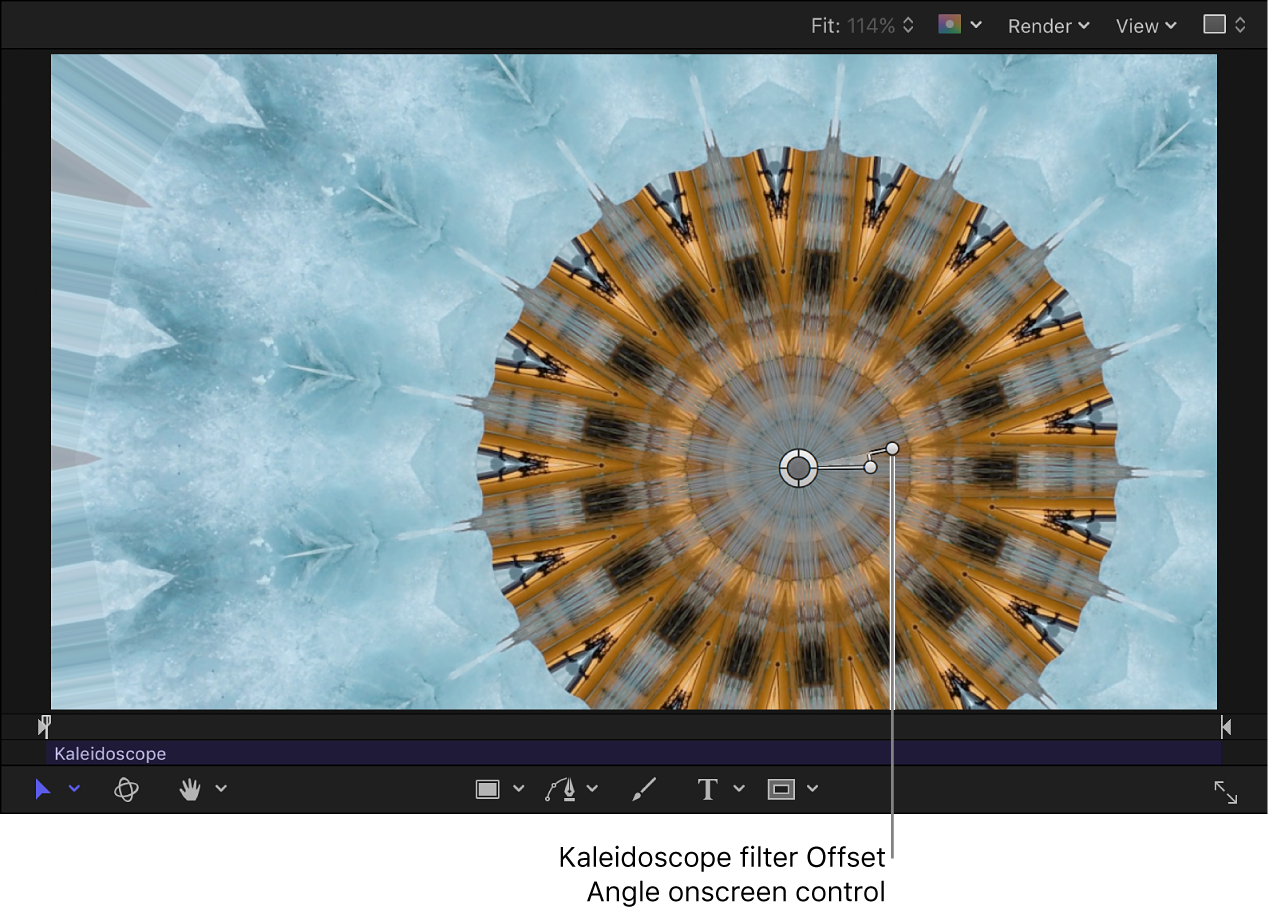
Segment Angle/Offset Angle: An onscreen control with multiple representations, depending on the filter. In the Kaleidoscope filter, drag the outer handle to adjust the Segment Angle parameter. Drag the middle handle (between the center and outer handle) to adjust the Offset Angle parameter.
