
Use your Mac to print to a printer connected to a Windows computer
You can print to a printer connected to a Windows computer. The printer’s owner must set it up to be shared, and use only the following characters in the name of the printer and computer: A-Z, a-z, 0-9, !, $, *, (, ), _, +, -, ‘, and . (period).
To add a shared Windows printer to your list of available printers, you need to know the printer’s workgroup name and, if necessary, the user name and password.
On your Mac, choose Apple menu
 .
. Click the Add button
 at the bottom of the printer list, then click the Windows button
  .
.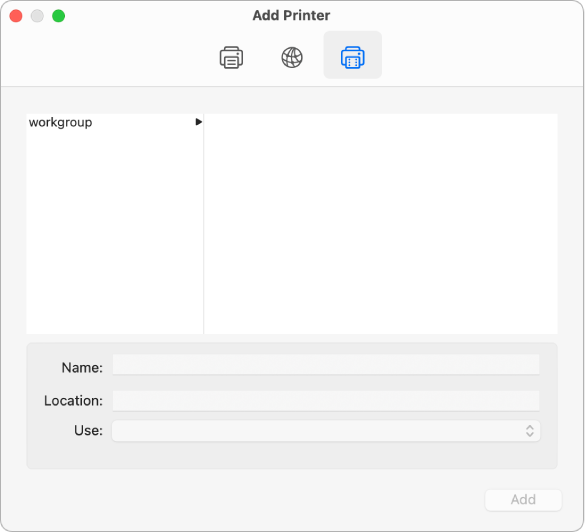
A network browser appears, listing the Windows workgroups on your network.
Select the printer from the network browser.
To locate the printer in the browser, click the workgroup, then click the print server (the computer that’s sharing the printer). If prompted, enter the user name and password for the print server.
Click the Use pop-up menu, then choose the appropriate printer software.
Be sure to choose the correct printer software for the printer you’re using. See the documentation that came with the printer. If you have an HP PCL-compatible printer that’s not listed, choose the printer model that most closely matches your printer.
Click Add.

If you can’t add the Windows printer you want, the printer software on your Mac may not support printing to a shared Windows computer. Update the printer software on your Mac, or ask your network administrator for help. See Update your printer software if your printer has a printing problem.