Take a Live Photo in FaceTime on Mac
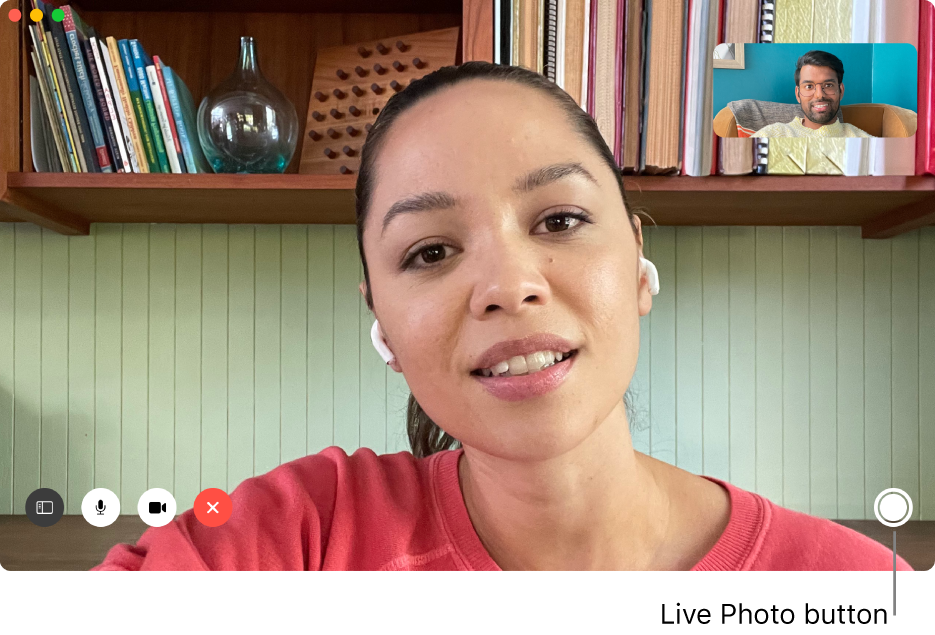
When you’re on a FaceTime video call with one or more people, you can take a Live Photo of one of the participants to capture a moment from the call. You both receive a notification that the photo was taken, and the Live Photo goes straight into your Photos library. Each person on the call may need to set their FaceTime preferences to allow a Live Photo before you can take one. See FaceTime Live Photo requirements.

Set up FaceTime for Live Photos
In the FaceTime app
 on your Mac, choose FaceTime > Preferences, then click Settings.
Select the “Allow Live Photos to be captured during Video calls” tick box.
When you select this option, you’re also allowing others to take Live Photos of you.
Set up Photos for Live Photos in FaceTime
The Photos app doesn’t need to be open when you capture a Live Photo, but you need to have opened it at least once to store a photo in the library.
Open the Photos app
 on your Mac if you haven’t opened it before.
Take a Live Photo
In the FaceTime app
 on your Mac, do one of the following during a video call:
In a one on one call: Select the FaceTime window.
In a group call: Double-click the tile of the person you want to take a Live Photo of.
Click the Take Picture button

A notification tells you that you took a Live Photo. The photo is available in the Photos app.
In the Photos app
 on your Mac, browse and view photos to locate the Live Photo.