Keynote User Guide for iPad
- Welcome
- What’s new
-
- Get started with Keynote
- Intro to images, charts, and other objects
- Create a presentation
- Choose how to navigate your presentation
- Open a presentation
- Save and name a presentation
- Find a presentation
- Print a presentation
- Customize the toolbar
- Copy text and objects between apps
- Basic touchscreen gestures
- Use Apple Pencil with Keynote
- Create a presentation using VoiceOver
-
- Send a presentation
- Intro to collaboration
- Invite others to collaborate
- Collaborate on a shared presentation
- See the latest activity in a shared presentation
- Change a shared presentation’s settings
- Stop sharing a presentation
- Shared folders and collaboration
- Use Box to collaborate
- Create an animated GIF
- Post your presentation in a blog
- Copyright

Edit an image in Keynote on iPad
After you add a photo or graphic to your presentation, you can crop it and remove parts you don’t want.
Mask (crop) a photo
You can hide unwanted portions of an image without modifying the image file.
Go to the Keynote app
 on your iPad.
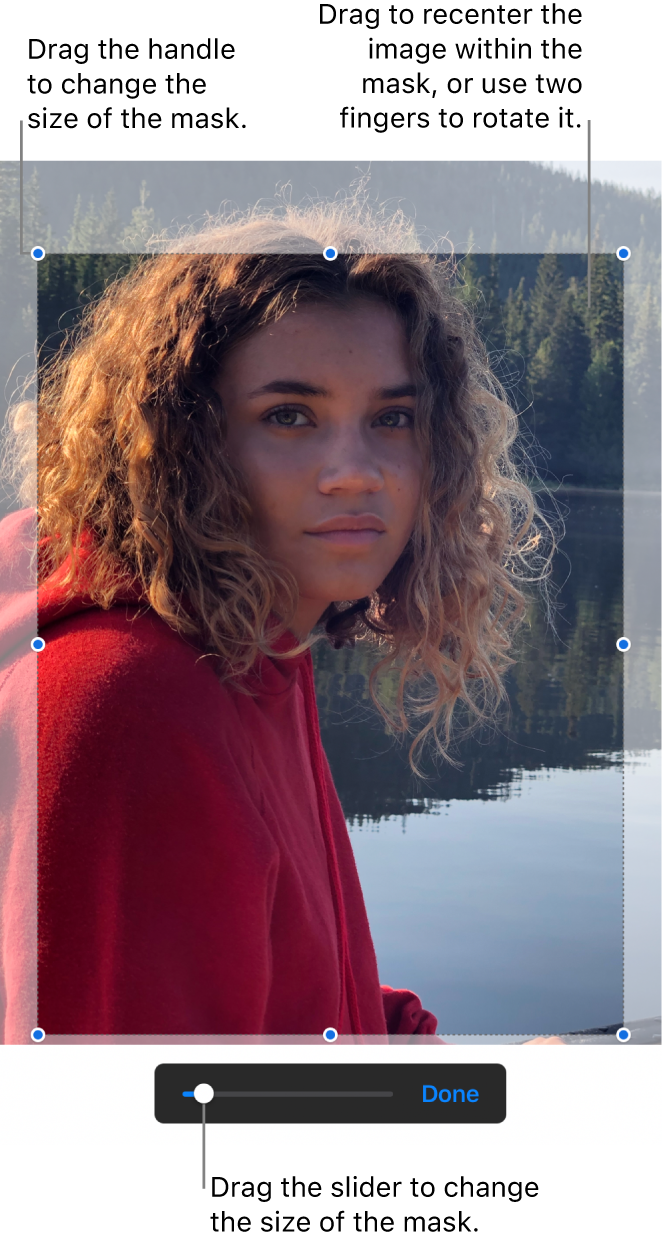
Open a presentation with an image, then double-tap the image.
The mask controls appear. The default mask is the same size as your image.
Use the controls to frame just the parts of the image you want to be visible.

Tap Done when you’re finished.
Double-tap the image at any time to readjust its mask.
Remove the background or a color from a photo
You can remove a background or color from an image with the Remove Background tool.
Go to the Keynote app
 on your iPad.
Open a presentation with an image, tap the image to select it, then tap Remove Background (you may have to tap
 first).
If possible, the background is automatically removed.
Do any of the following:
Remove another color: Drag over the color you want to remove.
As you drag, the mask selection grows to include areas that use similar colors.
Undo all changes: Tap Reset in the controls.
Tap Done.
To work with multiple images at the same time, touch and hold one image, then tap the other images with another finger.