Change the working view in Keynote on Mac
You can view your slides in different ways to help you organize and edit your presentation:
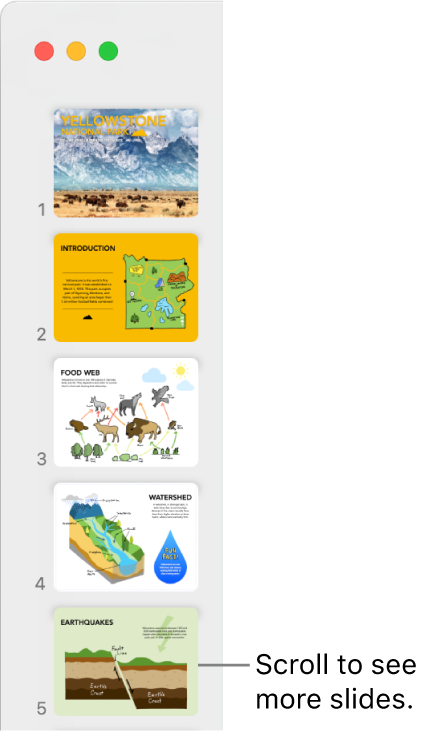
Navigator view (the default): Displays thumbnail images of each slide in the slide navigator on the left, and a full view of the selected slide on the right. You can click thumbnails in the slide navigator to jump to specific slides, or drag thumbnails to reorganize your presentation.
Slide-only view: Displays the slide only, with no thumbnail navigation. This view is useful for focusing on individual slide content.
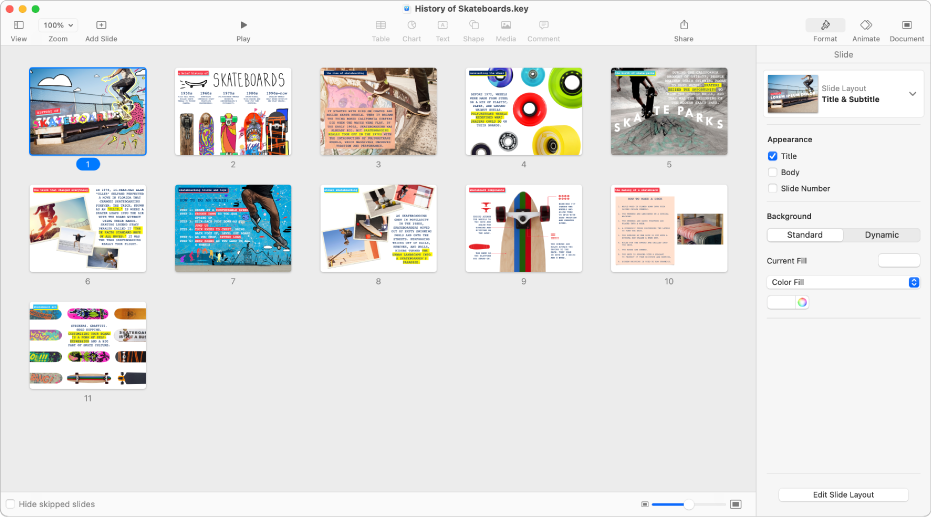
Light table: Displays slide thumbnails as if on a light table. This view is useful for organizing your presentation because you can see more slides at once. You can drag the slide thumbnails to change their order.
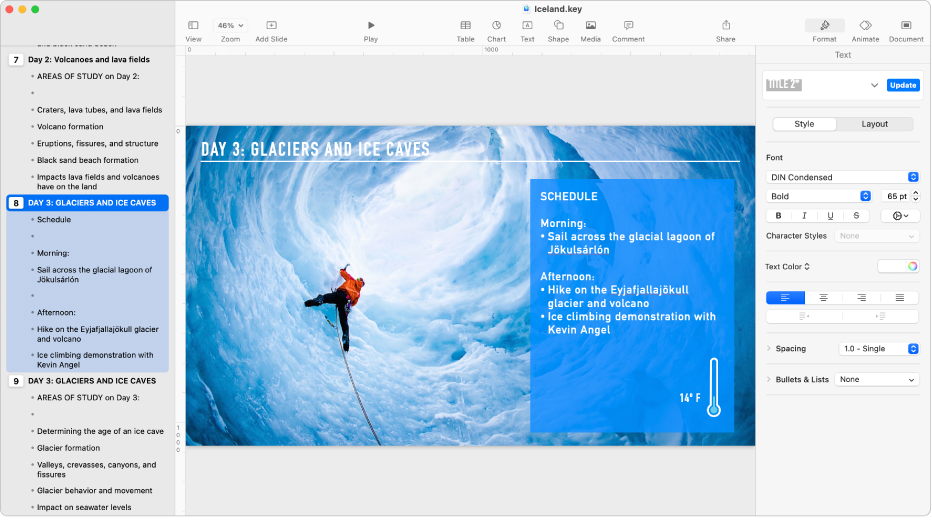
Outline view: Displays the title and bulleted text of each slide below a preview of the selected slide on the right. This is useful for creating an initial rough draft of a presentation, seeing the flow of text-rich presentations, or focusing on the structure of your presentation.
Object list: You can see objects in the order they’re layered on the slide, then do things such as change the layering order, group objects, and more. The object list is available only in navigator view and slide only view. See Move and edit objects using the object list.
View slides in the slide navigator
Navigator view displays thumbnail images of each slide in the slide navigator on the left, and a full view of the selected content on the right. This is the default view for creating presentations. You can add, edit, rearrange, and delete slides in this view.

Go to the Keynote app
 on your Mac.
Open a presentation, click
 in the toolbar, then choose Navigator.
Do any of the following:
Select slides: Click a thumbnail. When a thumbnail is selected, you can edit the slide on the right. Shift-click to select multiple slides.
Reorder slides: Drag a thumbnail up or down.
Group slides: Drag one or more thumbnails to the right to indent them in relation to the slide above.
View just the slides
Slide-only view hides the slide navigator and is useful when you want to focus on an individual slide’s content, or preview the slideshow without playing it.
Go to the Keynote app
 on your Mac.
Open a presentation, click
 in the toolbar, then choose Slide Only.
Press the Down Arrow or Up Arrow key on your keyboard to move to the next or previous slide.
View slides on the light table
Light table view displays thumbnails as if on a light table. This view is useful for organizing your presentation because you can see more slides at once.

Go to the Keynote app
 on your Mac.
Open a presentation, click
 in the toolbar, then choose Light Table.
Do any of the following:
Select slides: Click a thumbnail. Shift-click to select multiple slides.
Reorder slides: Drag a thumbnail to a new location.
Edit a slide or return to your previous view: Double-click a thumbnail.
Change the size of the thumbnails: Drag the slider in the bottom-right corner of the window.
Show or hide skipped slides: Select or deselect the “Hide skipped slides” checkbox. When skipped slides are shown, their thumbnails are dimmed.
View slides as text outlines
Outline view shows a text outline of the content of your slides (the slide title and bullet-point text) in the left sidebar, with a full view of the selected slide on the right. You can add and edit text directly in the sidebar, which is useful for creating text-rich presentations or an initial draft of a new presentation.

Go to the Keynote app
 on your Mac.
Open a presentation, click
 in the toolbar, then choose Outline.
Do any of the following in the outline:
Add a title to a slide: Click next to the slide icon and type.
Add text to a slide: Add a title to the slide, press Return, press Tab, then type.
Edit text: Select text and type to replace it.
Reorder text or slides: Drag a bullet up or down (the bullet itself, not the text) to where you want it in the presentation. Drag a bullet right or left to change its indentation. Drag a slide icon up or down to change its order in the presentation.
You can change the size of the text shown in outline view. Choose Keynote > Settings (from the Keynote menu at the top of your screen), then click General at the top of the settings window. Click the Outline View Font pop-up menu, then choose a font size.
To print the outline, choose File > Print (from the Print menu at the top of your screen). In the Print dialog, select Outline.