GarageBand User Guide
- Welcome
-
- Play a lesson
- Choose the input source for your guitar
- Customize the lesson window
- See how well you played a lesson
- Measure your progress over time
- Slow down a lesson
- Change the mix of a lesson
- View full-page music notation
- View glossary topics
- Practice guitar chords
- Tune your guitar in a lesson
- Open lessons in the GarageBand window
- Get additional Learn to Play lessons
- If your lesson doesn’t finish downloading
- Touch Bar shortcuts
- Glossary
- Copyright

Record to multiple audio tracks in GarageBand on Mac
You can record to more than one audio track at a time, which allows you to record several instruments at once—placing each instrument on a separate track, for example. In order to record to multiple audio tracks, the Record Enable button ![]() must be visible on each track. The Record Enable button prepares multiple audio tracks to receive audio simultaneously.
must be visible on each track. The Record Enable button prepares multiple audio tracks to receive audio simultaneously.
Note: Record enabling a track also lets you monitor the input.
Record to multiple audio tracks simultaneously
In GarageBand on Mac, set the instrument or microphone input source for each track you want to record to.
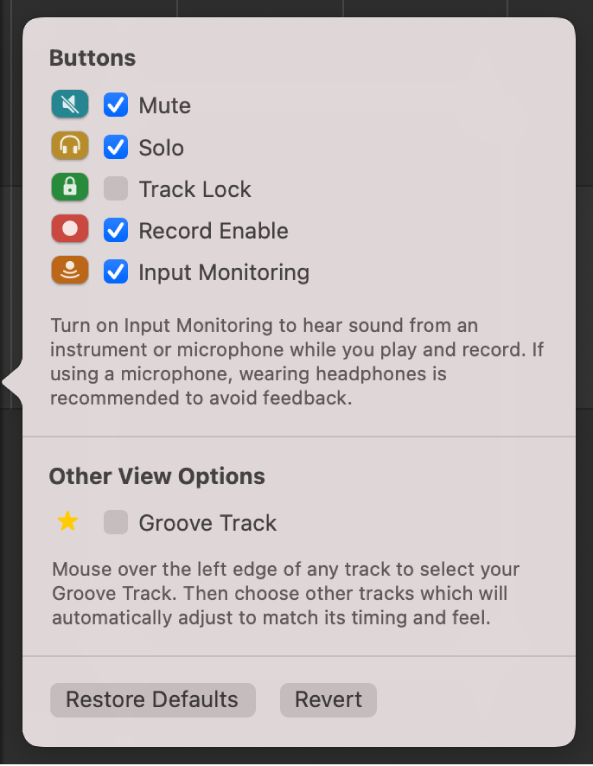
Choose Track > Configure Track Header. You can also right-click on any track header or press Option-T. In the Track Header Configuration dialog, select Record Enable.

If Record Enable is already selected, you can skip this step.
Click the Record Enable button
 in the track header of each track you want to record to.
Move the playhead to the point in the ruler where you want to start recording.
Set the metronome and count-in to hear a steady beat while recording.
Click the Record button
 in the control bar (or press R) to start recording.
Start singing or playing your instrument.
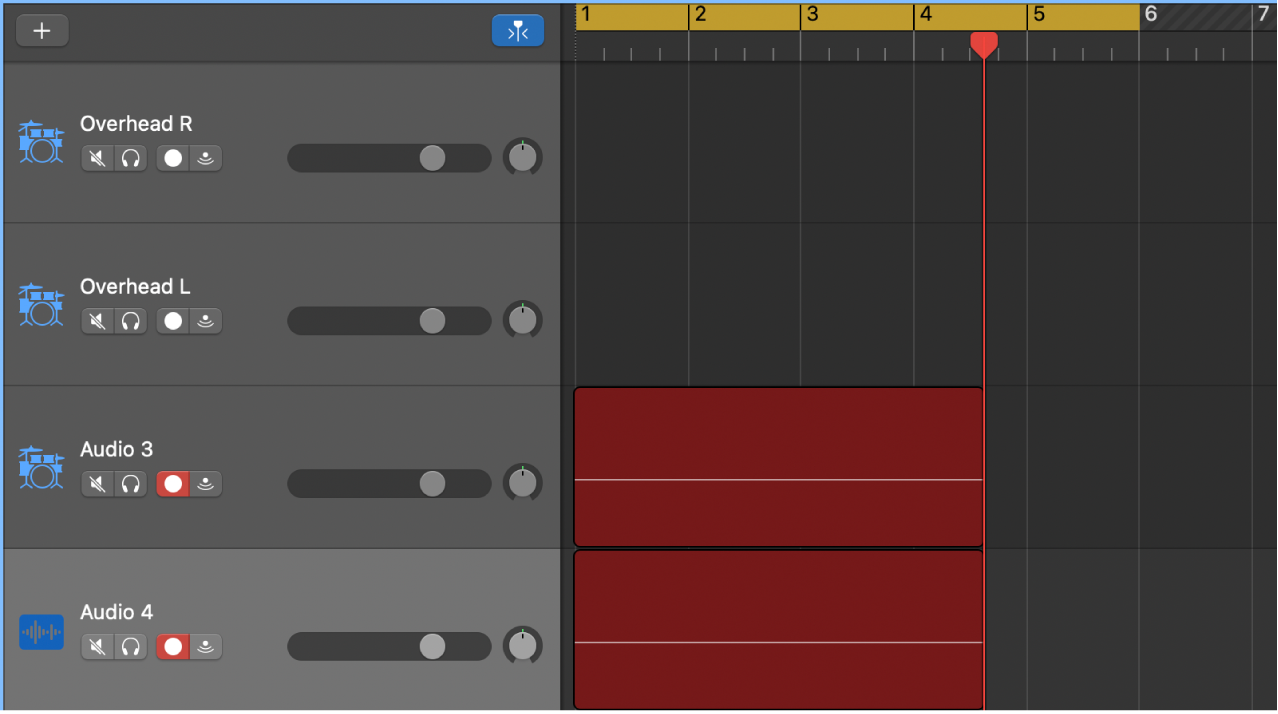
A new audio region appears on each of the record-enabled tracks.

Click the Stop button
 in the control bar (or press the Space bar) to stop recording.