Intro to using Apple Configurator for iPhone
You can add the following devices to Apple School Manager, Apple Business Manager, or Apple Business Essentials using Apple Configurator on your iPhone, even if they weren’t purchased directly from Apple or from an Apple Authorized Reseller or cellular carrier:
iPhone
iPad
Mac computers with Apple silicon or with an Apple T2 Security Chip
After you’ve set up the device or devices, they behave like any other device already in Apple School Manager, Apple Business Manager, or Apple Business Essentials, with mandatory supervision and mobile device management (MDM) enrollment. The device can then be shut down and stored until needed or sent to the user.
If the device is given to a user, they have a 30-day provisional period to release the device from Apple School Manager, Apple Business Manager, or Apple Business Essentials, supervision, and MDM. This 30-day provisional period begins after the device is successfully assigned to and enrolled in:
A third-party MDM server linked to Apple School Manager, Apple Business Manager, or Apple Business Essentials.
The device management that’s built in to Apple Business Essentials.
After a successful sign-in on Apple Configurator for iPhone, all MDM servers already linked to Apple School Manager, Apple Business Manager, or Apple Business Essentials (including the built-in device management in Apple Business Essentials) appear in Settings. This option allows a device to be automatically assigned to a specific MDM server.
Requirements
Device added and minimum supported operating system | Minimum operating system on iPhone with Apple Configurator installed | Setup Assistant pane |
|---|---|---|
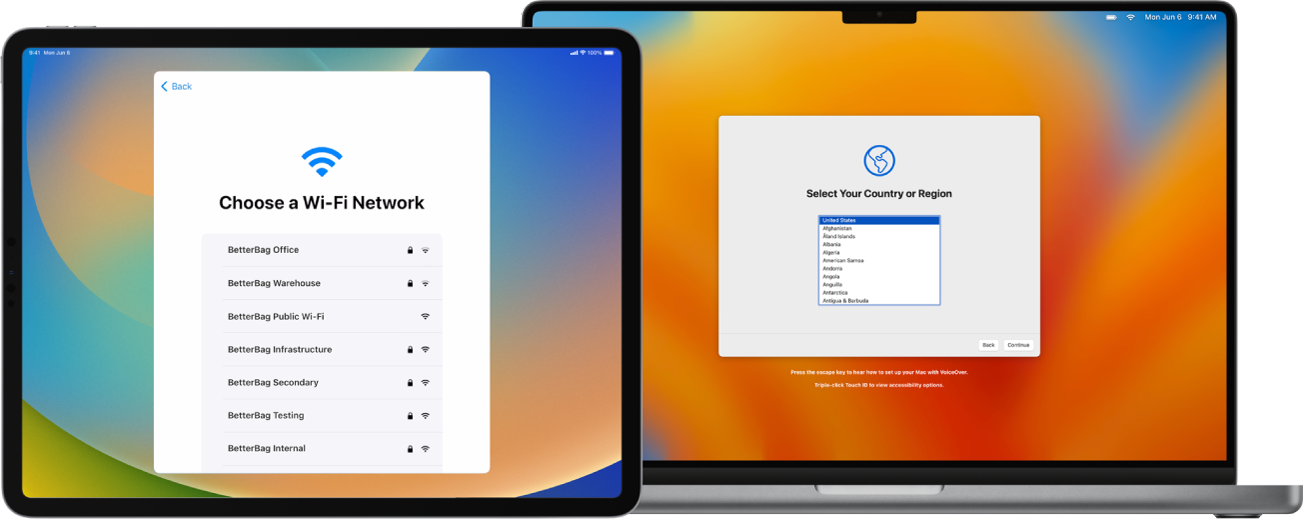
Mac (macOS 12.0.1) | iOS 15 | Select your Country or Region |
iPhone (iOS 16) | iOS 16 | Choose a Wi-Fi Network |
iPad (iPadOS 16) | iOS 16 | Choose a Wi-Fi Network |
Note: To add Mac computers, they must have Apple silicon or an Apple T2 Security Chip using macOS 12.0.1 or later. To see a list of computers with Apple silicon and those with the Apple T2 Security Chip, see the Apple Support articles Mac computers with Apple silicon and Mac models with the Apple T2 Security Chip.

Before you add a Mac
Take these additional steps before you add a Mac:
Decide how you want the Mac to connect to the internet, then either create a configuration profile or gather the necessary adapters and cables.
Share the Wi-Fi network credentials (default method): This requires that the iPhone be connected to a Wi-Fi network with access to the internet. The Mac will use the same network credentials when it starts.
Use a network configuration profile: This requires that you create a configuration profile with a Wi-Fi or 802.1X payload containing the appropriate network credentials and saved in a location in the Files app. You can then configure it in Apple Configurator > Settings. See Create and edit configuration profiles in Apple Configurator in the Apple Configurator for Mac User Guide.
Note: If necessary, you can add a certificate payload for use with Wi-Fi or 802.1X authentication to the configuration profile. See Certificates MDM payload settings for Apple devices in Apple Platform Deployment.
Connect the Mac to the internet using an Ethernet connection: This requires that the Mac be connected to the internet before assigning it to Apple School Manager, Apple Business Manager, or Apple Business Essentials.