How Billing Works
Understanding how billing works with Popupsmart is crucial for managing your subscription and payment methods.
In this help document, we'll walk you through the different billing aspects of Popupsmart and provide you with the necessary information to ensure a smooth and hassle-free experience.
The Billing Page
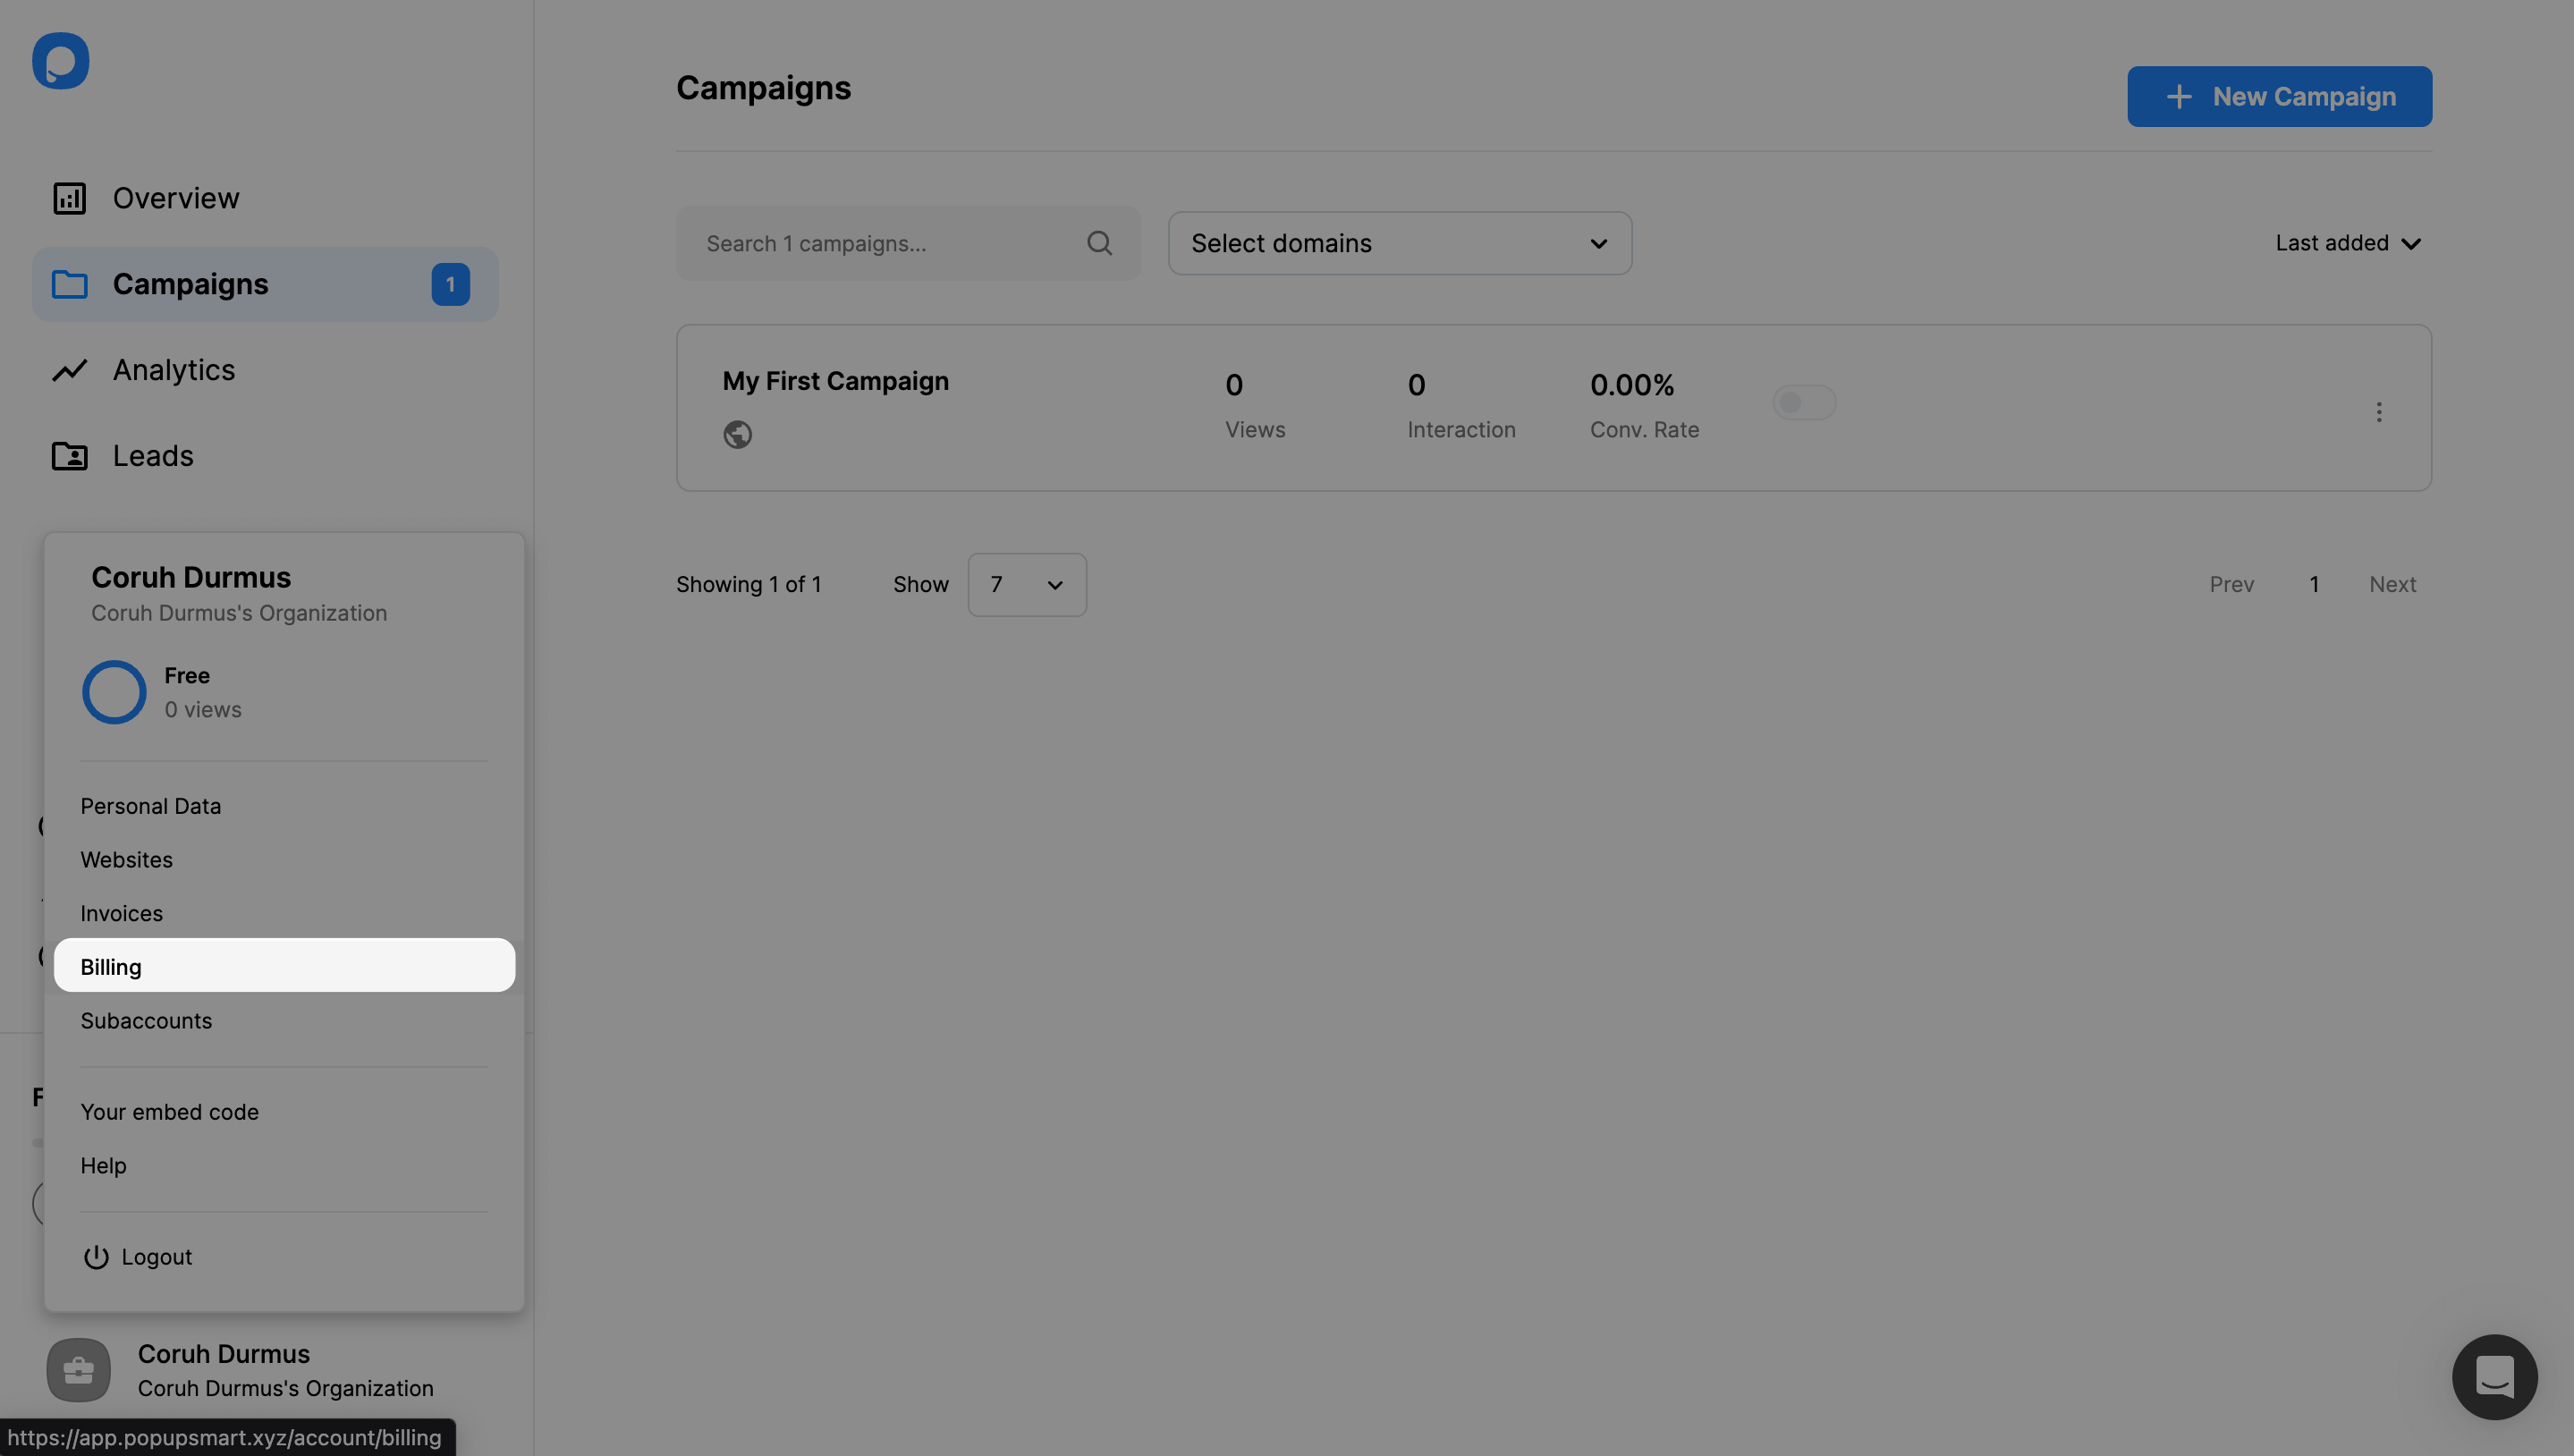
To go to your Popupsmart billing page, click your account from the dashboard and click Billing.

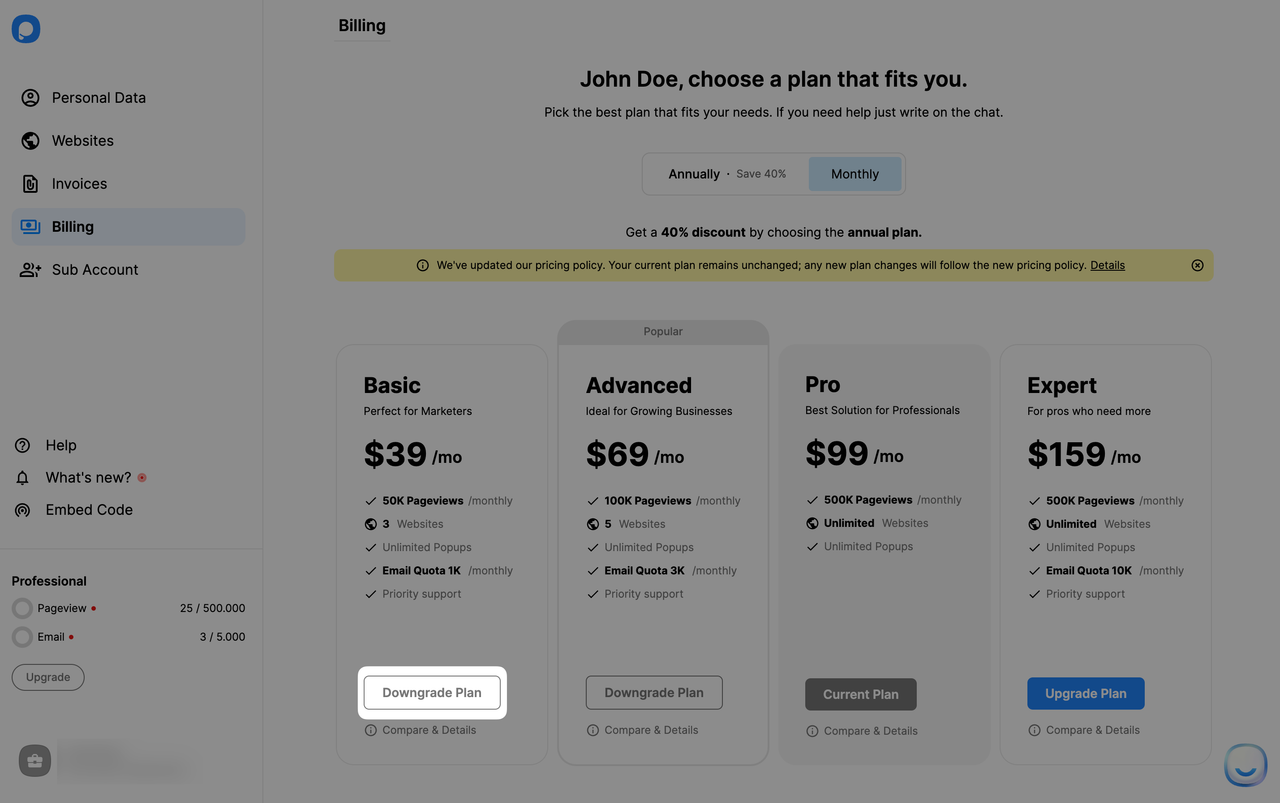
On this page, you can:
- Upgrade or downgrade your current price plan.
- List all plans monthly or annually and pick the best one that fits you.
- Enable Auto-Extend for Email and Pageview in order not to stop sending mails or showing popups even if your quota has finished for the current month.
You will be charged for the annual payment amount once you purchase a paid plan. However, remember that annual plans cost you less in total.
Payments are processed regularly through the secure payment software Stripe.
To upgrade your current plan, click on the Upgrade Plan button of the plan you want to change your plan to.
Upgrading Your Plan
Once you click the upgrade button, you will be directed to the Stripe page, where you can see all your plan information. This page is authorized by Stripe.
On the “Upgrade Your Plan" page, you can edit your current plan, payment method, billing, and shipping information. Your invoice history is available on this page too.
Downgrading Your Plan
Similar to the upgrading process, you can also downgrade your current plan anytime you wish. Just click a Downgrade Plan button on the Billing page.

You can observe the amount you will be charged according to the refund calculations.
Enabling Auto-Extend
The Auto-extend feature ensures that even if you use up your pageview or email quota, your popups will still be displayed. This way, you won’t lose out on potential sales or leads.
How the Pageview Auto-extend Works:
1. The first extension provides an additional 10K pageviews for $10.
2. Every subsequent 10,000 pageviews also costs $10 until you spend a total of $99. At this point, instead of just 10.000, you get 250,000 pageviews for the same $99.
Example 1:
- The user starts with 50,000 base pageviews.
- By the 15th, this quota is exhausted.
- The first 10,000 extension costs $10.
- By the 16th, this is exhausted.
- By the 21st, they've purchased nine 10.000 extensions (90,000 pageviews) for $90.
- The next $10 provides 160,000 pageviews, bringing the total additional pageviews to 250,000.
- Once this 250,000 is exhausted by the 25th, another 250,000 is added for $99.
- This means in total they've purchased 500,000 pageviews for $198 in the month.
Example 2:
- The user starts with 50,000 base pageviews.
- By the 22nd, this quota is exhausted.
- The first 10,000 extension costs $10.
- This is exhausted, and by the 27th, another 10,000 is added for $10.
- Thus, they've purchased 20,000 pageviews for $20.
- Note: The price per 10,000 pageviews is consistent at $10. However, once the total additional spend reaches $99 or its multiples (like $198, $297, etc.), a bonus 160,000 pageviews is added on top of the regular 10,000, making the total 250,000 for that $99 increment.
How the Email Auto-extend Works:
The Email Auto-extend feature allows you to continue sending emails even after reaching your email quota. Here's how the pricing and system work:
- For every set of 500 additional emails you need, there will be a charge of $5.
- It's important to note that Self Email Notifications, or emails you send to yourself, are also included in this count and will contribute to the 500-email limit.
In essence, every email, including notifications to yourself, counts toward the quota, and every 500 emails beyond your base quota costs $5.
The Invoices Page
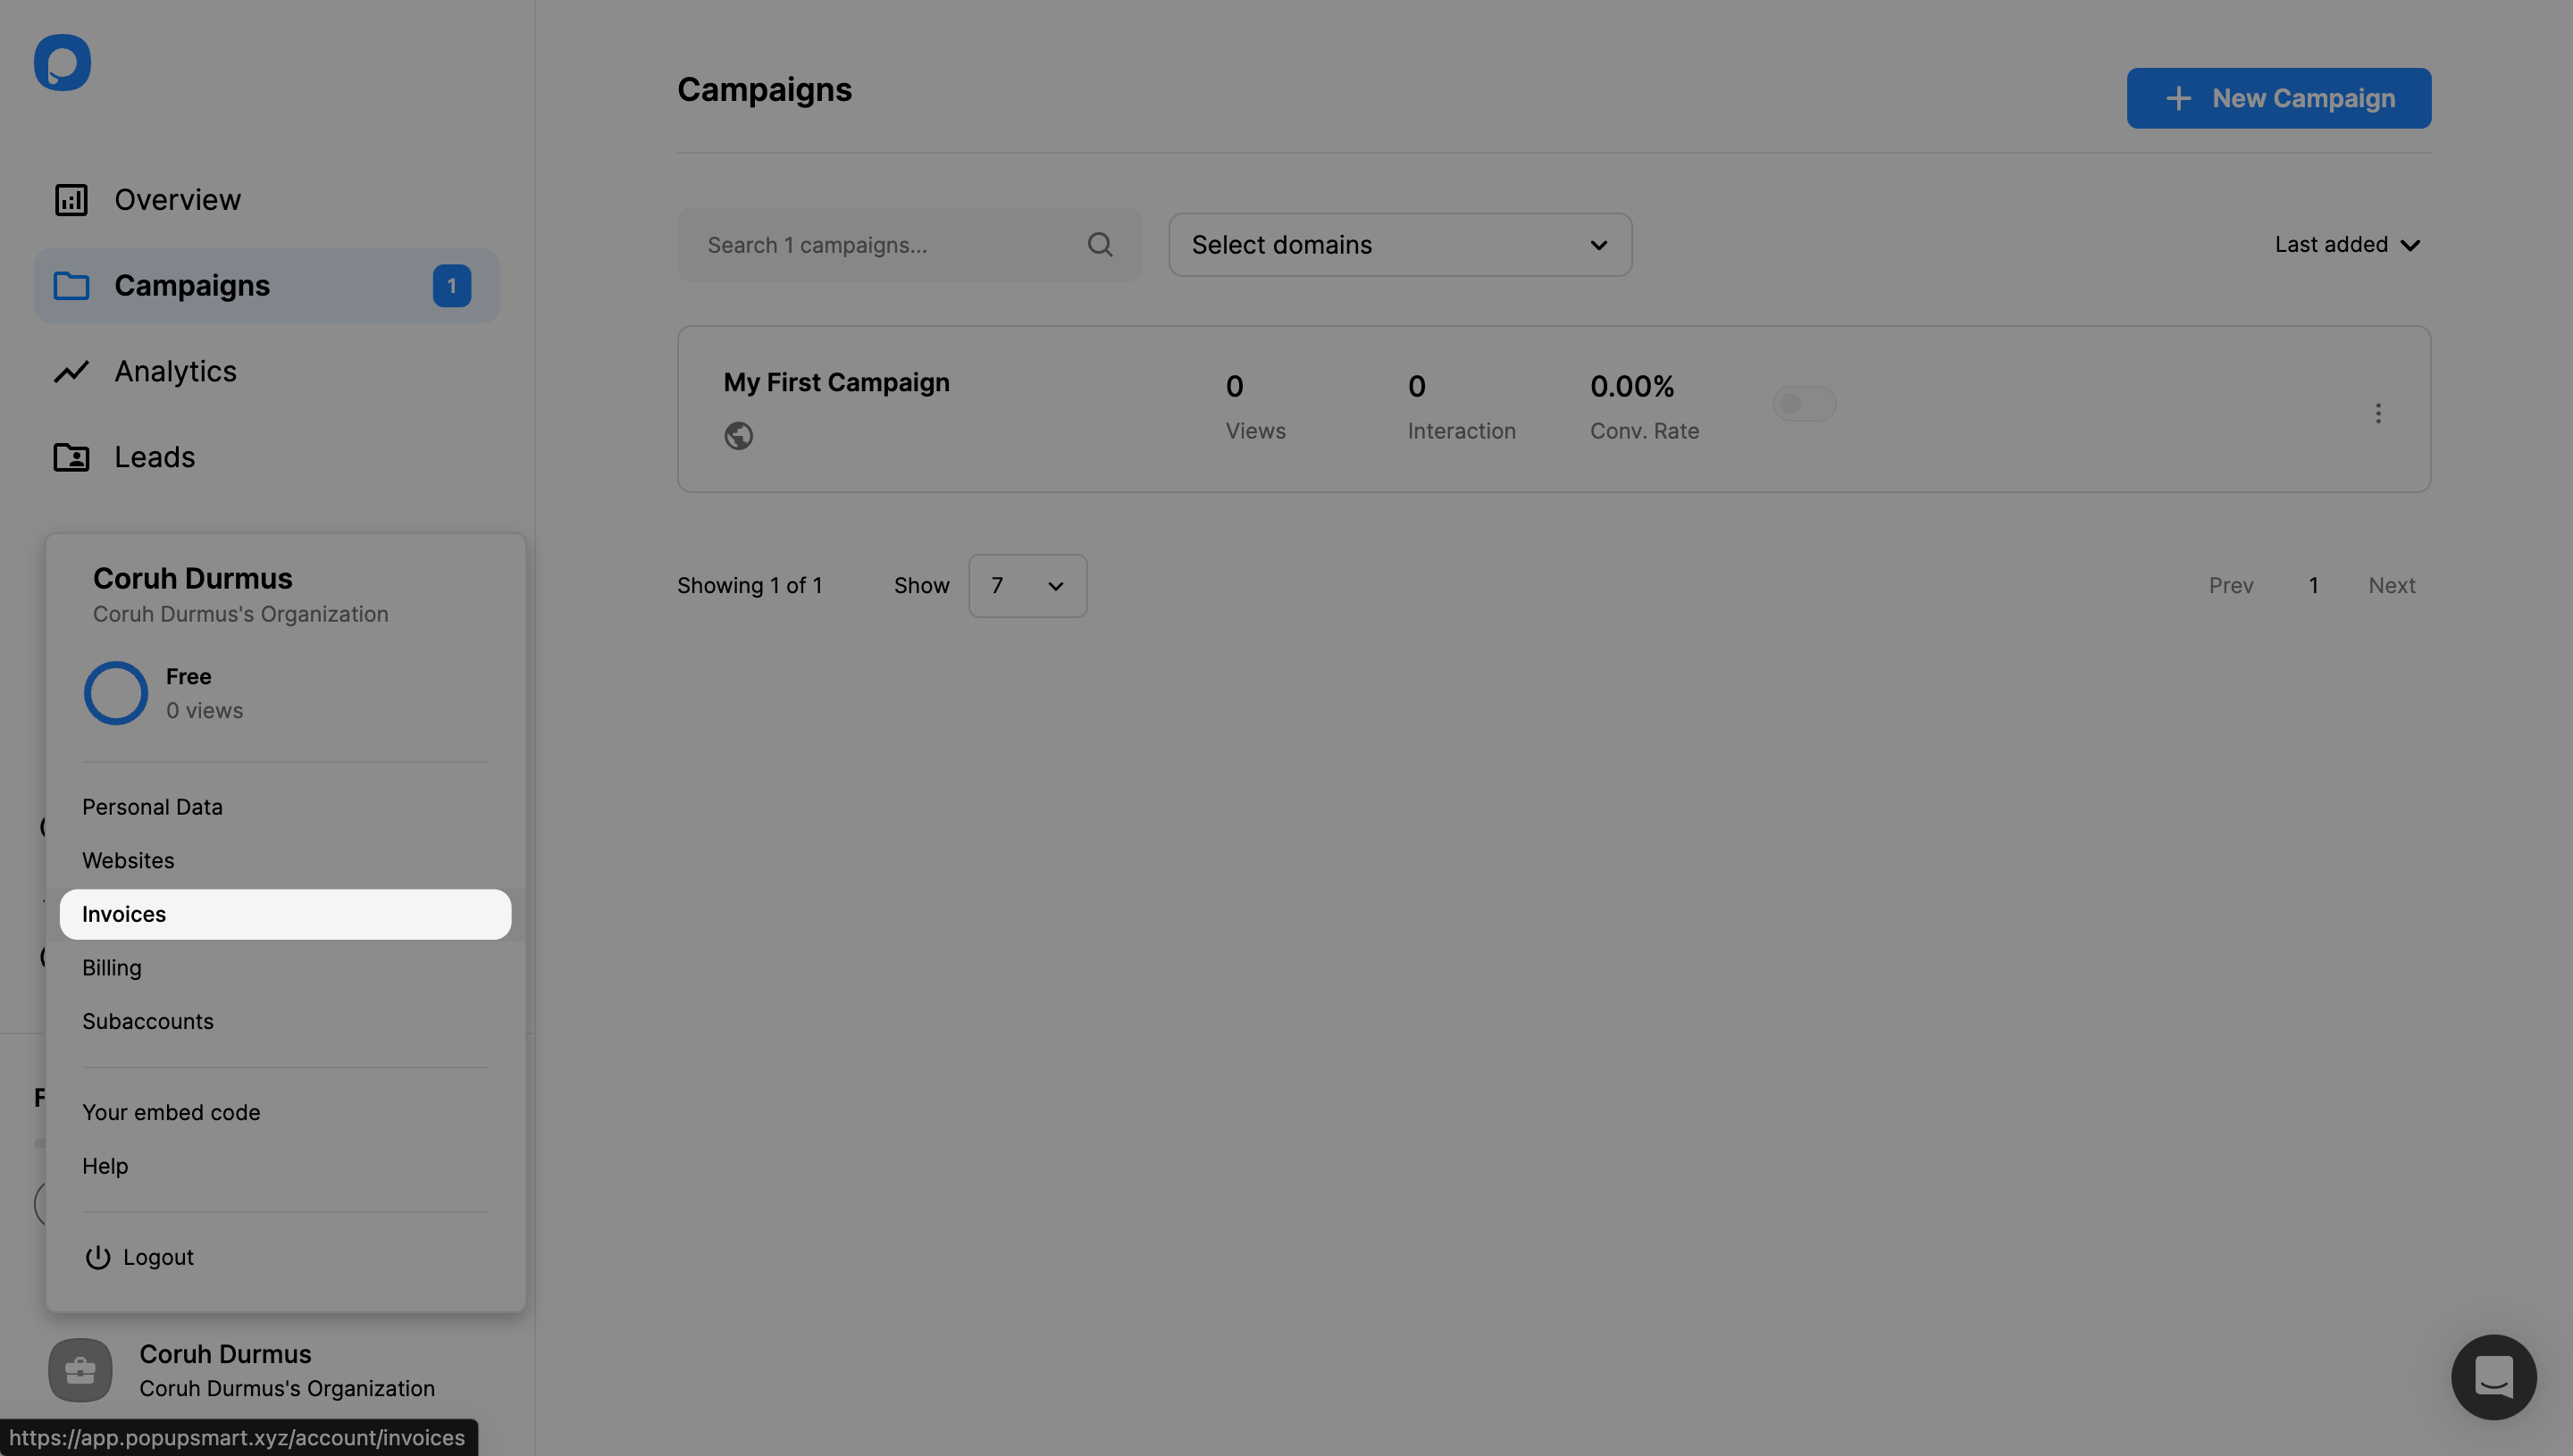
Go to your Popupsmart dashboard and click your account from the bottom left corner to view your invoices.

Then, click “Invoices” from the menu. You will be directed to Stripe’s page again.
🔔 Note: If you want to switch to the Free Plan from a Premium Subscription, you may contact us through live chat or email ([email protected]).
