


Solder all the negative leads to each other, and solder the last negative LED lead to the center lead of the potentiometer. Clip the excess wire.
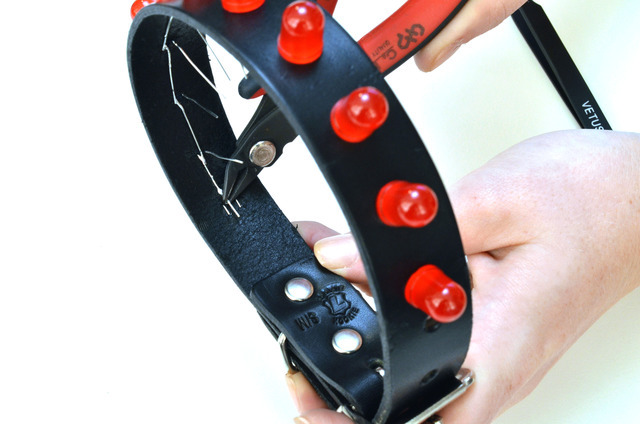
Repeat the process of folding down the leads, this time with the positive leads of the LEDs. They should follow the curve of the collar as if you had it on, and should all be soldered together.
Repeat the process of folding down the leads, this time with the positive leads of the LEDs. They should follow the curve of the collar as if you had it on, and should all be soldered together.
Solder the last positive LED lead to a piece of wire, then solder the wire to the positive terminal of the battery holder.


The battery holder will rest on the outside of the collar next to the potentiometer. Solder a piece of wire to one of the outer potentiometer leads, then connect the other end of it to the negative side of the battery holder (marked with a little - sign).
Refer to the circuit diagram in this guide if you get confused!
Refer to the circuit diagram in this guide if you get confused!
Use a little double stick tape or E6000 glue to affix the battery holder in place after soldering.

Page last edited July 23, 2013
Text editor powered by tinymce.


