What is Remi? A Platform independent Python GUI library for your applications
RemI is a easy to use GUI library for Python. It shows in web browser and is accessible remotely. This removes platform-specific dependencies and lets you easily develop cross-platform applications in Python! More info at https://github.com/rawpython/remi
Editor Tutorial Videos
|
0 - Simple Hello World Here is shown how to create a simple Hello World application. |
https://youtu.be/2gWkRuj_CyQ |
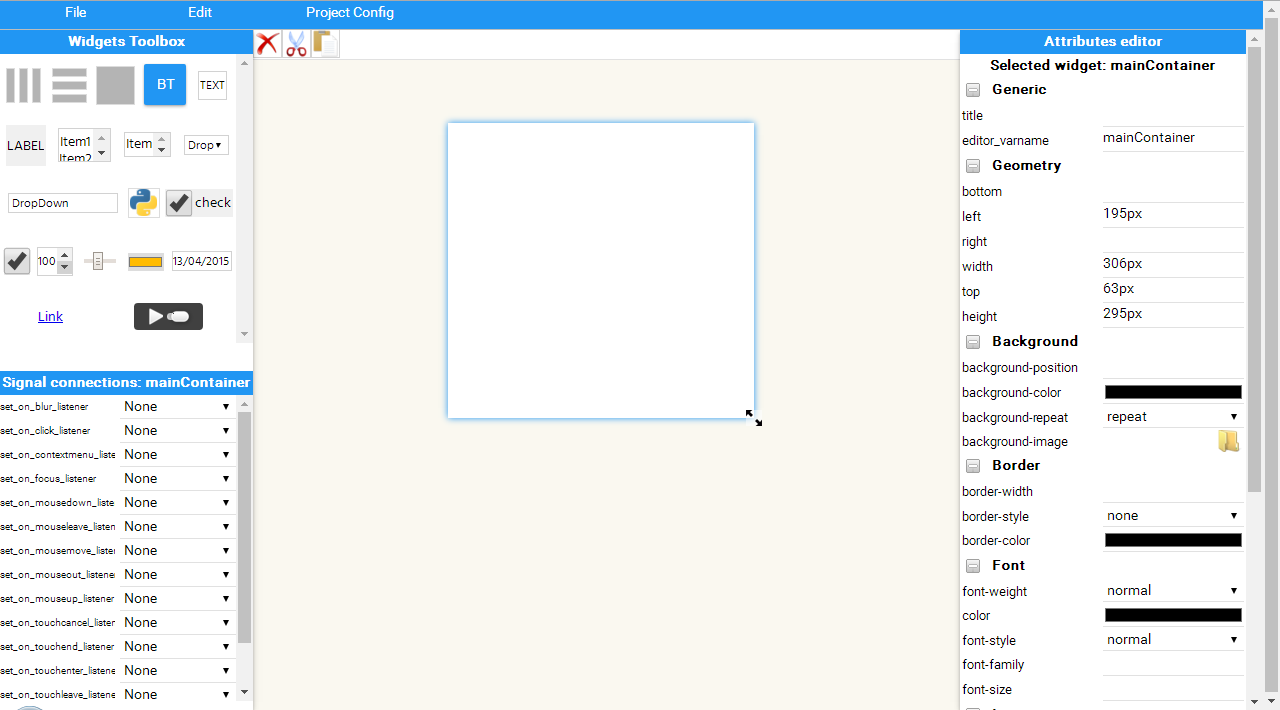
The editor_app allows you to graphically design your gui interface in an easy to use environment. From a collection of widgets (on the left side of the screen) you can choose the right one you would like to add to your interface. Choosing a widget, you have to fill some fields required to allocate the widget. Besides the constructor parameters, some additional information are required:
- Variable name: an identifier that will be used in order to produce the app code;
- Overload base class flag: defines if the variable have to be an instance of a new class that will overload the base class.
On the right side of the screen, the widget's parameters are available. It consists in a set of html and css attributes. A widget can be selected by clicking on it. Once a widget is selected, it can be customized by the property panel.
Widgets can be added one into another. Currently three types of containers are available:
- Widget: a generic container that allows absolute positioning;
- HBox, VBox: both layouts automatically inner widgets.
By using Widget container you can be able to resize and drag widgets manually.
HBox and VBox containers does not allow the manual drag and resize of widgets. But widgets can be resized by the right property panel.
Once your interface is ready, you can save you app. It will be exported directly into python code. Your app can be reloaded for editing.
Now, let's create our first Hello World application.
First of all we have to select from the left side toolbox the Widget component. It will be our main window. In the shown dialog we have to write a name for the variable. We will call it mainContainer.
Then, once the widget is added to the editor, you can drag and resize it.
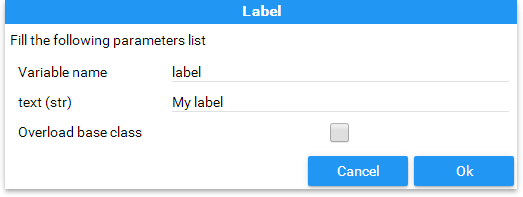
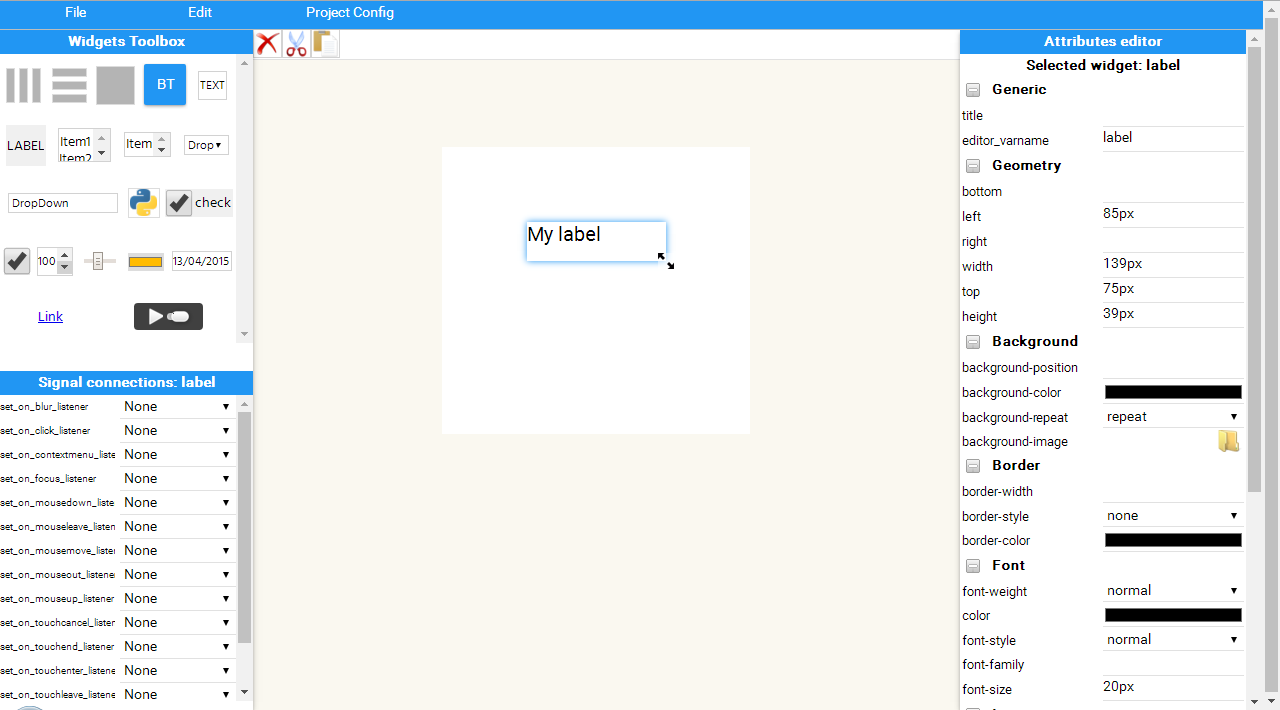
Now, from the left side toolbox we select a Label widget that will contain our Hello World message. Again, we have to type the variable name for this widget.
Then, we can select the label by clicking on it in order to drag and resize.
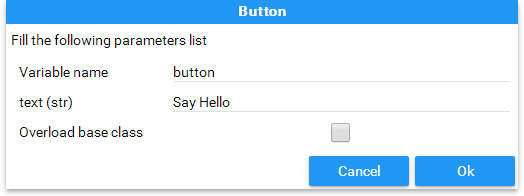
We need for sure a Button. Since we have to add it to the mainContainer, we have to select the container by clicking on it. After that, click on the Button widget in the left side toolbox. Type the variable name and confirm.
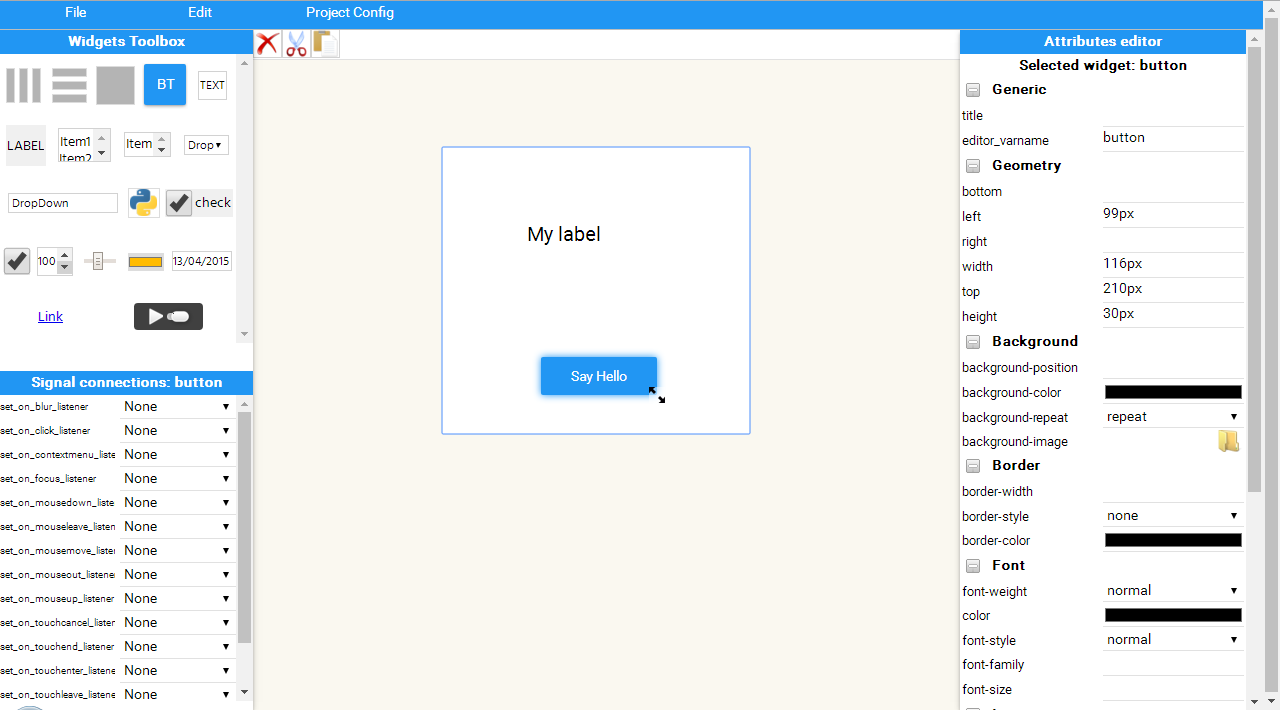
Select the Button widget by clicking on it and drag and resize.
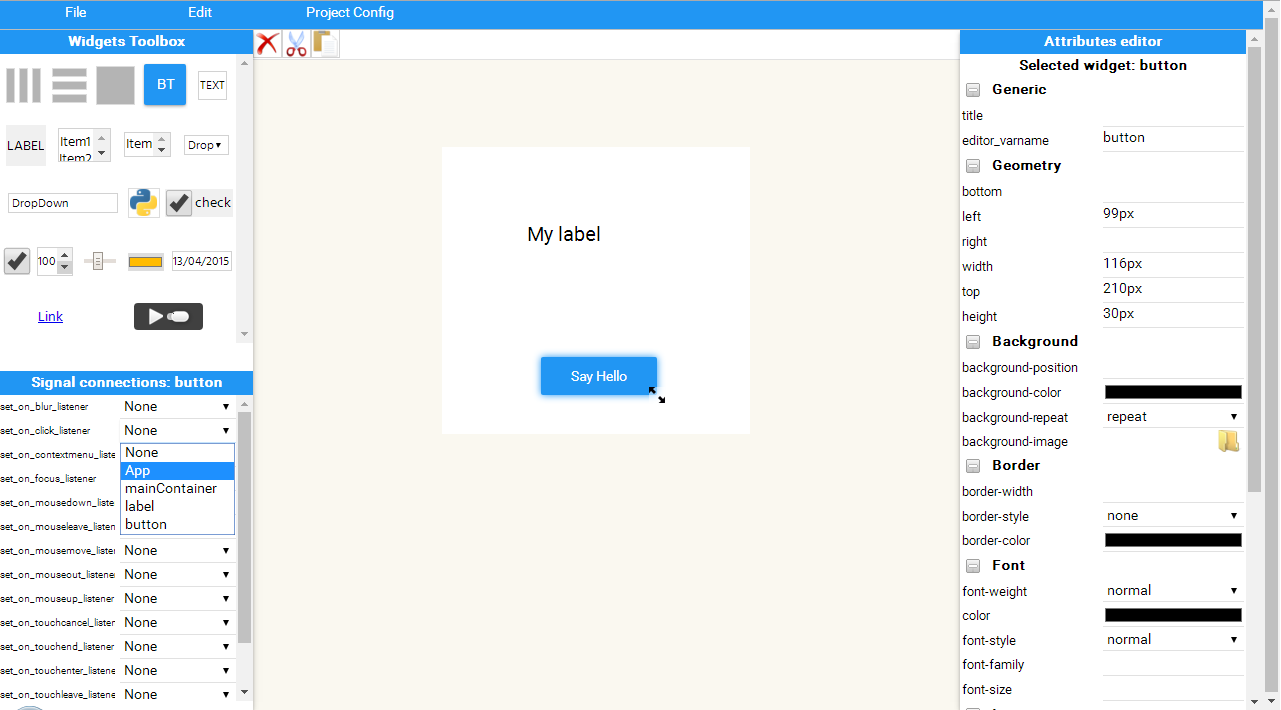
Now, all the required widgets are added. We have to connect the onclick event from the button to a listener, in our case the listener will be the main App.
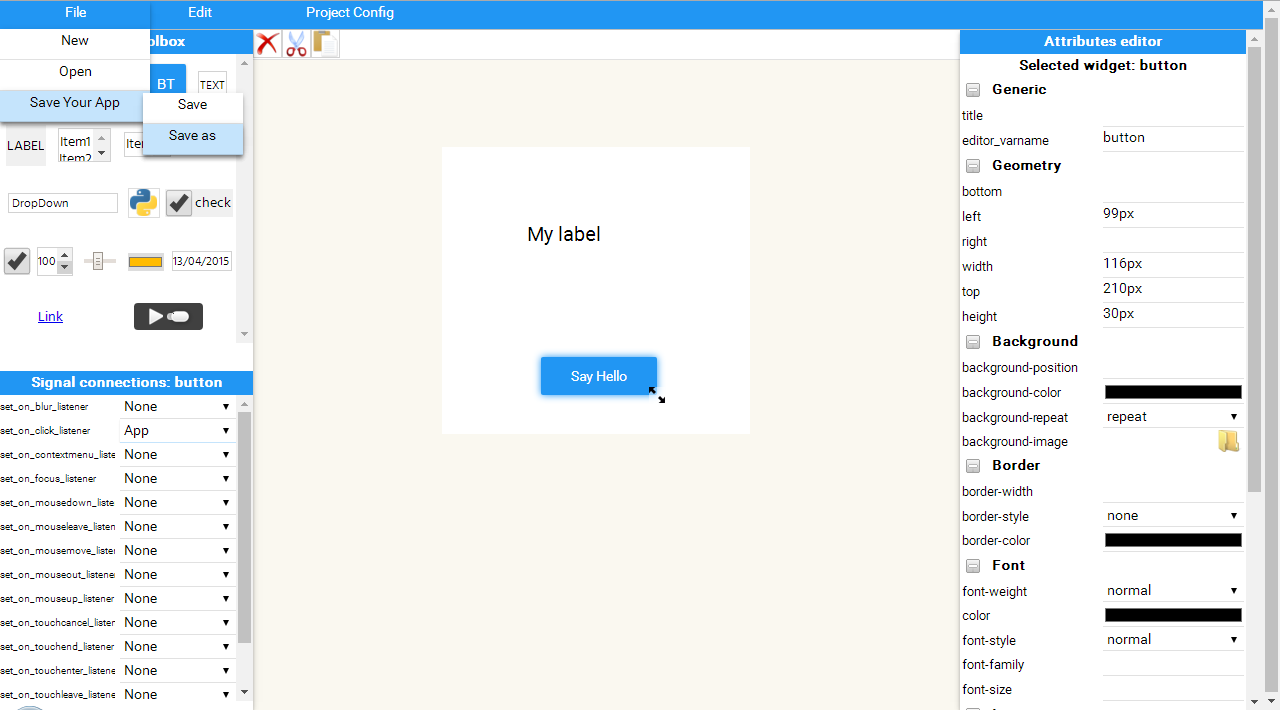
All it's done, save the project by the upper menu bar.
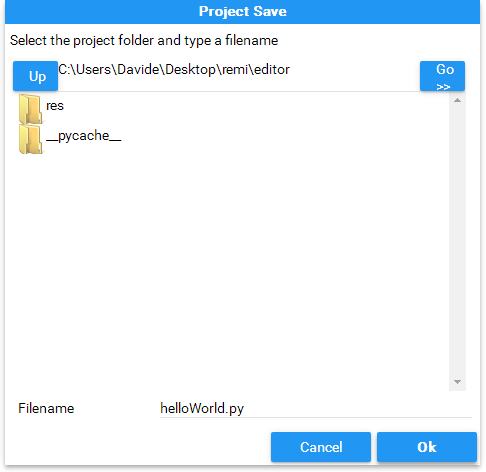
Select the destination folder. Type the app filename and confirm.
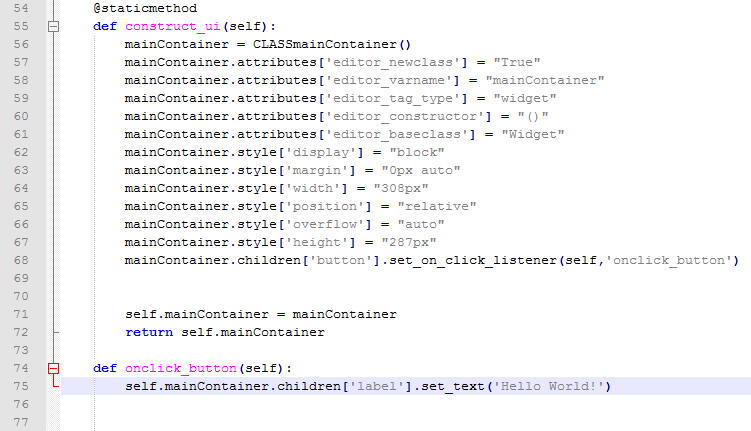
We can now edit the code to say the Hello World message.
Run the application and... Say Hello!


